Monday, November 29, 2010

Christmas Cards Sneak Peak

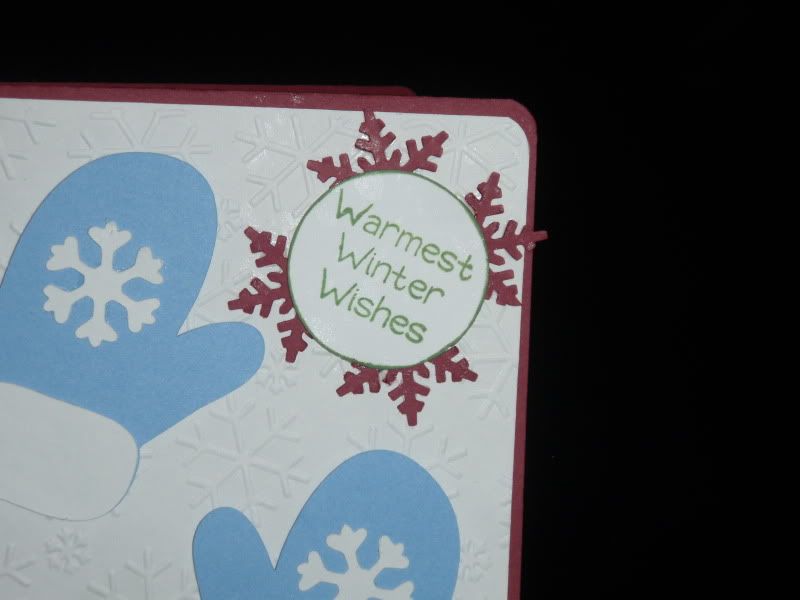
Today I began working on my holiday cards. I got one finished and a bunch more designed. Hopefully I will be able to knock the rest out this week and get them in the mail early next. Since tomorrow is my first day of my new job, here's just a sneak peak of the card I finished today.

Photobucket

This card was made using my new Holiday Cakes cartridge.

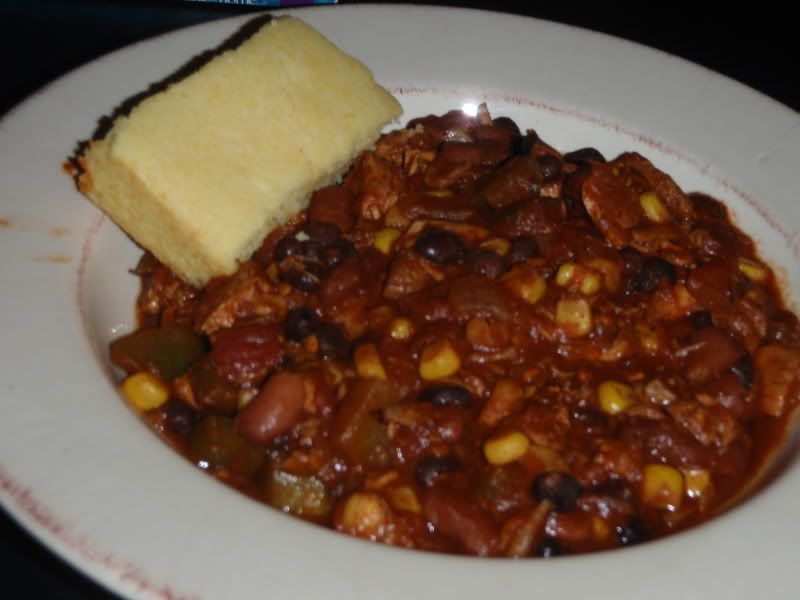
Easy Cornbread with Turkey Chili

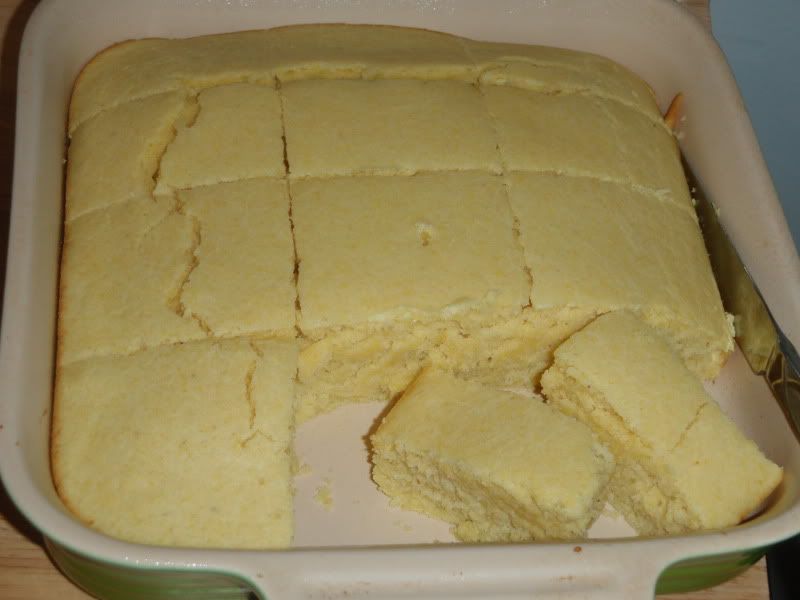
Tonight I used up all of my turkey leftovers to make my turkey chili recipe. With that we had to have cornbread, so I tried the recipe on the back of the cornmeal carton. It was extremely simple and whipped up in a flash. I will definitely try it again.

Photobucket

Photobucket

Ingredients

3/4 c cornmeal
1.25 c all-purpose flour
2 tsp baking powder
1/4 sugar
1/2 tsp salt, if desired
1 egg
1/4 c vegetable oil
1 c skim milk

Directions

Preheat oven to 400 degrees.

Whisk together flour, cornmeal, salt, sugar, and baking powder. Make a well in the certain and add egg and oil. Stir mixture together with milk until no lumps remain.

Pour mixture into an 8" square pan that has been sprayed with cooking spray.

Bake for 20 minutes or until tooth pick comes out clean.

Serves 9-12.

Saturday, November 27, 2010

Fall Banana Bread

I've never really made a shaped cake or bread until this one. I always worried that the entire product would be ruined by failure to remove it properly from the pan. However, finding an abundance of rotting apple bananas (extremely ripe, not really rotting), I couldn't resist the urge to try this pumpkin loaf pan that my auntie bought from William Sonoma. It turned out beautifully, I must admit. I was a bit worried that the bread was darkening too fast as a result of the color of the metal pan, but it worked fine. This recipe is the same as I use for my Easy Banana Muffins, just with a slightly longer cooking time. Maybe next year, I'll try a pumpkin bread recipe.

Photobucket

1/2 cup butter, softened
1 cup sugar
2 eggs
3 ripe bananas, mashed
3/4 cups all-purpose flour
1/2 cup wheat flour
1 tsp salt
1/2 cup oatmeal
1/2 teaspoon baking soda
1/2 cup toasted walnuts, if desired

Preheat the oven to 350 degrees F. Coat a 12-cup muffin tin with nonstick cooking spray. In a large bowl, beat the butter and sugar until creamy. Add the eggs and beat until light and fluffy. Stir in the bananas, mix well. Add the flours, baking soda, salt, oatmeal, and walnuts stirring just enough to moisten. Spoon the batter into the muffin cups and bake for 30-40 minutes, or until a wooden toothpick inserted in the center comes out clean.

Serves 8-10

Photobucket

Friday, November 26, 2010

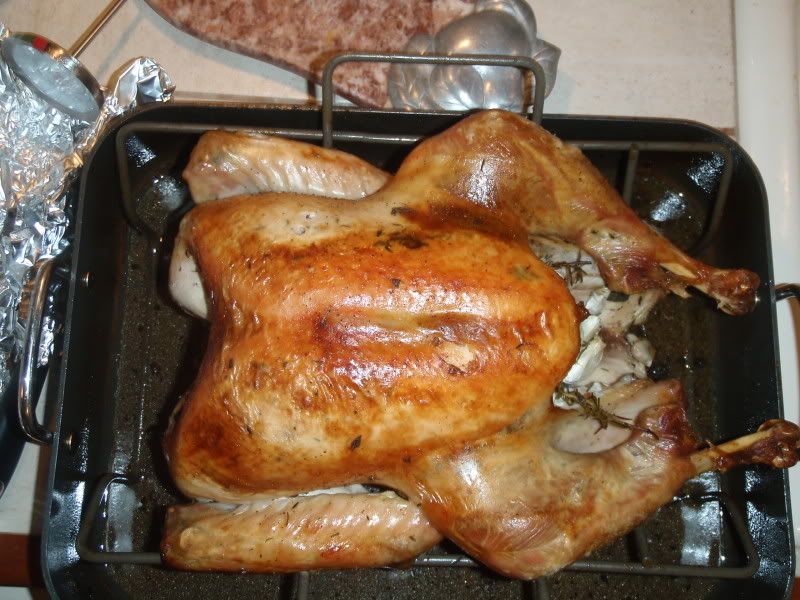
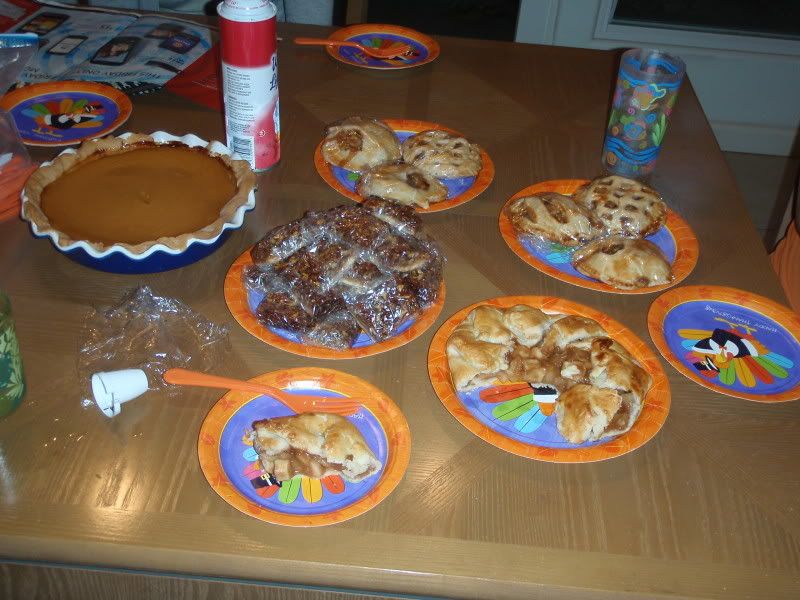
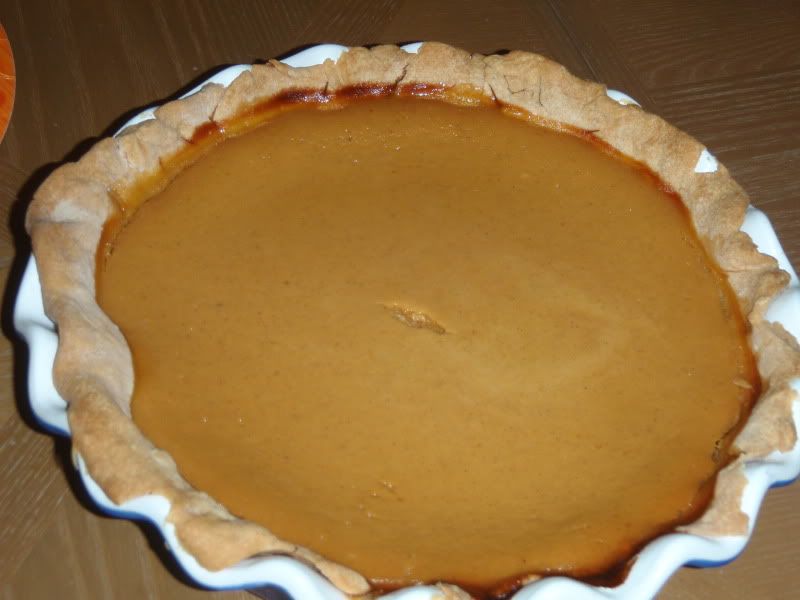
Thanksgiving Menu 2010

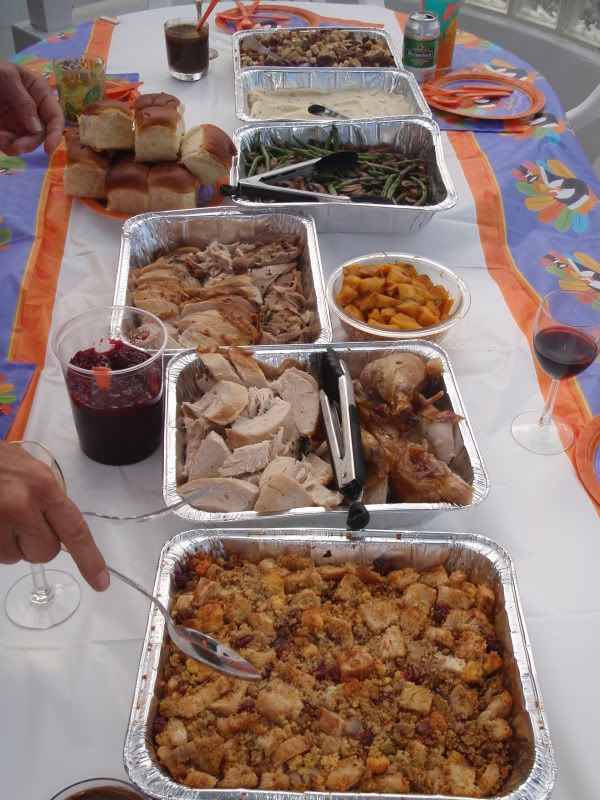
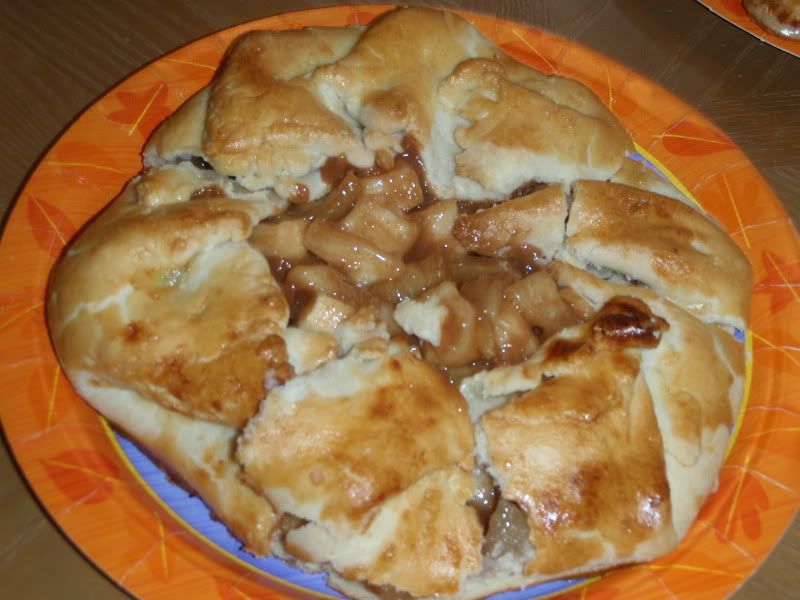
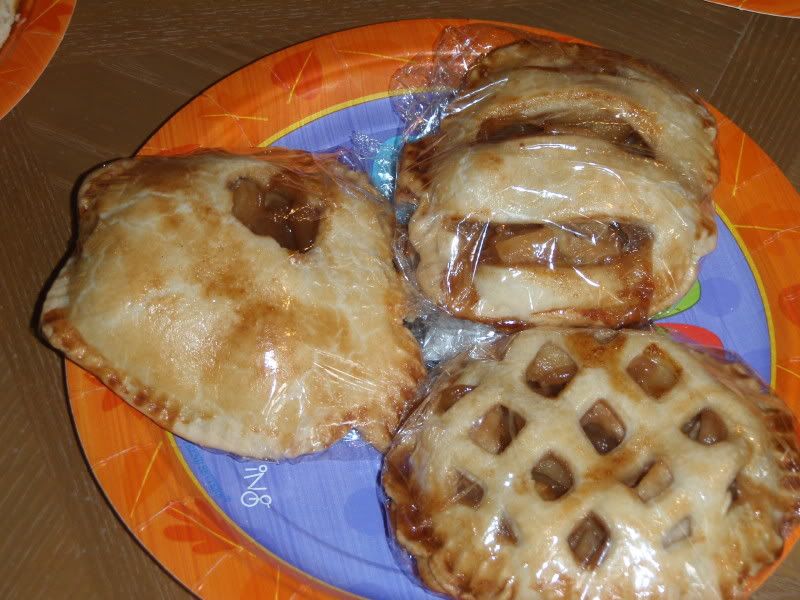
Here's our Thanksgiving menu with a few photos, mostly of what I prepared. I'll do my best to update the recipe links later.

Herb butter roasted turkey
Caramelized Onion-Balsamic Gravy
Sourdough-Cornbread Cranberry Walnut Stuffing
Mashed Potatoes with Sage and Browned Butter
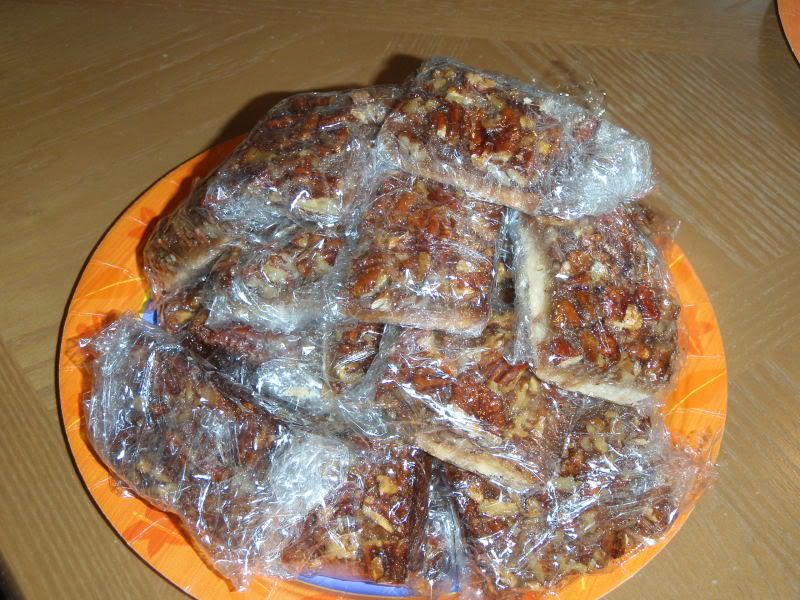
Pecan Pie Squares
Apple Pie Pockets

Photobucket

Photobucket

Photobucket

Photobucket

Photobucket

Photobucket

Photobucket

Thursday, November 25, 2010

Happy Thanksgiving

cross-posted

Happy Thanksgiving, everyone. I know this post comes a little late in the day, but I'm back in Hawaii. While this is the third or fourth consecutive Thanksgiving that I've spent in Hawaii since heading off to college in 1997, this is the first year that I didn't have to do mad plane-dash to make it on time. A couple years ago, I carried 4 pies in my carry-on on the plane that I'd made in Baltimore so that we could eat soon after my plane landed. I'm thankful for being able to do my own grocery shopping, my own prep work, and cook a good portion of the meal myself this Thanksgiving.

Other things I'm thankful for:

1. My family, especially my husband and auntie. While the move back was extremely chaotic and scary at time, family helped it run smoothly and worth the trouble. I'm also excited that I am finally living with my husband after nearly 4 years of marriage, mostly apart.

2. My friends, past and present. Each has added something meaningful to my life. My extended family. I am also thankful that I survived, thus far, this visit and that it ends before I start my new job.

3. My cute and thus-far comfortable new home, even with the wildlife.

4. My health and my nifty new gym just down the street. I am also thankful for the good health of my family and friends.

5. My new job and past work experiences, all have benefited and shaped me in different ways.

6. The educational opportunities I've had and the numerous further learning experiences to come.

7. My hobbies that give me an outlet for my creativity, and the ability to share my passions with others through blogging, paper crafts, cooking, and crochet.

And finally....

I am thankful that Thanksgiving is here and dinner will be soon, and that Black Friday shopping starts online in less than 5 hours!

Thanks for visiting.

Wednesday, November 24, 2010

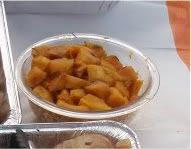
Roasted Butternut Squash with Thyme

This super simple dish is a regular at our Thanksgiving. It's great because the leftovers can be made into butternut squash raviolis the next day.

Photobucket

1 large onion, sliced
1-2 lbs butternut squash, diced into 1" cubs
1 tsp dried thyme
salt, pepper, olive oil

Preheat oven to 400 degrees.

Toss squash and onions with olive oil, thyme, salt and pepper.

Roast for 30 minutes or until tender, tossing after 20 minutes.

Tuesday, November 23, 2010

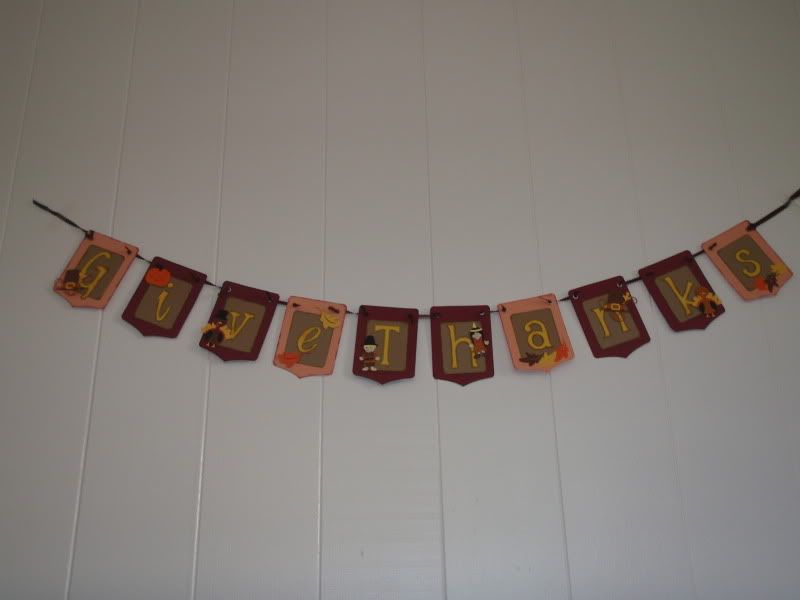
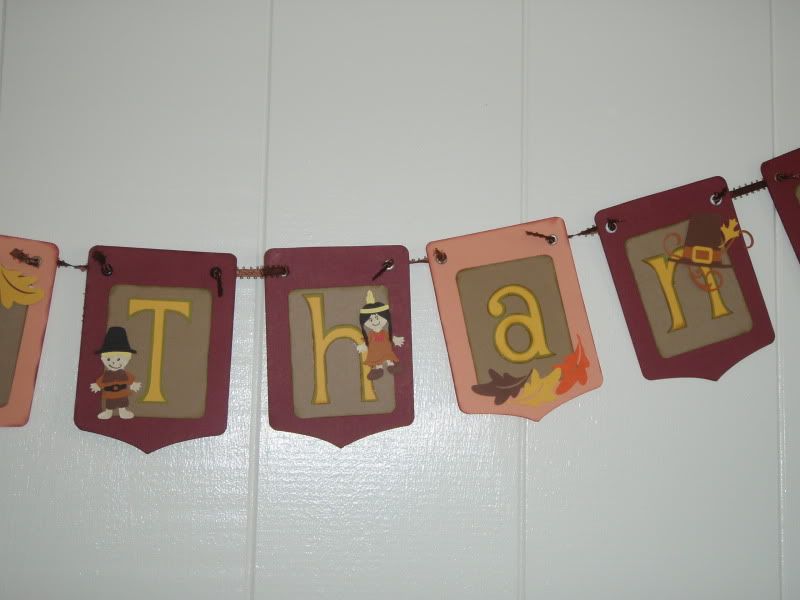
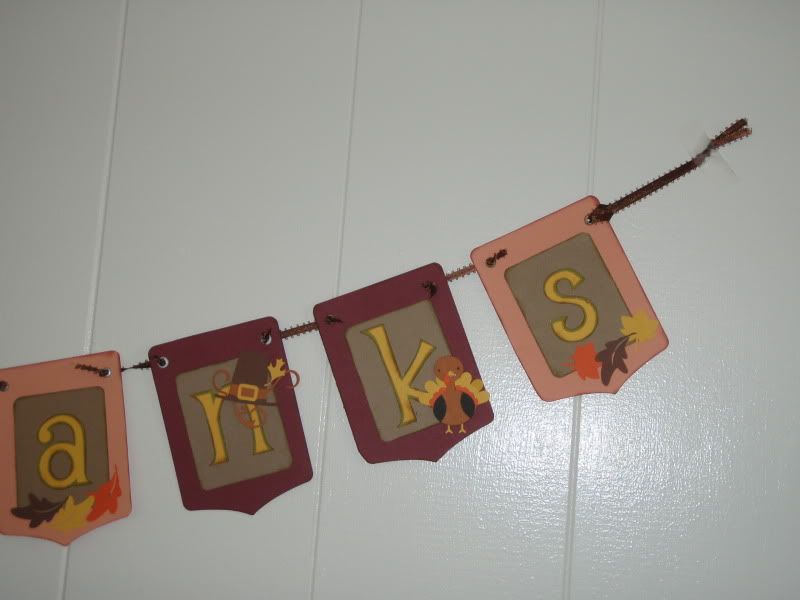
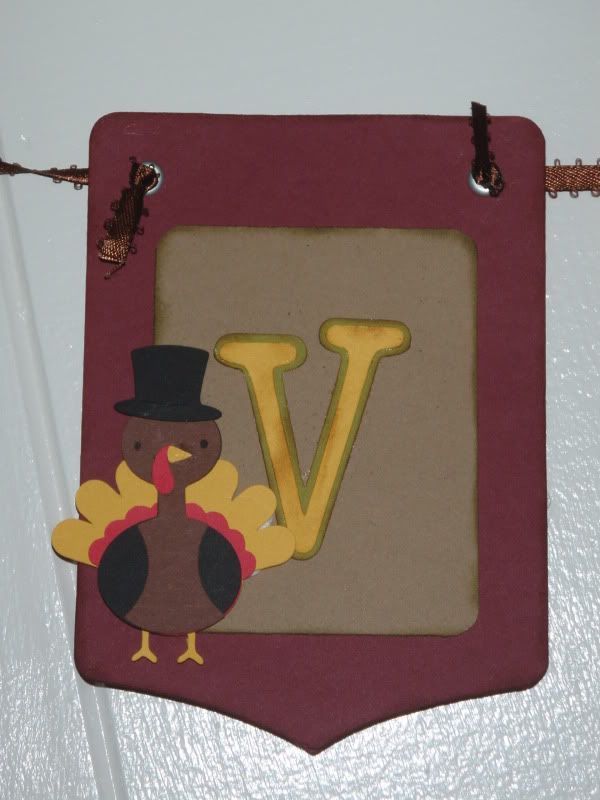
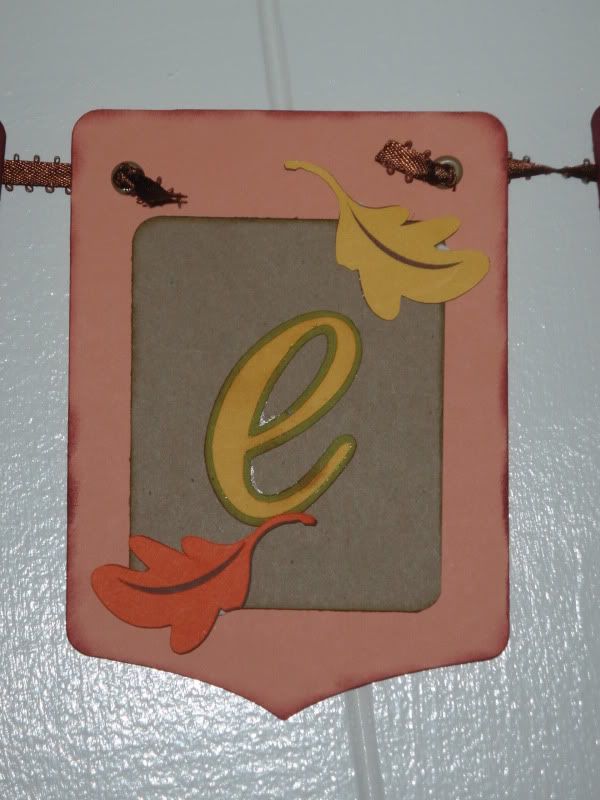
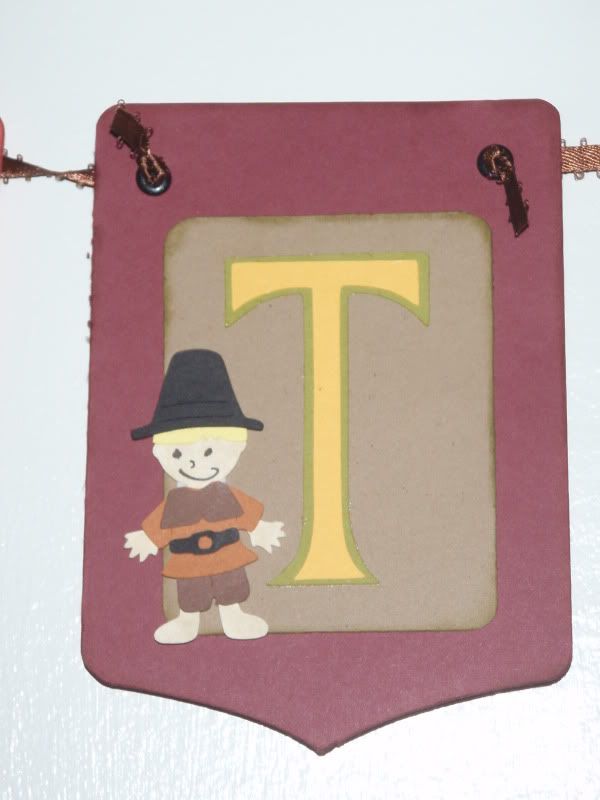
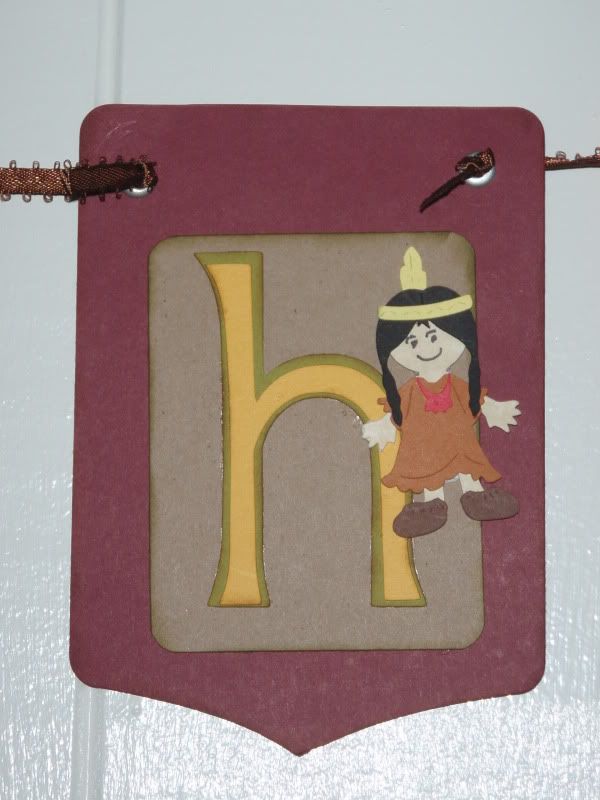
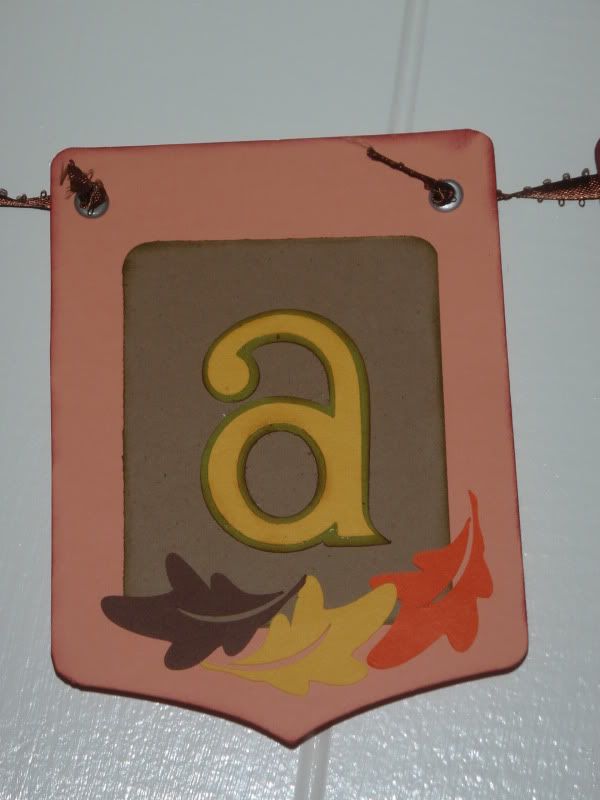
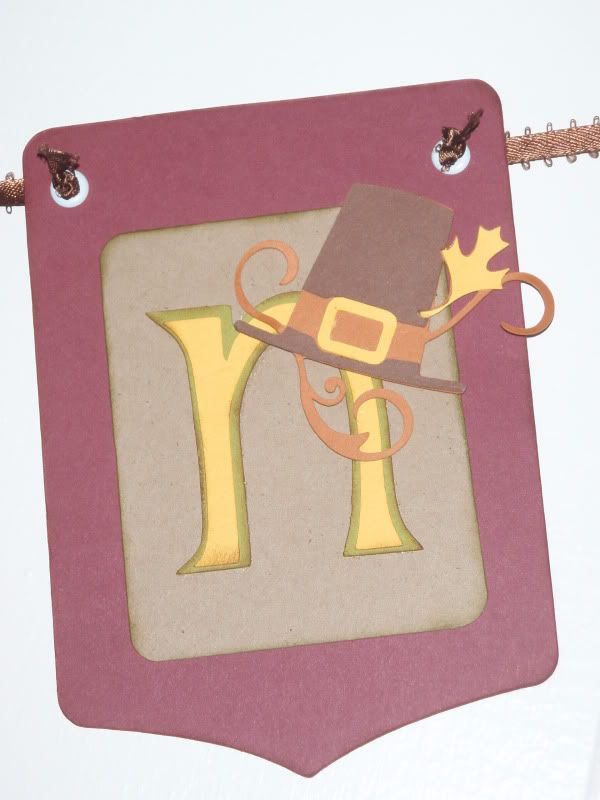
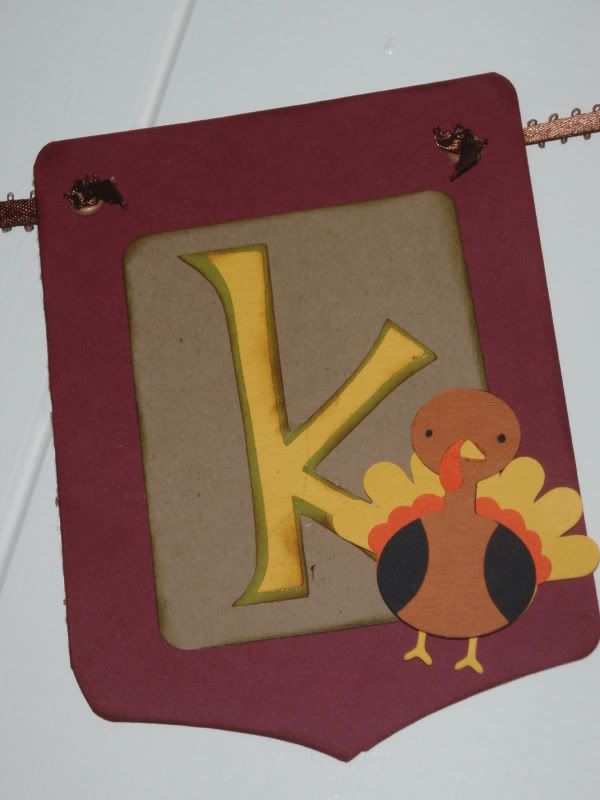
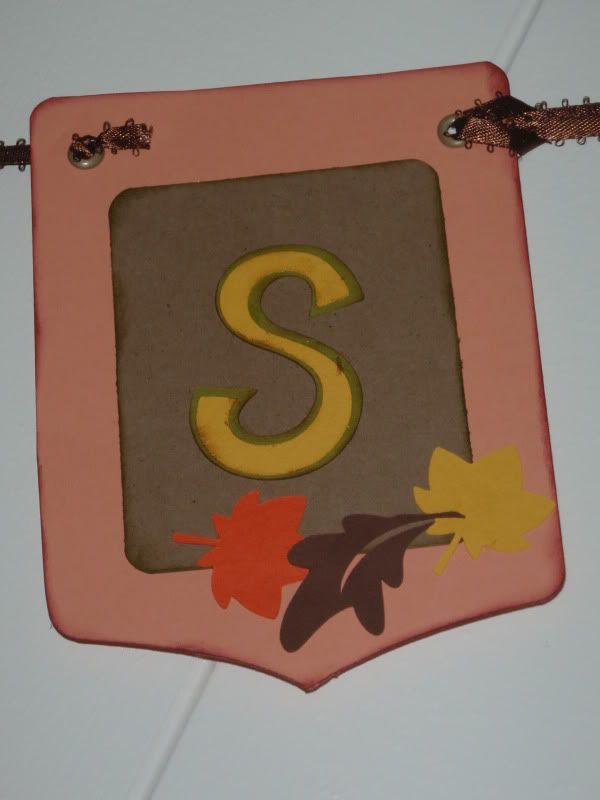
Thanksgiving Banner

WARNING: Lots of pictures.

Happy Tuesday before Thanksgiving! I almost didn't make it, but here's my Thanksgiving Banner, which will likely be gifted away later today. I was inspired by the Banner Blog Hop hosted by Ruthie a couple weeks ago and really wanted to make both a Thanksgiving and a Christmas banner. Originally, I was going to make the banner do double duty and have a Christmas greeting on the other side. That idea had to be abandoned once I decided to use eyelets, which are only pretty on one side. I've been working on expanding my selection of fall colors from just browns, oranges, and reds, which is why I chose the peachy/coral shade, along with the burgundy. Hope you like it.

It reads, "Give Thanks"
Photobucket

Photobucket

Photobucket

Photobucket

Materials:
- Paper: Papertrey Ink colored cardstock and Recollections kraft cardstock. Each tile is 5.5" tall.
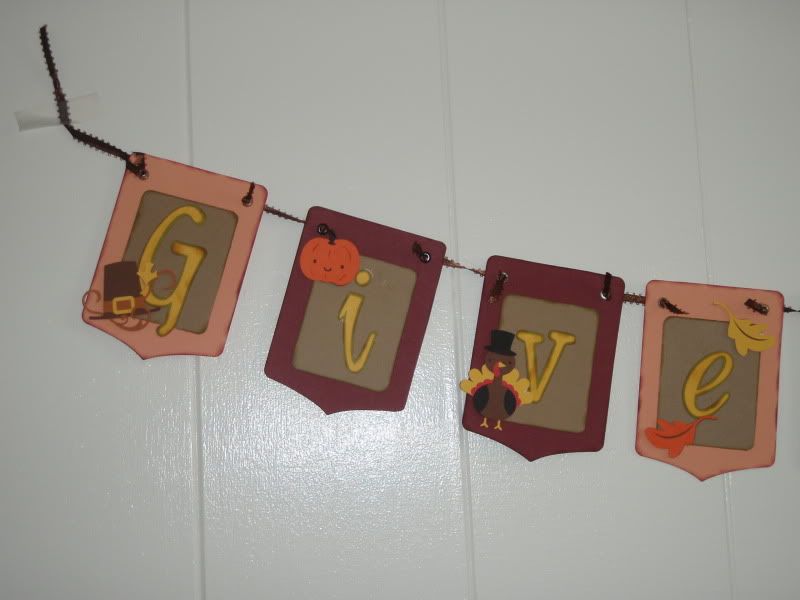
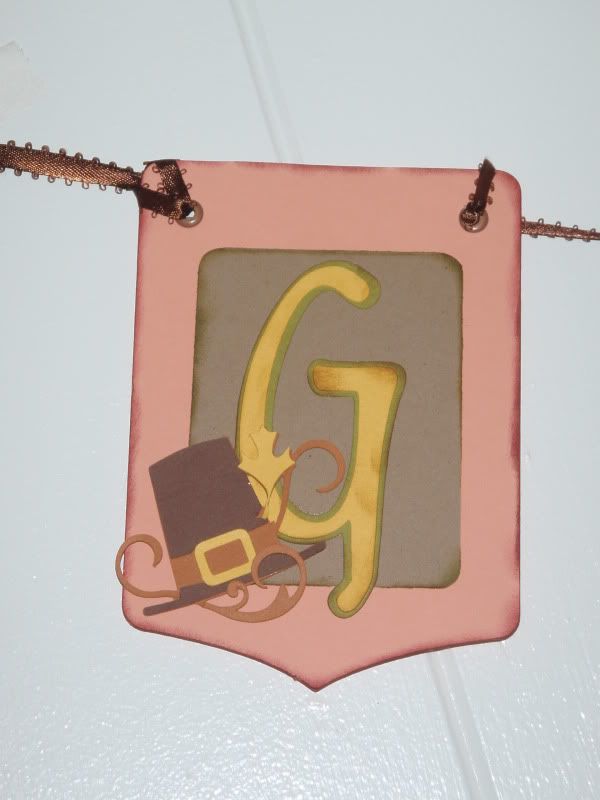
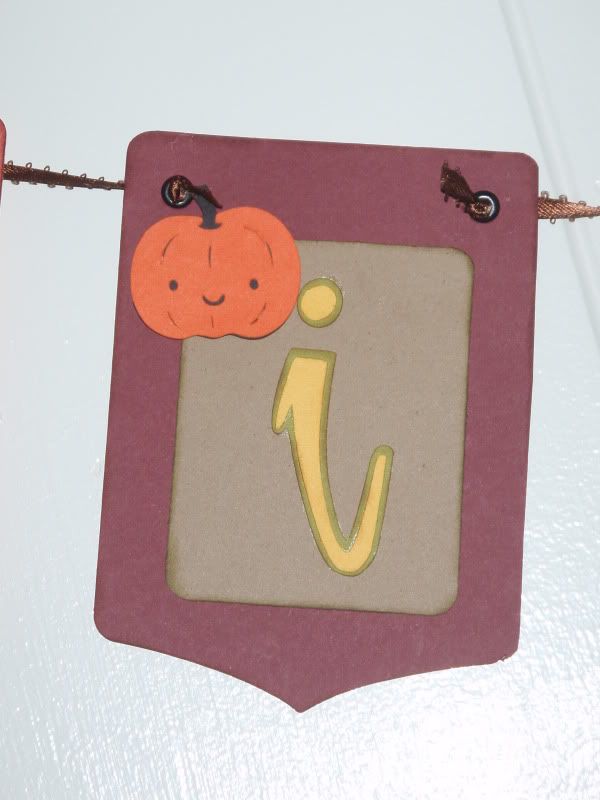
- Cartridge(s): Create a Critter (turkey, pumpkin, maple leaf), Celebrate with Flourish (hat), Paper Doll Dress Up (pilgrims), Doodlecharms (leaves), B is for Boy (banner) - Most are cut at 2-3".
- Embellishments: large eyelets and ribbon - Michaels or Joann's store brand
- Adhesives: Pink ATG gun, Zig two-way glue pen, Xyron
- Special Tools: Corner Chomper, Crop-A-Dile


Here is a close up of each letter:

Photobucket Photobucket Photobucket Photobucket

Photobucket Photobucket Photobucket Photobucket Photobucket Photobucket

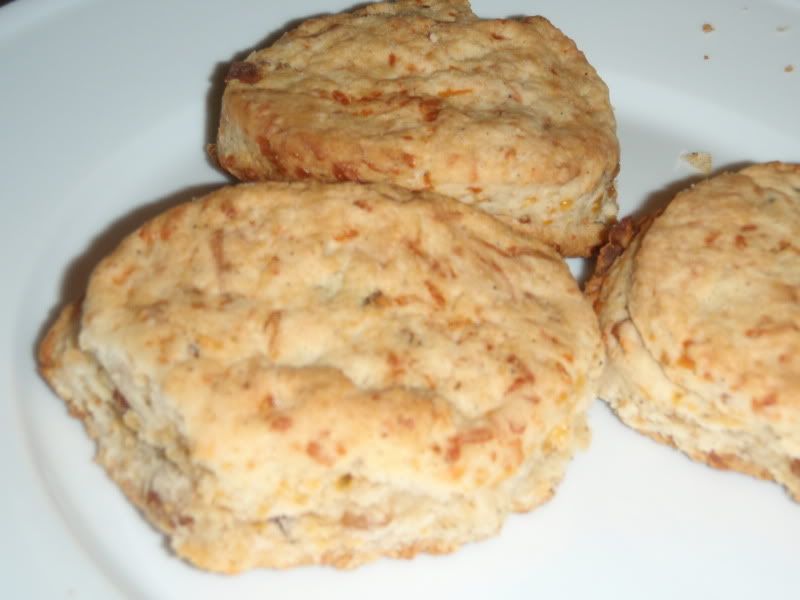
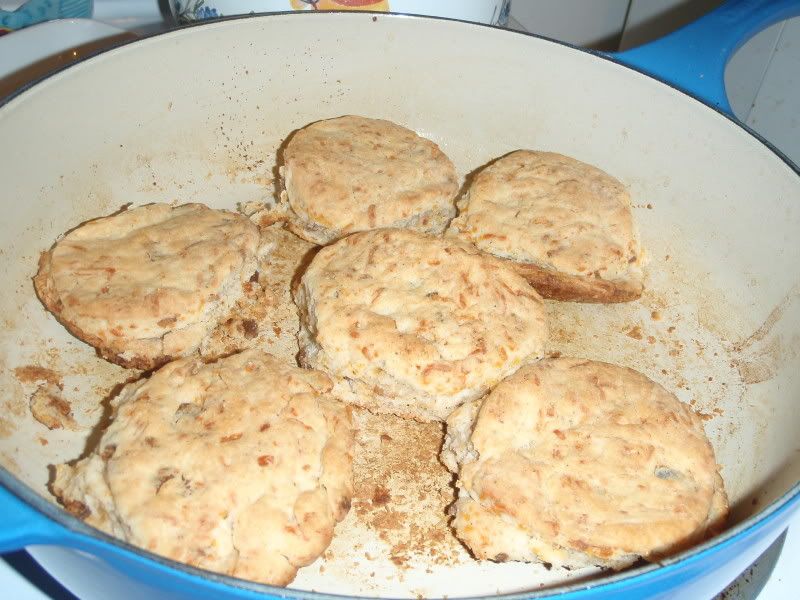
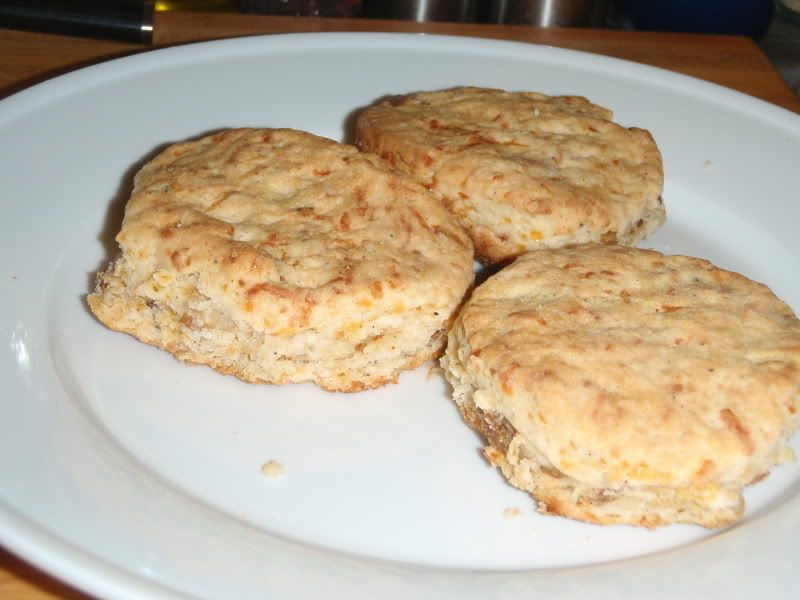
Cheddar Bacon Biscuits

My auntie and I received this recipe in a Thanksgiving handout at a William Sonoma demo on Halloween, although it was not one of the items presented. Thought I'm not overly fascinated with the demos, I found a number of tasty-sounding recipes in this handout, including this one. See the original recipe at the William Sonoma website here. We followed the directions to cook the biscuits in the frying pan in the bacon fat, but I recommend baking on a cookie sheet. Ours were a little flat as you can see in the pictures, which might be solved by a better baking surface.

Photobucket

Ingredients
6 oz. bacon, diced
2 cups all-purpose flour
1 Tbs. baking powder
1 tsp. kosher salt
2 tsp. sugar
3/4 tsp. freshly ground pepper
8 Tbs unsalted butter, cut into 8 pieces, plus 2 Tbs. melted butter
3/4 cup shredded cheddar cheese
1/4 cup grated Parmigiano-Reggiano cheese
3/4 cup plus 2 Tbs. buttermilk

Directions
1. Fry bacon in its own fat until crisp. Chop finely.
2. Whisk flour through pepper together. Cut in butter using a pastry cutter, two knives, or your hands until pea-sized crumbs form.
3. Add in cheeses and milk and knead until dough comes together.
4. On a floured surface, gently turn out dough and roll until 1/2" thick, possibly 3/4" since ours turned out flat. Cut using a 2.5" biscuit cutter.
5. Bake at 425 degrees for 20-25 minutes until golden brown.


Photobucket

Photobucket

Monday, November 22, 2010

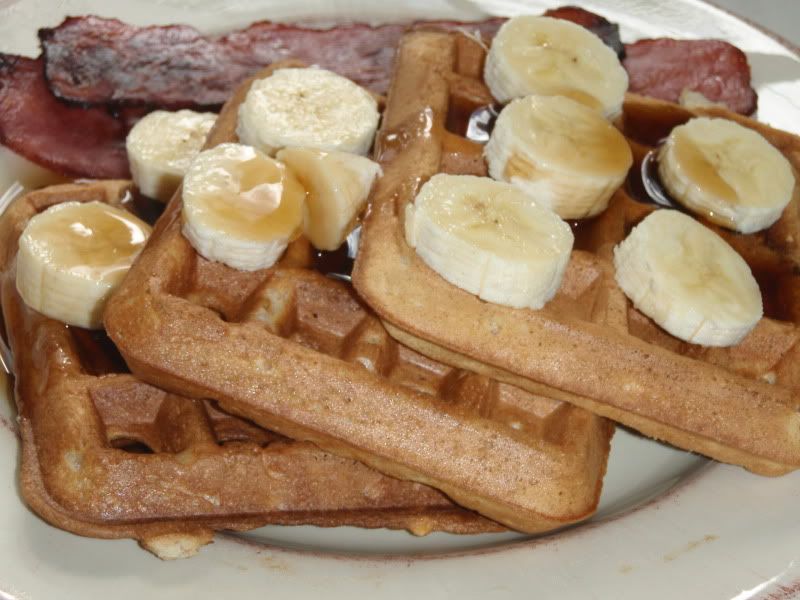
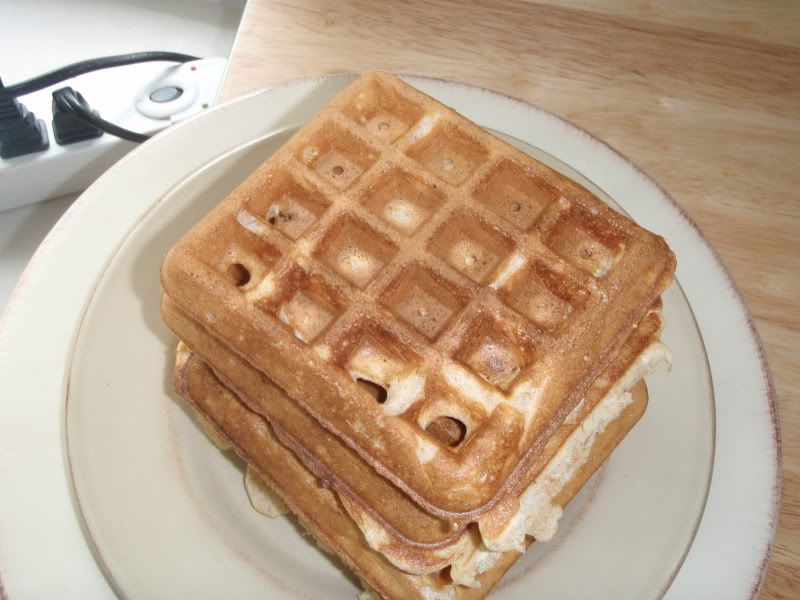
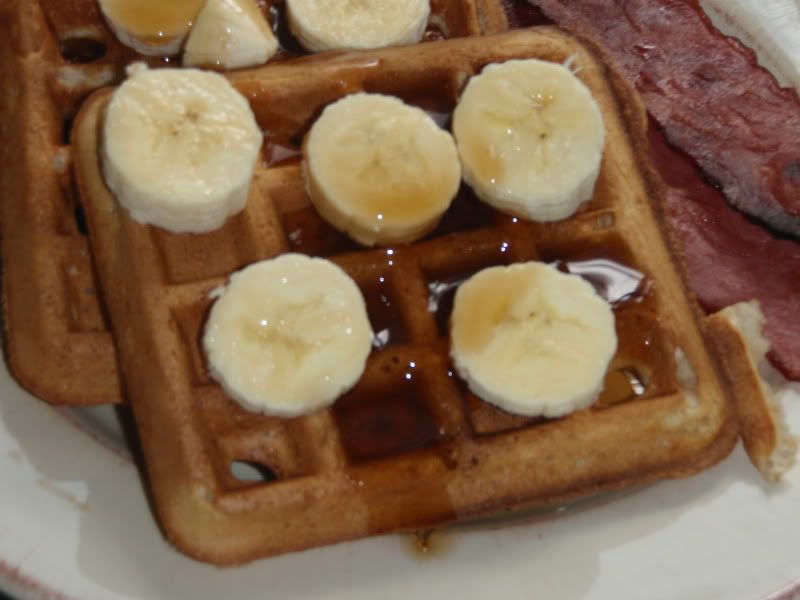
Whole Wheat Belgian Waffles with Oatmeal

I modified this recipe from a year ago to add oatmeal. It is very important to mix the milk in gradually to achieve the consistency desired. The previous recipe called for 2 cups of milk, but I had perfect consistency after 1.5 cups. I used a Belgian waffle maker borrowed from my auntie which makes 2 squares instead of the usual four. Perfect for this small recipe which makes 3-4 big (4-square waffles).

Photobucket

3/4 c whole wheat flour
3/4 c all purpose flour
1/2 c oatmeal
1/4 c sugar
4 tsp baking powder
1.5 c skim milk
1 egg, 2 egg whites
1 tsp vanilla
1/4 c melted butter

Preheat waffle iron according to its directions.

Whisk dry ingredients in a medium mixing. Make a well in the center and add eggs, butter, and vanilla. Mix together slowly adding in just enough milk to get consistency desired.
Pour about 1/4 c of the mixture into the center of each waffle square; spread around. This may vary depending upon the size of your iron.

Cook until golden brown. Serve with fruit, powdered sugar, fruit, and/or syrup.

Makes 3-4 servings

Photobucket

Photobucket

Sunday, November 21, 2010

Thanksgiving treats

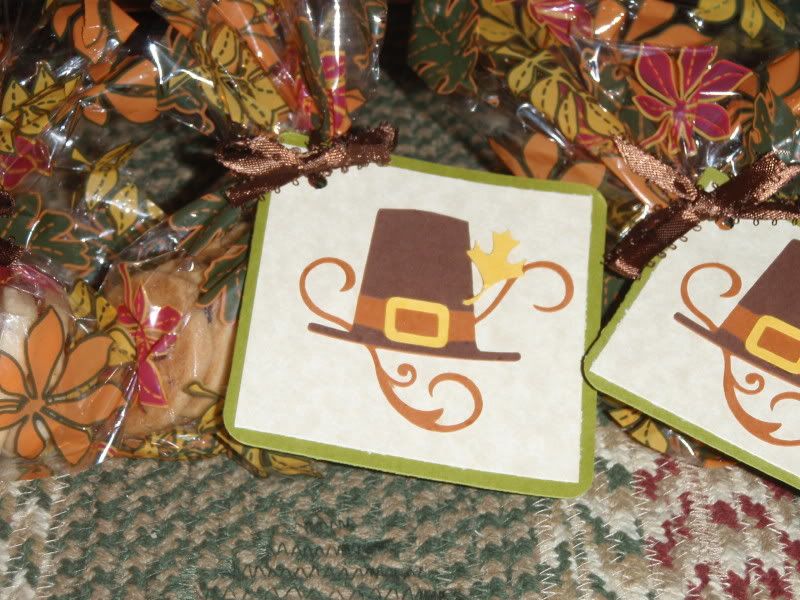
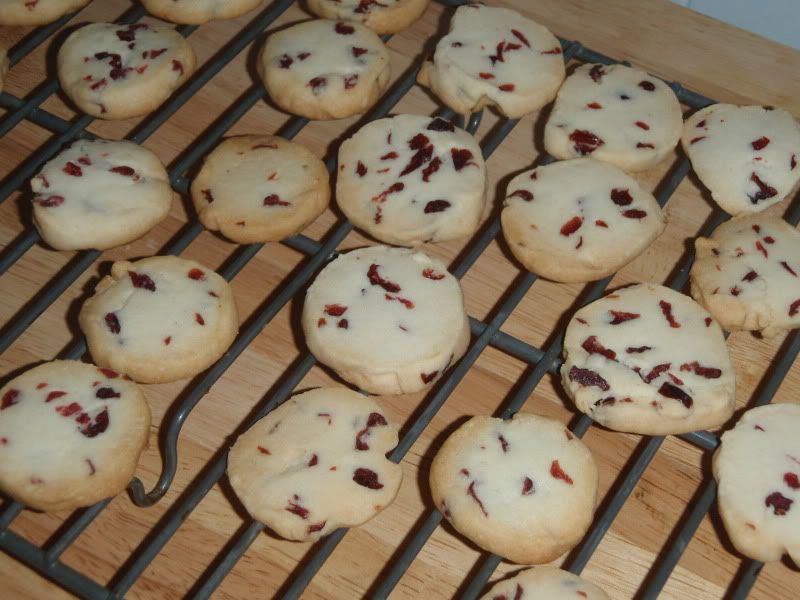
I had another occasion to bake this weekend and decided to send more treats with my auntie's friends at her Sunday cooking class. View the recipe for Cranberry Shortbread Cookies on my other blog. I found the treat bags at my local Party City and trimmed them down to fit the number of cookies to be given to each lady.
Photobucket

This adorable hat is found on the Celebrate with Flourish Cricut Lite cartridge and is cut at 3.25. I matted the image on a 3" square mat and a 3.25" square card base. I then used my corner chomper to round the corners. This tag really dwarfed the bag of cookies, but cutting the image any smaller resulted in tearing for me as I think I need to replace the blade in my Cricut.

Here are all the goodie bags ready to go. I hope her friends like them.

Photobucket

Cranberry Shortbread Cookies

This recipe appeared in a 2010 Martha Stewart holiday cookie magazine entitled "Cranberry Coins." I had a little trouble with the cooking time, so the following reflects what worked for me. Shortbread is often temperamental, but the buttery result is well worth it. In the future, I may try this recipe with dried cherries and possibly add nuts. If you hop on over to my crafts blog, you'll see how I packaged them for distribution.

Photobucket
Printable Version

Ingredients

1 c butter, softened
3/4 c confectioners' sugar
1 tsp vanilla
2 c all purpose flour
1/2 tsp salt
1/2 c chopped cranberries

Directions

1. Using a mixer, cream together sugar, butter, and vanilla until smooth. Stir in flour and salt. Work in cranberries until evenly distributed.

2. Divide into 4 portions and roll into logs (1.5" diameter) and wrap in parchment paper. Chill for 30 minutes. The recipe provides that you can chill up to a day or freeze for up to a month, but dough that is too firm is as difficult to work with as dough that is not firm enough. Prepare to make adjustments if you leave dough in the fridge for more than 45 minutes.

3. Preheat oven to 325 degrees.

4. Using a sharp knife, cut into 1/4" discs. Bake on parchment paper for 15 minutes, then rotate and bake for 10 more minutes until edges turn golden brown. Depending upon your oven, it may be necessary to begin with 20 minutes of total cooking time.

5. Allow to cool completely on wire racks.

Makes 4-5 dozen cookies

Saturday, November 20, 2010

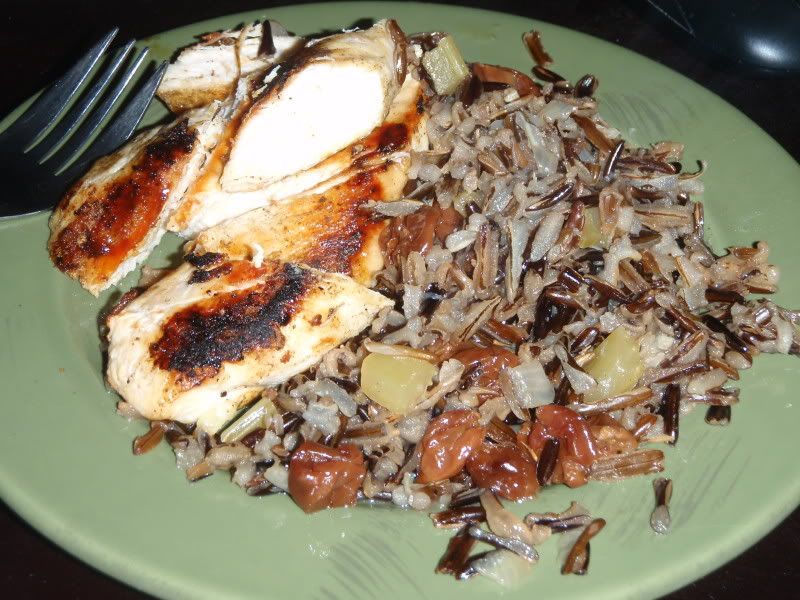
Wild Rice with Dried Cherries

I made this back in October during the move as I was trying to clean out the pantry. I accompanied the rice with a simple pan-seared chicken breast that I seasoned with salt and pepper. Sometimes wild rice recipes are called "wild rice stuffing" or something like that but I'm not sure you could "stuff" this in anything without having it turn to mush, so I think of it as simply a jazzed up wild rice.

Photobucket

(2-1 ratio broth to rice, erring on the side of a bit more broth)
3 c chicken broth
1.25-1.5 c uncooked wild rice
1 medium onion (about 1 c), diced
3 medium celery stalks, diced
2 cloves garlic, minced
1 c dried cherries
olive oil, salt and pepper

1. Saute onions and celery in olive oil until tender. Season with a sprinkle of salt and pepper. Add garlic and cook for 1-2 minutes.

2. Add wild rice and mix together. Wait another minute before stirring in broth. I think this brings out a nutty flavor in the rice.

3. Bring to a boil over medium high heat. Cover and reduce to low. Simmer for 30 minutes.

4. Add dried cherries and continue cooking covered on low until all liquid is absorbed and rice is still fluffy. This may result in total cooking time being 45 min to an hour. If you over cook, then the result is mush, which might not be unpleasant tasting, but will lack nice consistency.

5. Adjust seasoning, as desired

Serves 4-6

Thursday, November 18, 2010

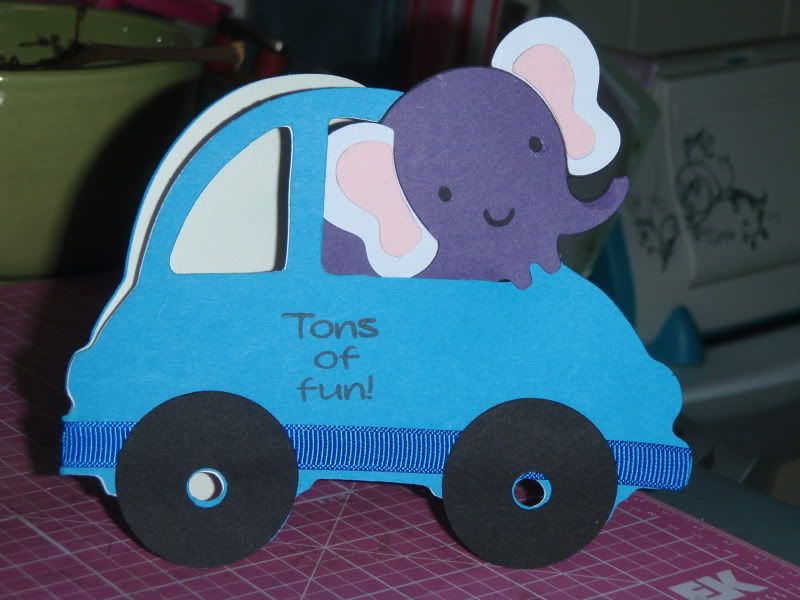
Tons of Fun Car Card

A neighbor of my auntie helped me purchase my new (used) car. I wanted to give him a quick thank you as he saved me tons of time. Plus, the car's nice too. Here's what I came up with.

Photobucket

I used a sentiment from My Pink Stamper's More Punnylicious stamp set, Everyday Paper Dolls (car), and Create a Critter (elephant). My Gypsy welded two cars together to form the card base and I used my Xyron to neatly adhere a white lining. I'll get back in the swing of printing the specific card recipe sometime soon, but for now I just wanted to quickly show what I'd made. Thanks for visiting!

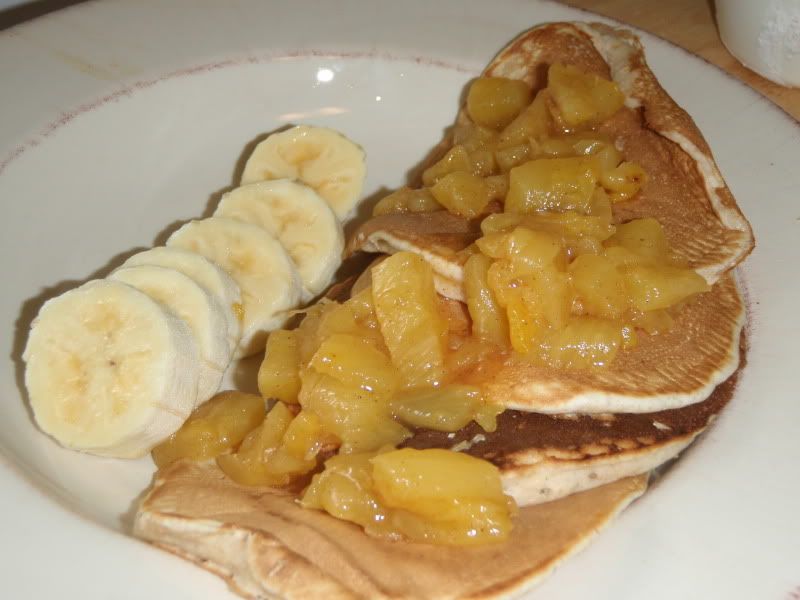
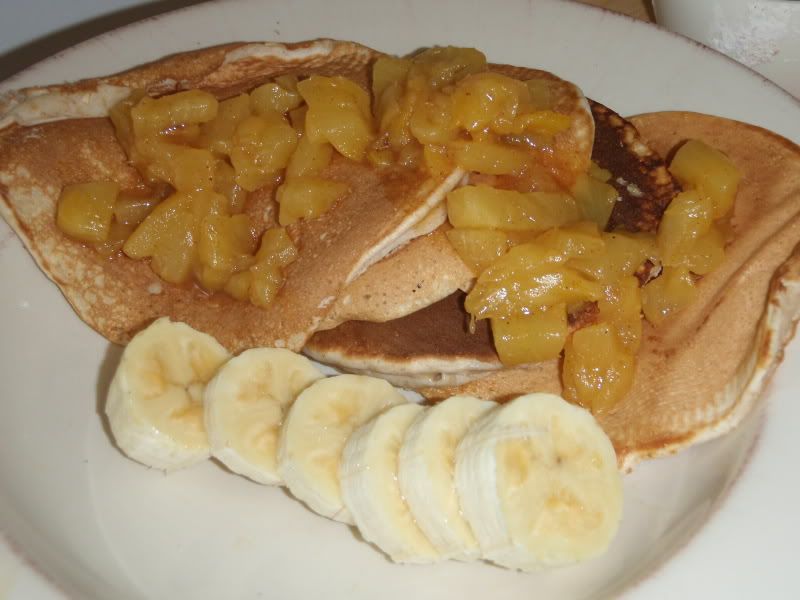
Pancakes with Pineapple Sauce

Last week I wanted to make pancakes. Discovering that we did not have syrup, I concocted a simple pineapple sauce. I used a Martha Stewart pancakes recipe found here subbing a 1/2 c of whole wheat flour for some of the all-purpose.

Photobucket

Ingredients

1 c diced pineapples
1/2 - 3/4 c orange juice
1/2 tsp cinnamon or a cinnamon stick
sprinkle of salt and suggar if desired.

Directions

In a small saucepan over medium heat, cook pineapples until softened, about 15 minutes, stirring occasionally to prevent burning. Sprinkle with salt, if desired. Add orange juice and cinnamon. Cook on med low until sauce-like consistency is achieved. Depending upon how ripe your pineapple is, this may take some time. Adjust seasoning, adding sugar if necessary.

Makes 1 c sauce

Photobucket

My husband, as set to eat.
Photobucket

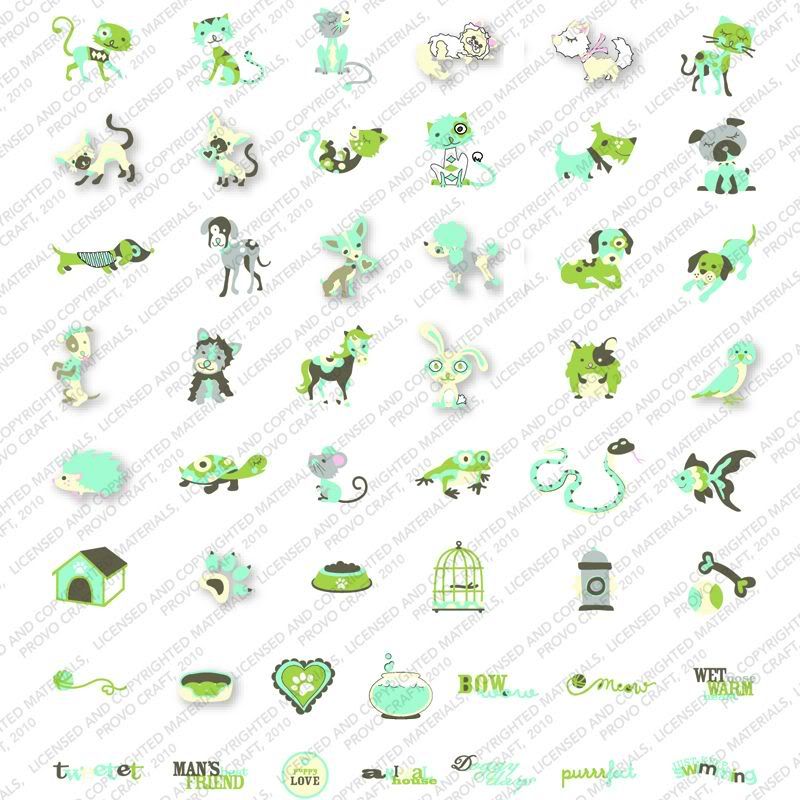
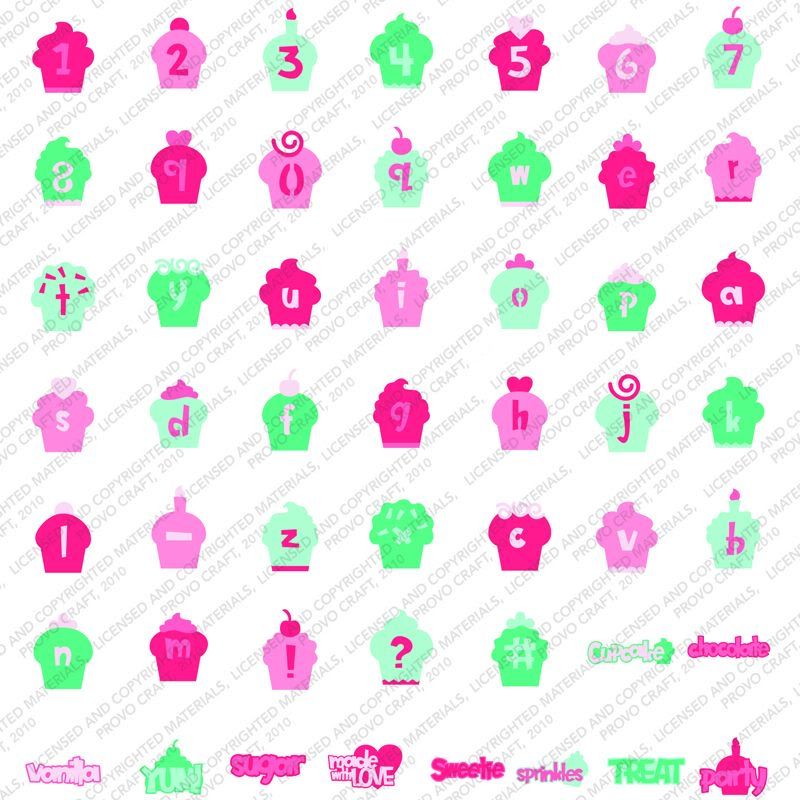
New Cricut Lite Cartridges!

I really hope Walmarts in Hawaii have the new releases on Black Friday. There are seven new Cricut Lite Cartridges. See them all here.

These are the three that make my wish list.

Jolly Holidays
Photobucket


Four Legged Friends
Photobucket

Cupcake (font cartridge)
Photobucket

Tuesday, November 16, 2010

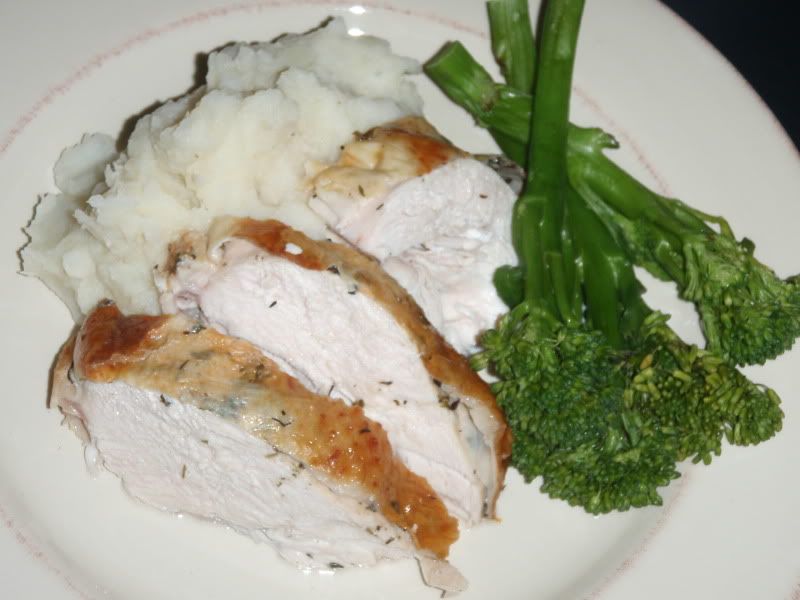
Early Thanksgiving Dinner

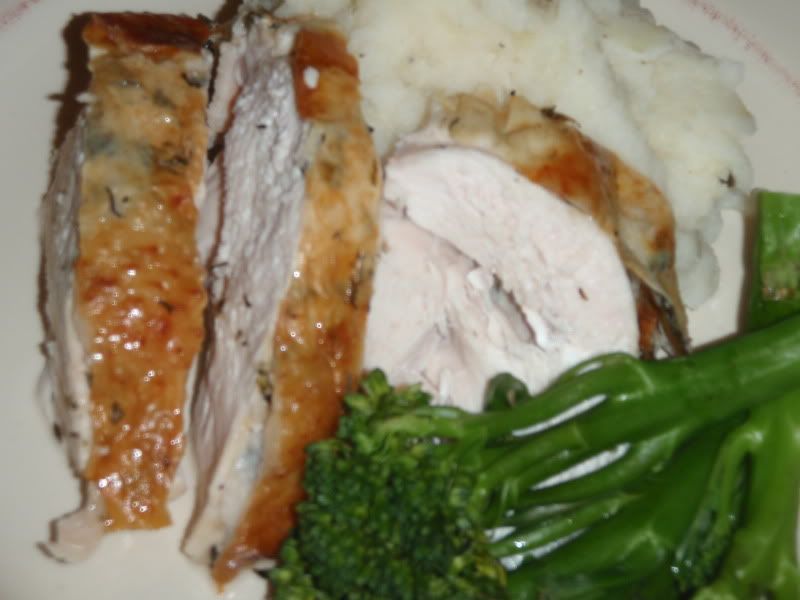
I was in the mood for Thanksgiving food, so I bought "turkey breast" pieces from the market. It wasn't as sketchy as it sounds, but unfortunately turned out to be only a half breast. None the matter, I did my butter herb rub and baked it for about an hour. I paired it with garlic mashed potatoes and some broccolini for a very Thanksgivingy meal.

Photobucket

Ingredients

turkey breast
2-4 tbs softened butter
2 tbs minced fresh herbs (tsp if using dried) - I used sage and thyme
salt and pepper

2 lbs potatoes, diced and boiled until tender
4 tbs butter
1 head garlic, roasted skin-on, wrapped in foil with turkey until soft and spreadable
1/2 c milk, half&half or cream
salt and pepper to taste

Directions

1. Combine herbs, about 1/2-1 tsp salt and pepper, and softened butter into a paste. Work mixture under the skin of the turkey breast, then rub liberally all over the bird. Salt and pepper cavity, if desired.

2. Bake uncovered until internal temp reaches 165 degrees, about an hour. Tent with foil if skin begins to over-brown. Alternatively, cook covered for 45 minutes, then remove cover and brown for last 15 minutes. (I'm working with my new (old) oven and am still learning how evenly or not-evenly it heats).

3. Allow turkey to rest out of the oven for about 10 minutes before carving.

4. Drain potatoes and sprinkle with salt and pepper. Expel garlic from skins. Dot with butter.

5. Using potato masher, combine mixture together with a little milk at a time until desired consistency is achieved. Adjust seasoning to taste.

Serves 2-4

Photobucket

Monday, November 15, 2010

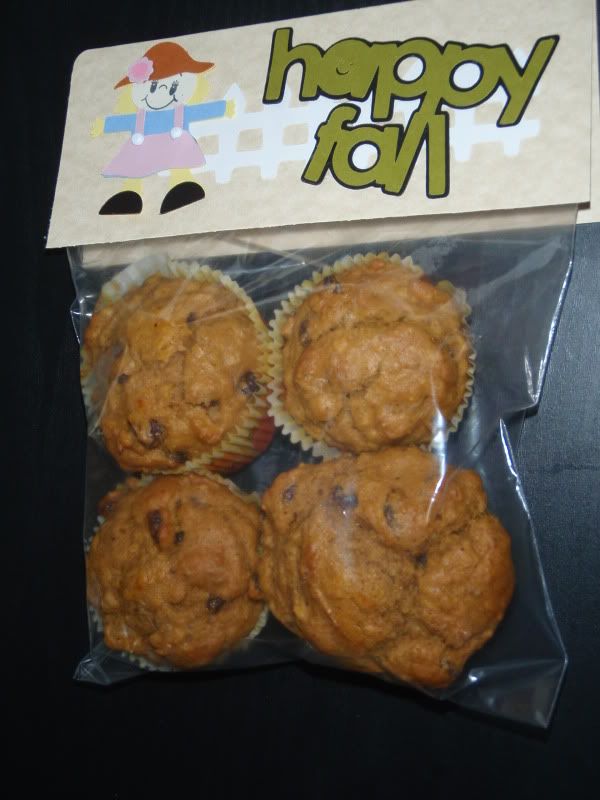
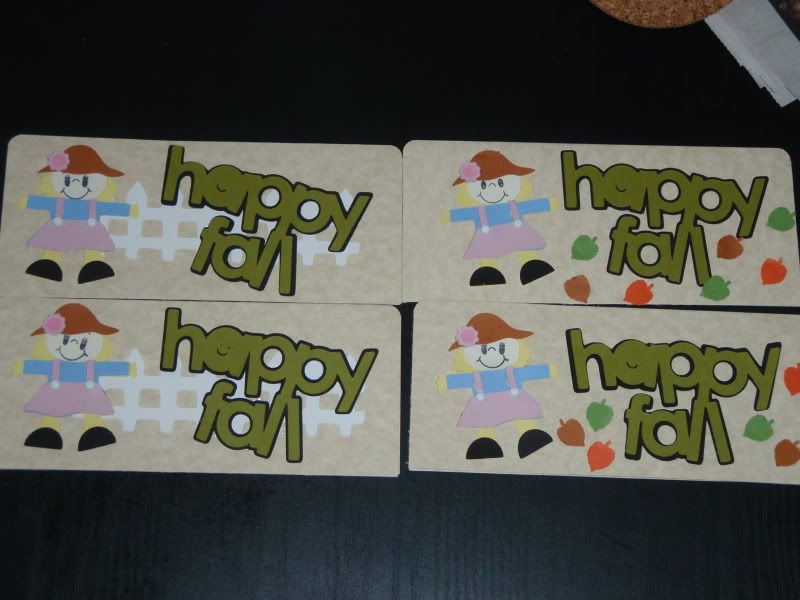
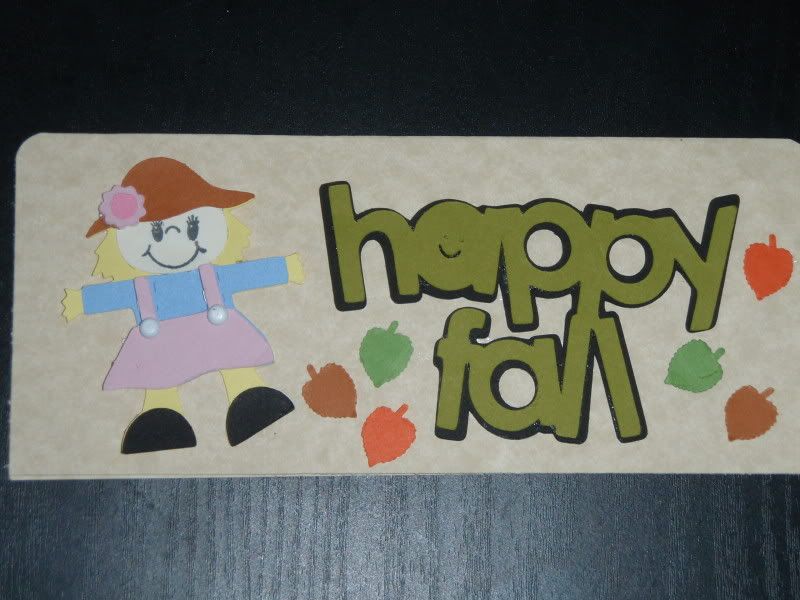
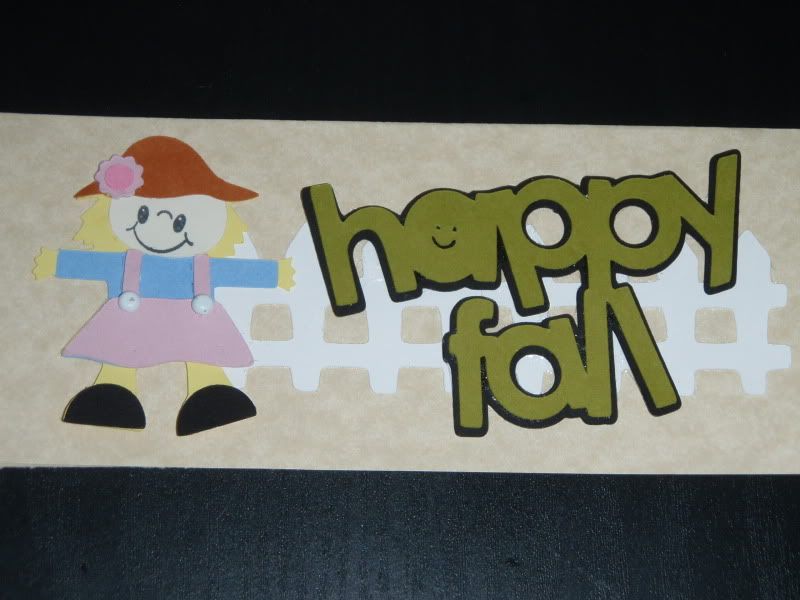
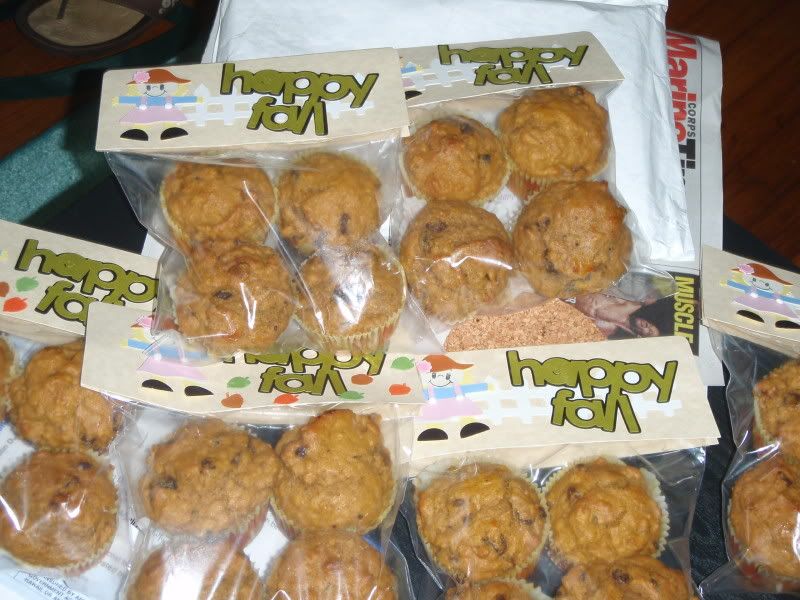
Happy Fall Kid Muffin Bags

Sorry for the long delay in blogging. The move was finally completed last week. However, this is the first bit of crafting I've done since unpacking my craft room a couple days ago. Despite having a craft "room," I share it with my husband's gear and lack my big desk and shelving from Chicago. Still, even though it's cozy, I think it will work nicely. These treat bags were made for my auntie's friends at her Sunday cooking class. The recipe and more pictures of the muffins can be found on my kitchen blog here.

Photobucket

Photobucket

Photobucket

Photobucket

Photobucket

I used the Simply Charmed and Paper Doll Dress Up cartridges for the die cuts, as well as my Corner Chomper. Adhesive included my pink ATG, score tape, Zig two-way glue pen, and Xyron.