While I was in Hawaii last month, my office threw me a surprised baby shower. Although the whole affair was fun and so incredibly thoughtful of them, the absolutely highlight for me was the dessert my former secretary made--a baked meringue covered in berries. First, a little background on Jane--she's a plucky Brit who's been living in the states for a couple decades and in Hawaii for I believe the last 7-10 years. She's now probably in her 50s, though it's rather difficult to tell because acts like a crazy school girl (and I do mean crazy) 90% of the time. However, she has a big heart and I love her. Among her many talents is baking, mostly recipes from home using time-tested recipes. For dessert, she made this gorgeous baked meringue loaded with berries. Though I typically stay far clear of meringues because I associate them as being flavorless things with a strange texture, knowing her talent, I tried her dessert. It was one big fruit-laden marshmallow! With just the crust of the typical meringue, the inside was delightfully soft and chewy. Although she refused to share the recipe, she did confirm her "secret" ingredient (vinegar) which appears in
this recipe from Joy of Baking.
I had to attempt my own version.
It was hit! Not to mention, it was incredibly easy with a stand mixer. I didn't even have to use cream of tartar to whip my egg whites into peaks in minutes. The vinegar keep them chewy on the inside, just as promised. I will say that fruit which is a bit on the tart side (fortunately what we had) is required as the recipe as written makes a very sweet marshmallow. I will likely play around with this recipe in the future to make the it less sweet so I can nibble on the marshmallow by itself :) Although there's a full cup of sugar in this recipe, I think it falls on the non-lethal side as it's made with all egg whites and no fat, unless you add whipped cream, of course.
Without further ado:
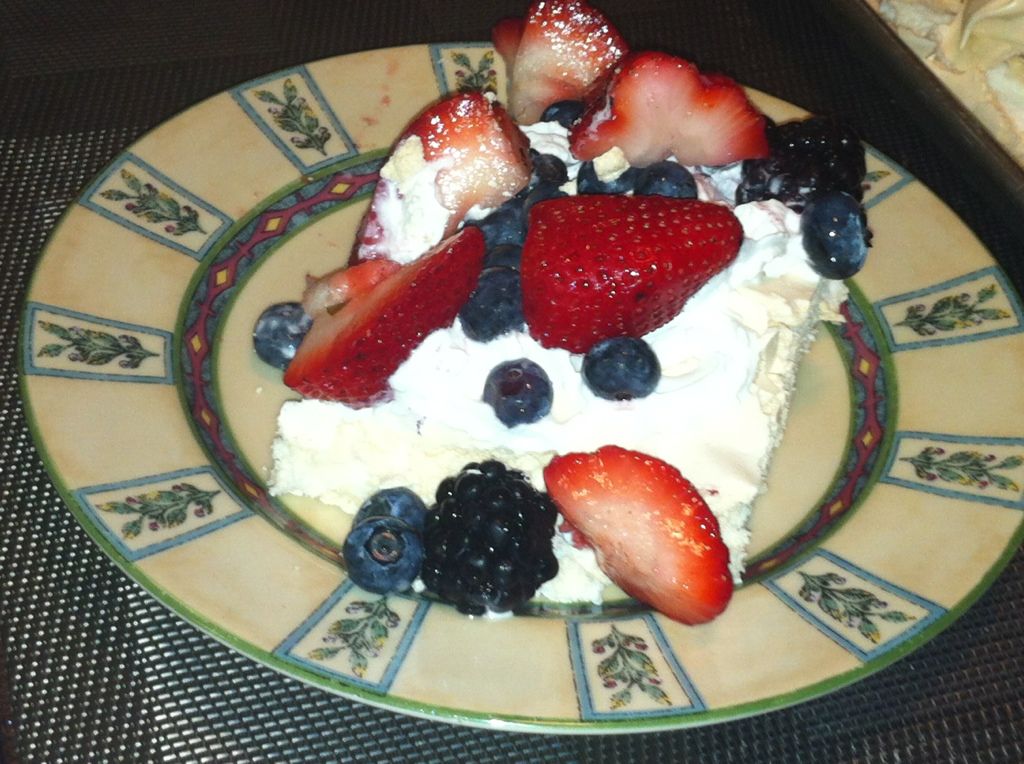 My apologies for the terrible picture of the final product. Since we were taking it to a dinner party, I didn't want to dress it with the berries until we were ready to eat and the lighting was terrible.
Pavlova
My apologies for the terrible picture of the final product. Since we were taking it to a dinner party, I didn't want to dress it with the berries until we were ready to eat and the lighting was terrible.
Pavlova
4 large egg whites
1 cup superfine (castor) sugar*
1/2 teaspoon pure vanilla extract
1 teaspoon white vinegar
1/2 tablespoon cornstarch
3 cups fresh fruit (e.g. strawberries, blackberries, blueberries)
*To make superfine sugar, I pulsed granulated sugar in my food processor.
Preheat oven to 250 degrees. Line a baking sheet with parchment paper.
In the bowl of your electric mixer, with the whisk attachment, beat the egg whites on medium speed until soft peaks form.
Add sugar, a tablespoon at a time, and continue to beat, on high speed, until stiff and shiny peaks form. (Test to see if the sugar is fully dissolved by rubbing a little of the meringue between your thumb and index finger. If it feels gritty the sugar has not fully dissolved so keep beating until it feels smooth between your fingers).
Beat in the vanilla extract. Sprinkle the vinegar and cornstarch over the top of the meringue and gently fold in.
Pour meringue onto parchment paper, smoothing the edges, making sure the edges of the meringue are slightly higher than the center. (You want a slight well in the center of the meringue to place the fruit--something I did not do very well.)
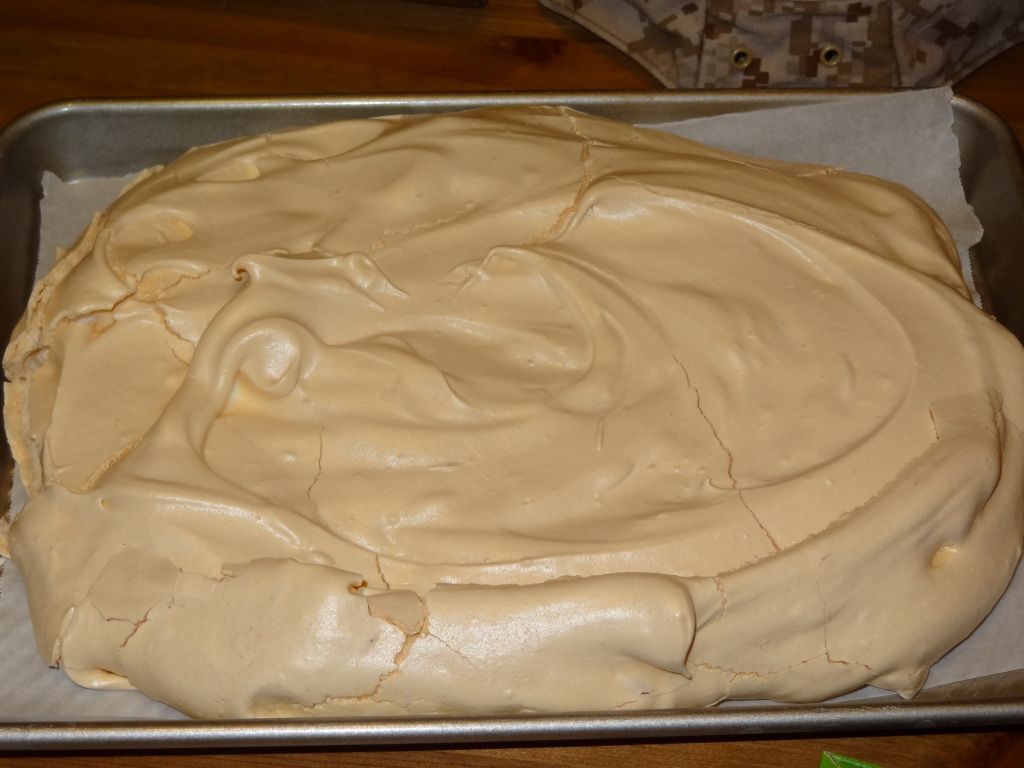
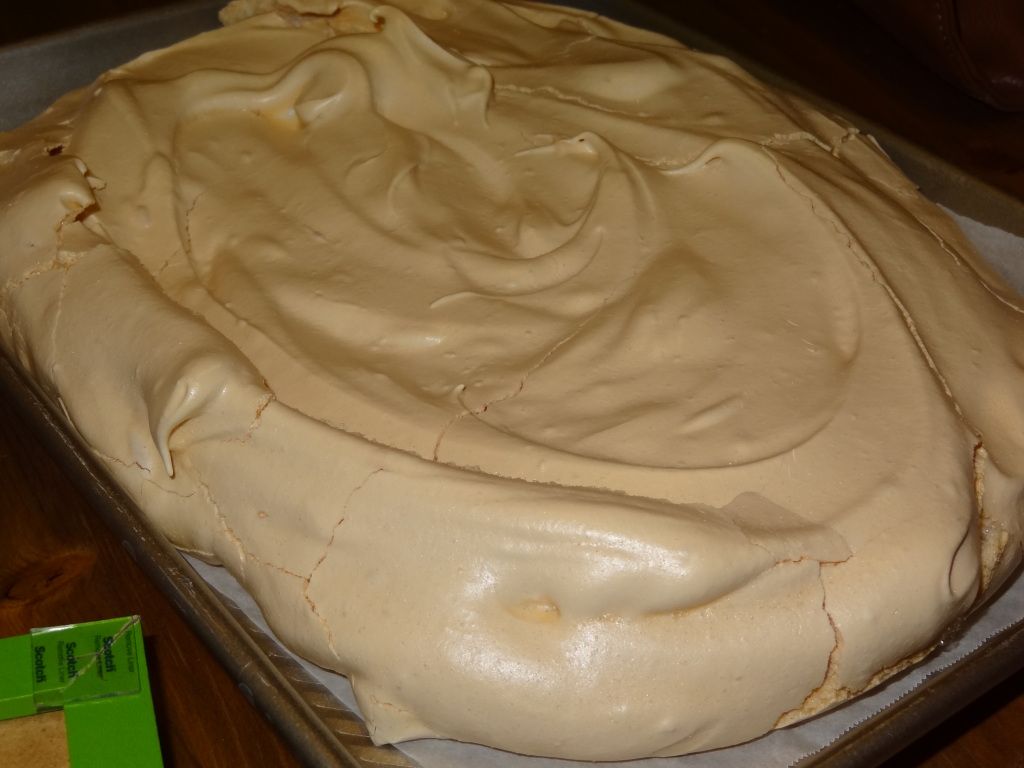
Bake for 60 to 75 minutes or until the outside is dry and is a very pale cream color. Turn the oven off, leave the door slightly ajar, and let the meringue cool completely in the oven. (The outside of the meringue will feel firm to the touch like a traditional meringue, but the inside will be marshmallowy.)
 >
>
When ready to serve, top with fresh fruit (and whipped cream, if desired).
The cooled meringue can be made and stored in a cool dry place, in an airtight container, for a few days if it lasts that long.


 >
>