Wednesday, January 29, 2014

Kitchen Stand Mixer Cozy

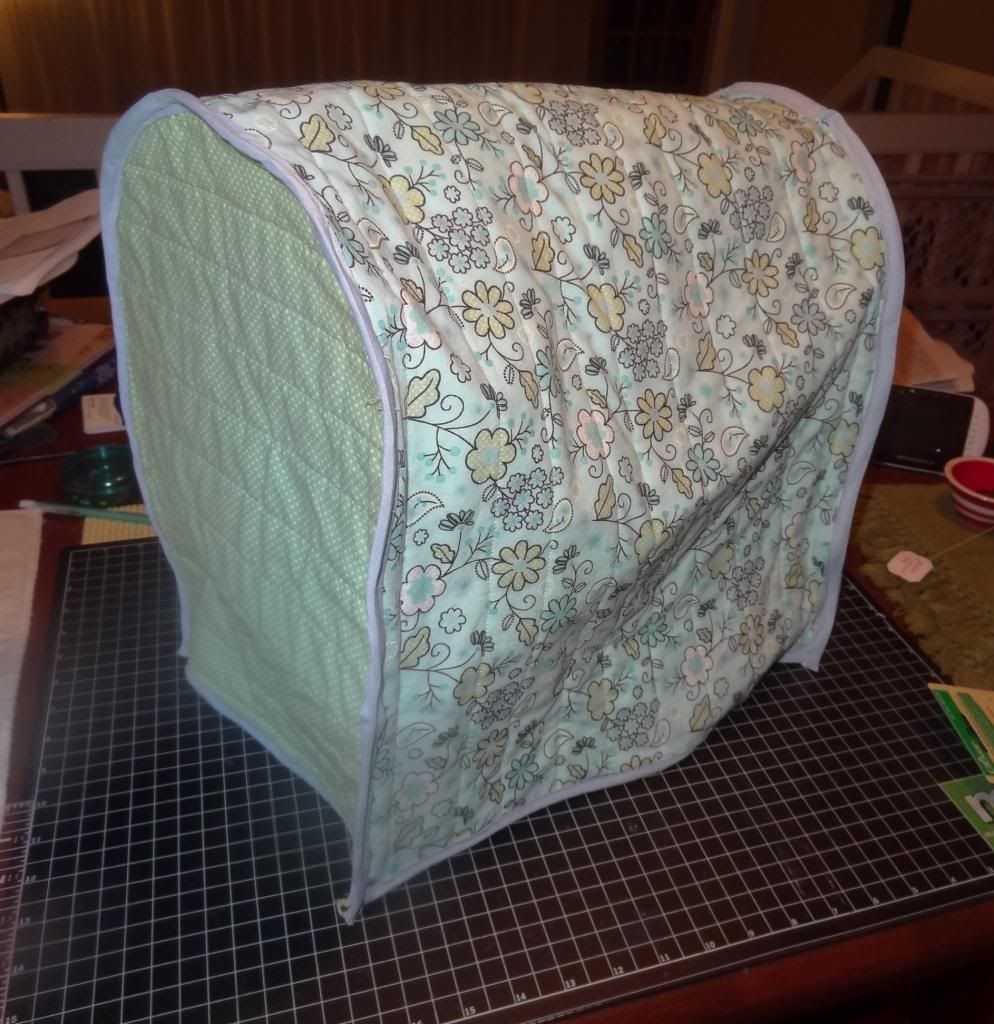
 photo DSC02470.jpg

I prefer my appliances to be covered. There's nothing I hate more than discovering a fine, grimey film of dust on one my beautiful kitchen appliances when I want to use it. Most of my appliances currently have crochet covers made with cotton yarn. They're mostly cream with a few blocks of pink and brown. They work, but have zero structure and dull as can be. My current crafty personality is all about color and patterns so I couldn't wait to make a new cover.

Enter my new hobby: sewing! Okay, it's a not a new hobby. I've been fiddling on and off with a sewing machine since I was a kid, but with the birth of my son I've really gotten back into it. It might have something to do with the time investment for the return product--much less time is required than for crocheting and I can make large statement pieces unlike with paper-crafting. Over the past year I've made a set of soft blocks, a tag-style lovey, a sleeping bag, and a nap mat for my son, plus numerous throw pillow covers for around the house. Those projects mostly involved cutting squares or rectangles and didn't involve a pattern or much more than straight lines. With this project, not only did I venture into the world of curves but I also did a bit of quilting!

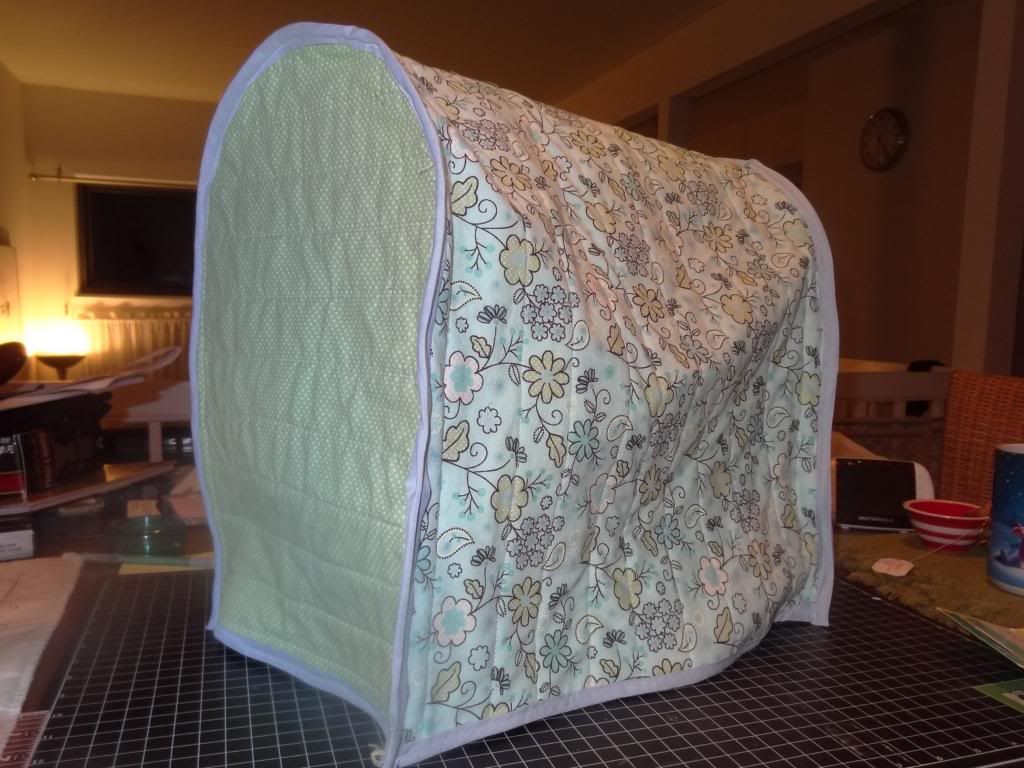
I followed this mini tutorial from a blog called Heart of Mary. She includes a simple pattern for the curved part, as well as detailed directions. For the most part, I'm very pleased with my result although the bias tape along the top edges was a huge pain as two quilted layers plus the bias tape was a bit much for my novice skills. From a distance it looks great, plus it's also reversible so if I truly hate the imperfections, I can always flip it. Since I plan on covering all my appliances and have a hoard of new fabric from a recent Joann shopping spree, no doubt my skills will improve.

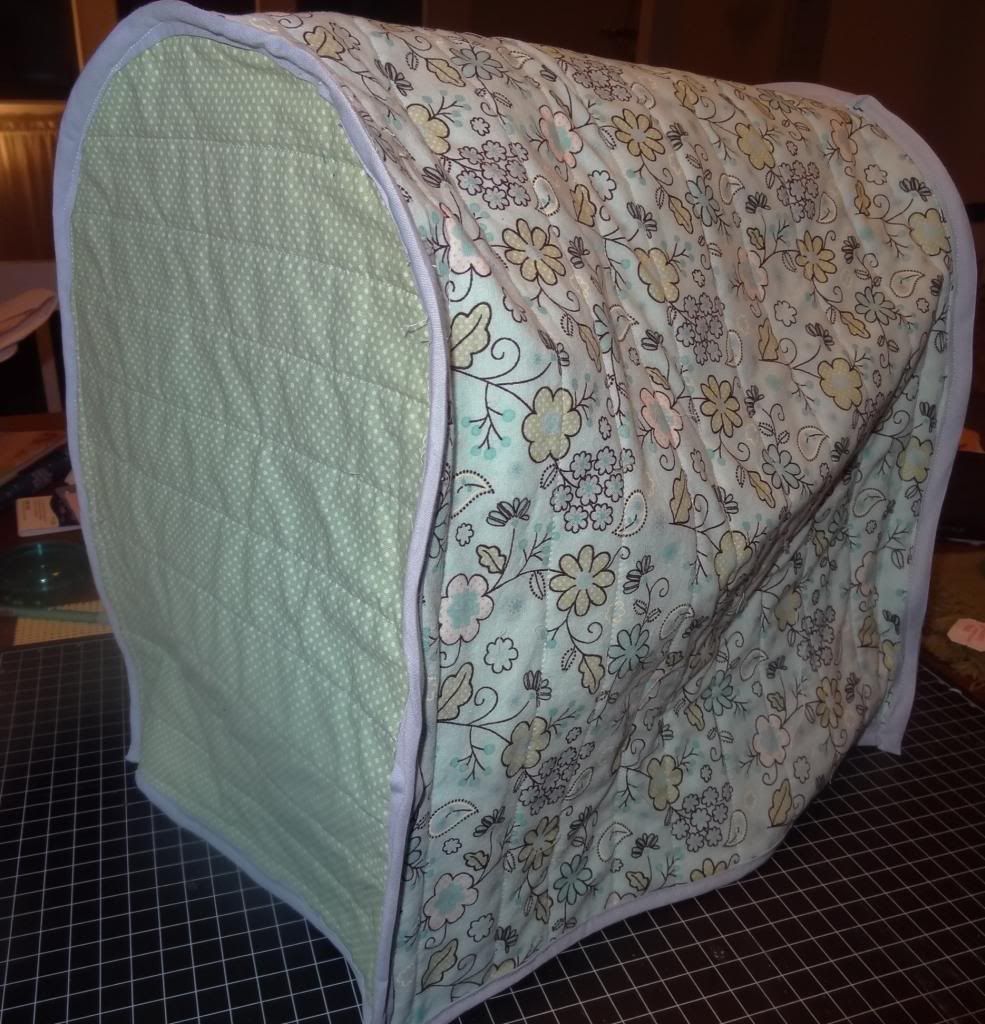
Here are a few more shots of the finished cosy. My apologies for the messy work space in the background and poor lighting but I was anxious to get this posted and the new cover on my machine.

 photo DSC02471.jpg

 photo DSC02472.jpg

Next up will be my spring pillow covers, though I might get around to sharing the winter ones before I take them down. I also have holiday fabric ear-marked for the kitchen since I actually hoped to make this project in December but time got away from me. There's a possibility I'll make a holiday one before I work on covering the rest of the appliances. We'll see.

Have a great rest of the week!

Friday, January 17, 2014

Chocolate Hazelnut Cream Puffs

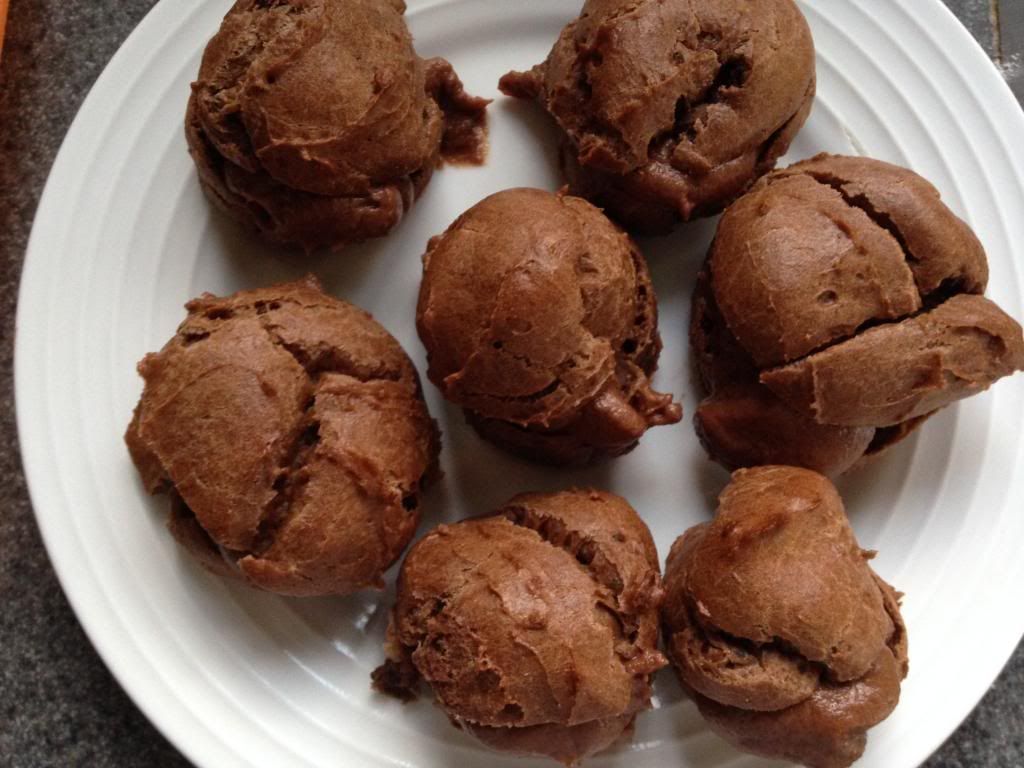
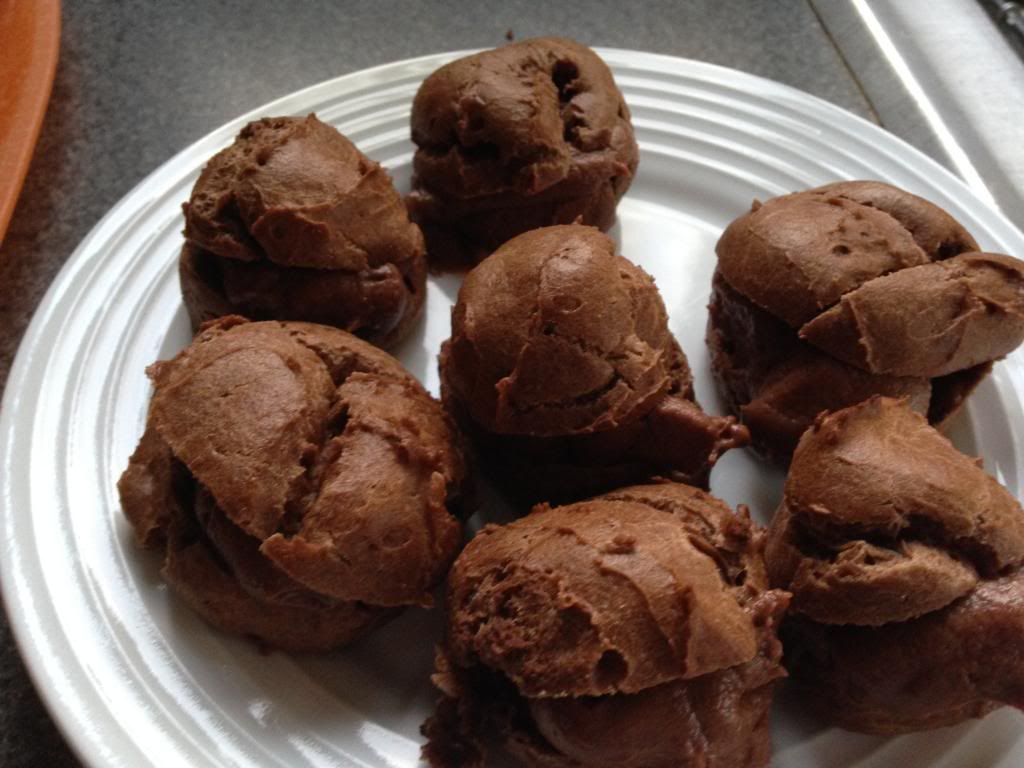
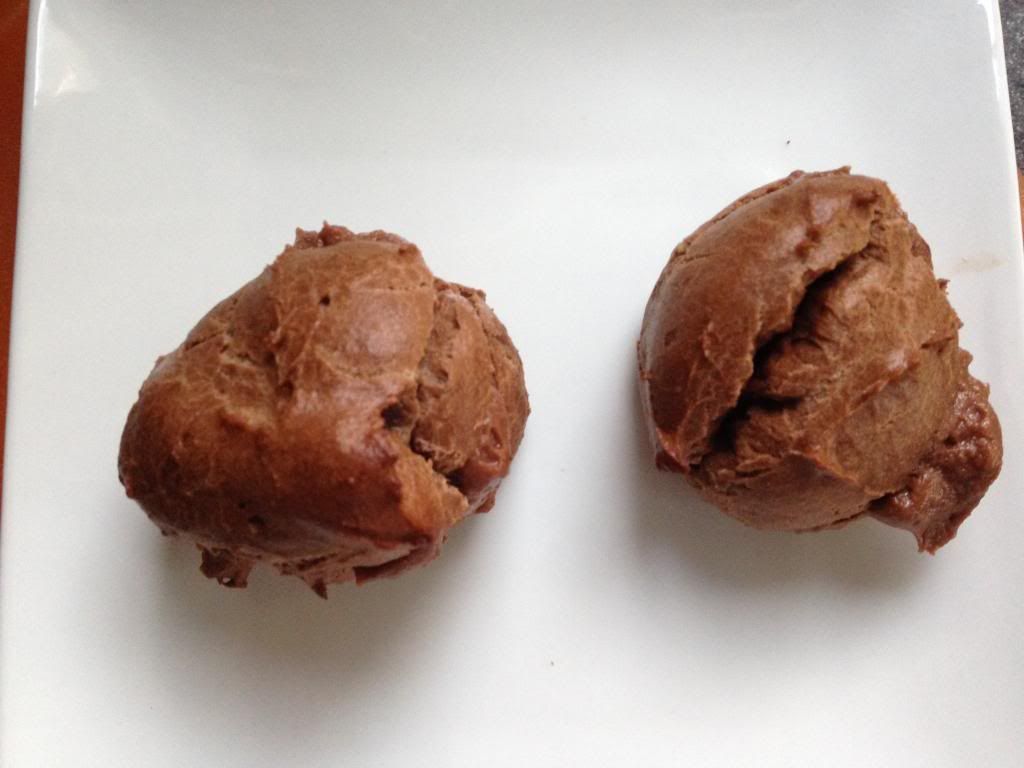
Happy Friday! How about a super easy dessert? These cream puffs are deceptively easy and so delicious. This recipe comes from the blog One Perfect Bite. I followed the recipe pretty much to the letter, except for the omission of chopped nuts. I made both mini puffs, as the recipe suggests, and 6 bigger ones, but will stick to minis in the future. Much more satisfying to polish off 2-3 at a time then be restricted to just one :) Plus, the big ones took longer to bake and it wasn't as easy to tell when they were done. Though none were left to freeze, I've been freezing bakery ones for some time so I feel pretty confident that these would freeze--either with or without the filling. Enjoy!

 photo chocolatecreampuffs1.jpg

Chocolate Hazelnut Cream Puffs

Filling
6 ounces mascarpone cheese
2 tablespoons sugar
2/3 cup chocolate hazelnut spread (e.g. Nutella--I used Wegman's storebrand)
1/4 cup heavy whipping cream
1/2 cup chopped hazelnuts or pecans, toasted (I omitted)

Pastry
1 cup all-purpose flour
3 tablespoons baking cocoa
2 tablespoons sugar
1 cup water
1/2 cup butter
1/4 teaspoon salt
4 eggs

To Prepare Filling
Beat mascarpone cheese with sugar until smooth. Gradually add heavy cream and hazelnut spread and beat into smooth. Stir in nuts, if using. Cover and refrigerate until puffs have cooled.

To Prepare Puffs
Preheat oven to 400 degrees. Line baking sheets with parchment paper.

Whisk together flour, cocoa and sugar in a small bowl and set aside. In a medium saucepan bring water, butter and salt to a boil. Stir in flour mixture and stir until a smooth ball forms. Remove from heat and let stand for 5 minutes. Add eggs, one at a time, beating well after each addition.

Drop dough by rounded tablespoons 2" apart. Bake for 20-25 minutes or until puffs are set and slightly browned. Remove to wire racks and cool completely.

Slice each puff in half or about 3/4ths of the way. Use a piping bag and to fill with filling. (Alternatively, you can scoop out some of the dough before they cool, but the dough is light and airy so there was plenty of room to fill.)

Refrigerate or freeze any leftovers.

Makes about 2 dozen mini cream puffs

 photo chocolatecreampuffs2.jpg

 photo chocolatecreampuffs3.jpg

Thursday, January 16, 2014

2014 Crochet Progress

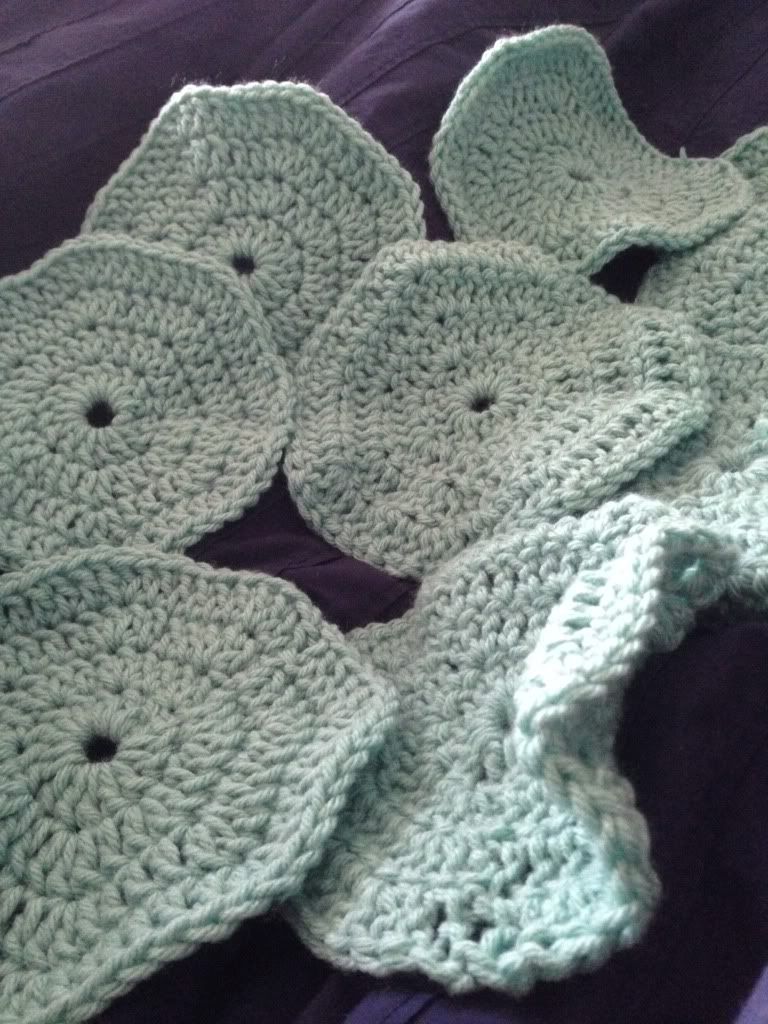
Inspired by the 2014 Crochet Mood Blanket group on Facebook and Instagram, I decided to start working on a blanket that I could make in a piecemeal fashion. Initially, I planned it out so I would finish this in a year, doing about 3 squares per week, but then I realized that I was in a crochet mood. Also, what was the likelihood of me sticking to one craft all year long, despite my best intentions? Not very high. And I'm okay with that, so long as I'm crafting something. Anyway, I selected the Patchwork Motif Afghan which is a free pattern from Lionbrand.

I haven't done too many hexagonal patterns before, so I thought it would be something new. Today's January 16th and I've finished 10 squares. I'm a little behind if my goal is one square a day, but actually I'm doing a couple at a time, whenever the mood strikes me. Hey, I guess in that way it's a "mood" blanket, right? Here's my progress to date:

 photo BF2939D4-1A81-4918-B11E-870C779EE2E6-1278-00000263F0819876_zps1b3c9459.jpg

I'm working with a single color now. I might regret that when it comes time to put the blanket together, but for now it's easier to keep a single skein of yarn out at a time.

Stay tuned...

Saturday, January 11, 2014

Another wet and dreary day

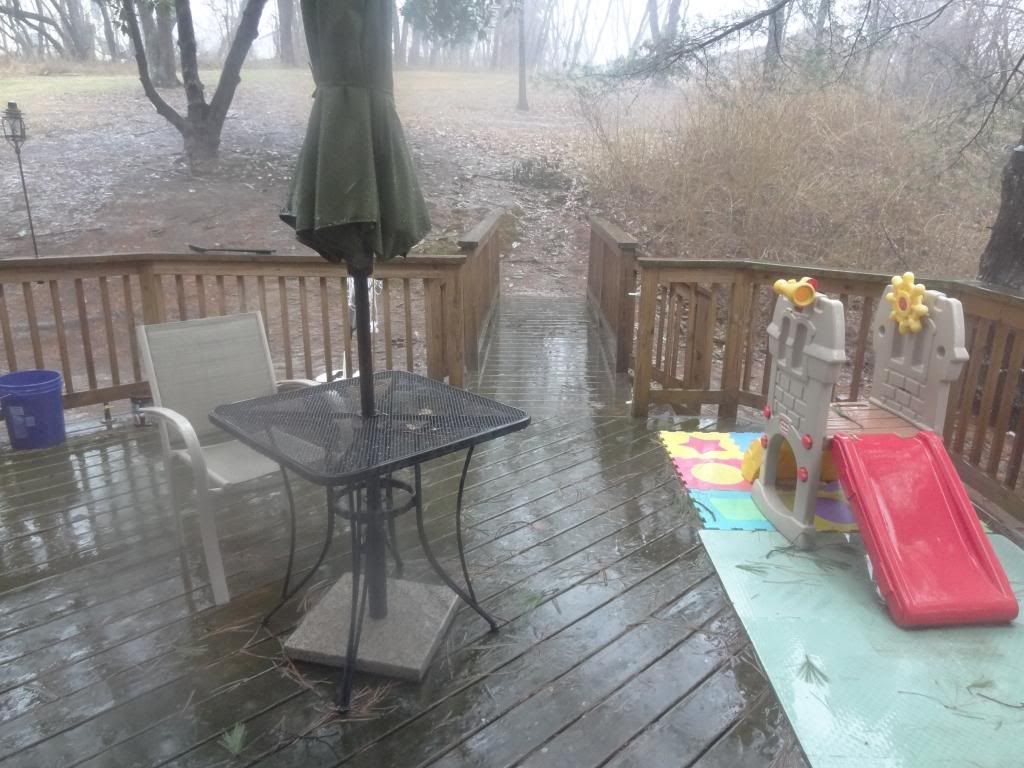
It's hard to tell in this shot, but it's raining cats and dogs. This day two of rain, rain, rain. I love the rain, but this time of year it's should be snow, darnit! On the bright side, it's deliciously warm...the trouble is I'd probably be a bad mommy if I took my little one outside to play in it for very long.

 photo DSC02443.jpg

I guess my goals for the day will include mostly puttering about the house, hanging with the little one, and maybe a little baking.

Thursday, January 9, 2014

Happy New Year!

It's another year--can you believe it? I know, I know, I'm already a week and a half late, but oh well. As you may have guessed from the new blog URL (thefishieskitchenandhome.com), some changes are afoot. Assuming I can stick with them, that is. Last night, I merged my craft blog with my kitchen blog and purchased a shiny new domain name. If you're in the market for a new domain name, GoDaddy is having a super 99 cents sale so I recommend checking them out.

Since my son came along, my time for hobbies decreased dramatically. I've experienced a fair amount of guilt for neglecting the blogs, but not enough to really make much headway in getting any of them on track. Don't worry, I still try new recipes on a weekly basis and find time every now and then to craft. By merging my blogs, I can also share just about anything I want in one forum that's not kid-related. At the moment I intend to keep my kid-related posts separate on ProjectLittleBlueberry.com simply for organization purposes, but I have a lot of catching up to do there as well.

In the next week or so, hopefully I'll get things here organized and maybe even come up with a blogging schedule. I still take random photos of what I bake, cook or craft so I've definitely got some material to share. I also plan on sharing more random life-musings such as my list of 2014 goals. Fingers crossed that I'll stick with it.

Until then, ta ta for now!

Wednesday, January 8, 2014

Panzer Tank Slippers

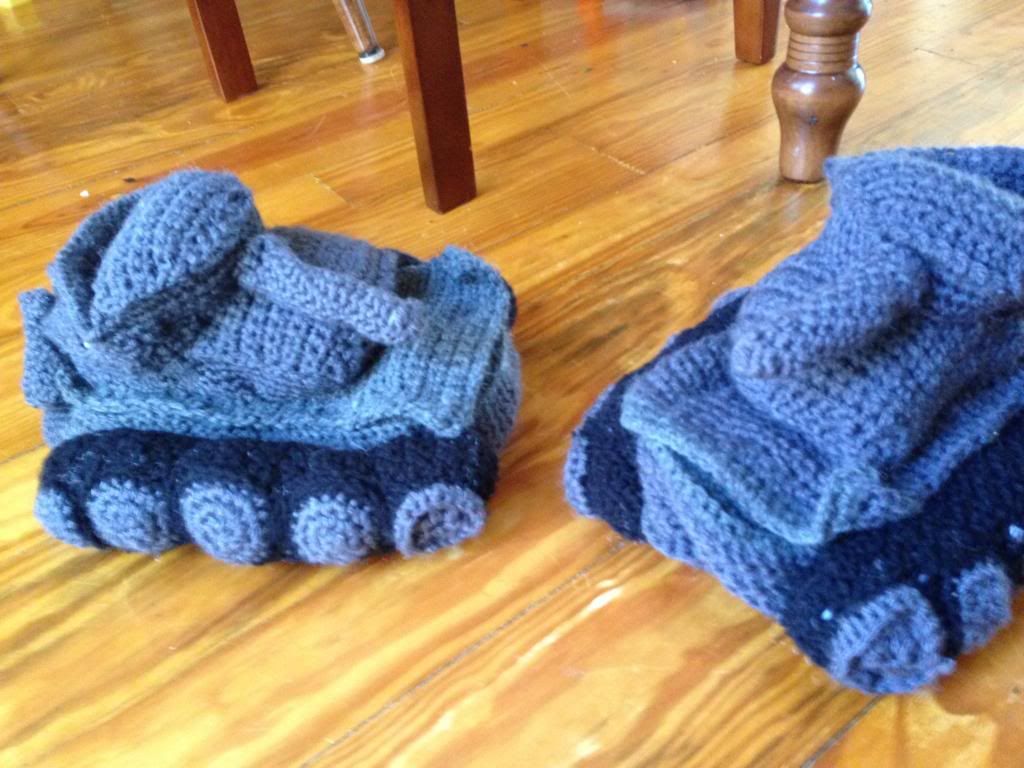
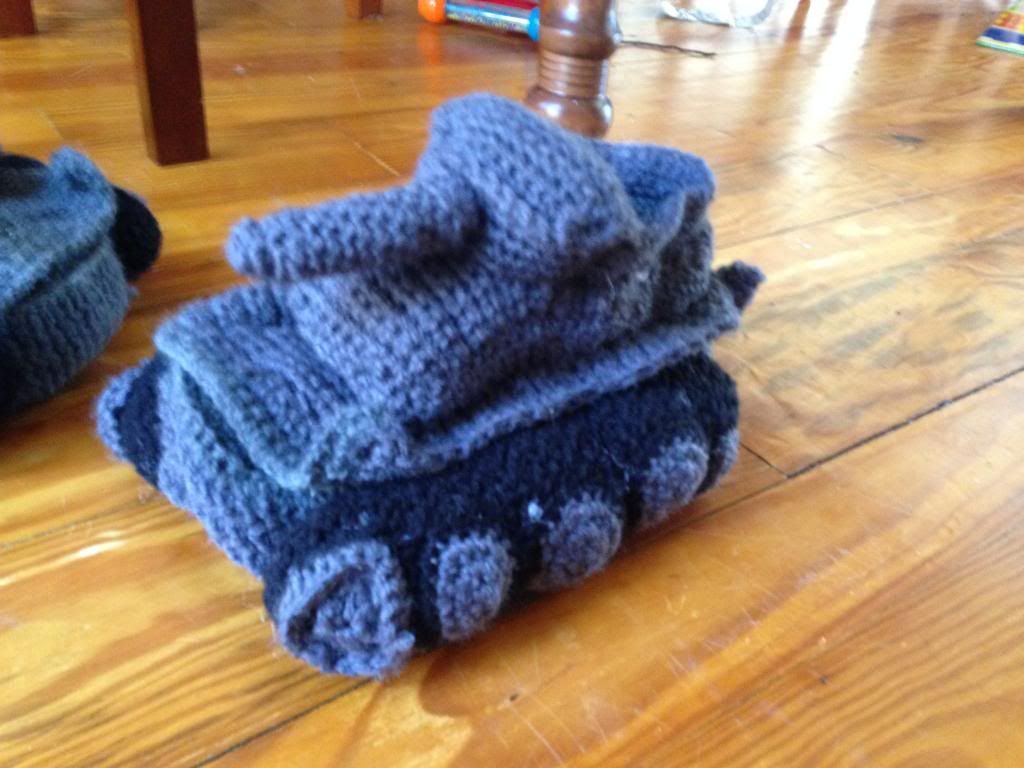
 photo IMG_2511.jpg They're finally finished! I can't believe I thought I could make these in a weekend. They took an entire week to make. Each day I devoted at least an hour or more, some days it felt like I spent the entire day. The probably was not so much that they were complicated to do, I'm just mostly a blanket and scarf kind of hooker. Sure, I've made hats, shawls, and even some fitted clothing over the years, but off the top of my head I can't think of any amigurumis or stuffed animals that I've completed. Making cute, small items requires greater attention to detail than I usually approach crochet projects. Anyway, I managed. And they're cute.

I used a pattern found on Etsy, which my husband found and asked me to make for him. For the most part, the pattern is extremely well-written--lots of pictures, however I think the author became a bit tired of pattern-writing towards the end, especially when it came time for assembly. Either that or it's a common sense thing that I'm just lacking. By the time I started assembling the second slipper, I had figured most things out, but the first one was rather tedious.

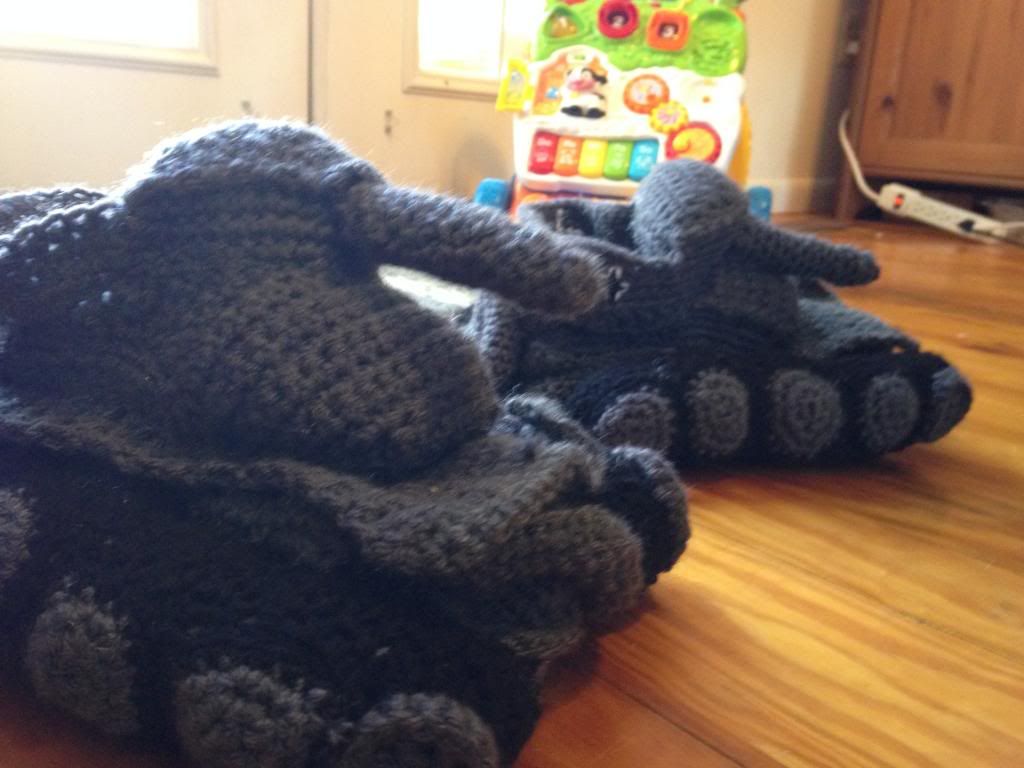
Here are a couple more shots of the slippers.
 photo IMG_2512.jpg

As you can see in this last picture, I "embroidered" an iron cross on the side of each tank. I use quotes because I did a really messy job here. I so wanted to be done with these things and just wasn't thinking that you could easily see the messy side if someone wasn't wearing them. Oh well. Maybe in another 7 years I'll make my husband a neater pair.  photo IMG_2516.jpg