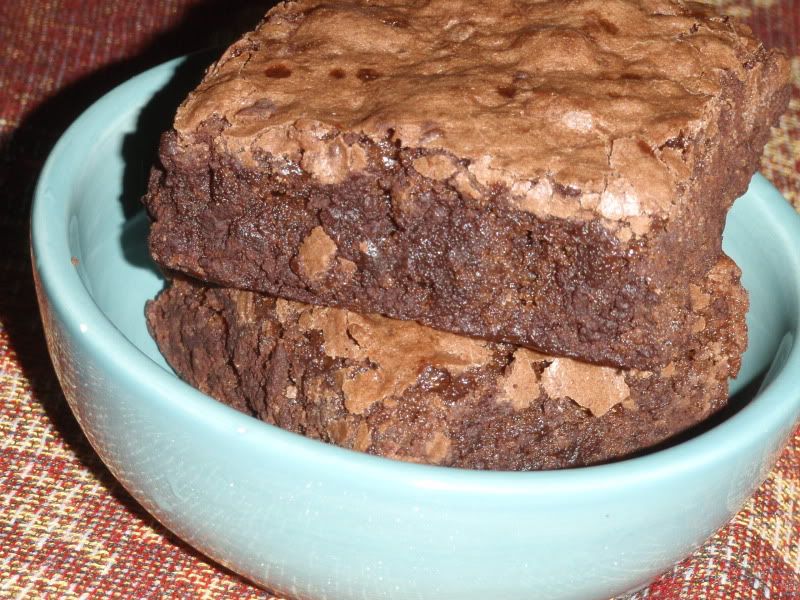
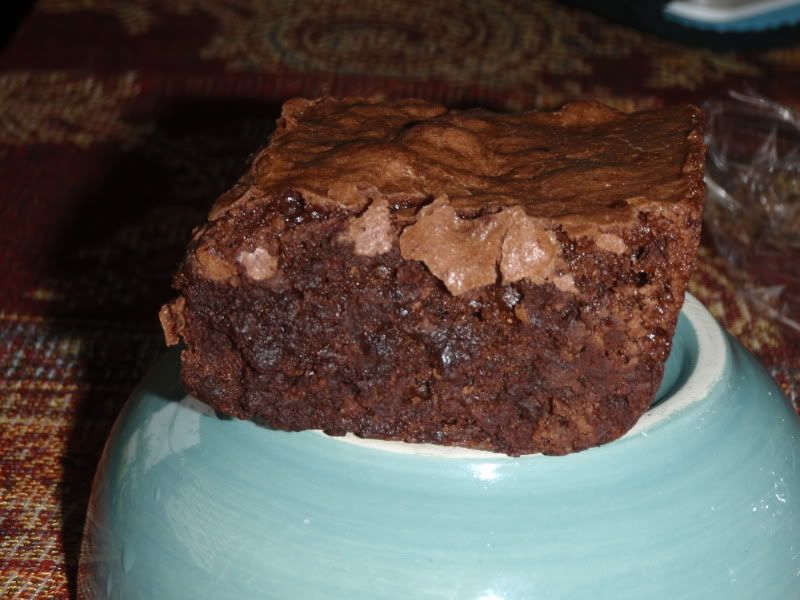
This recipe is one of Cooking Light's most popular, I believe. I remember seeing it often on promotional flyers, as well as in a couple of magazines. It's definitely more work than using a mix or making cupcakes or cookies, but I love their fudgey texture. This time I made them to crumble in my homemade chocolate ice cream. Fabulous!
5 tablespoons butter or margarine
1 ounce unsweetened chocolate
2/3 cup Dutch process or unsweetened cocoa
1 1/2 cups sugar
3 large egg whites, lightly beaten
1 large egg, lightly beaten
1 cup all-purpose flour
1/2 teaspoon baking powder
Cooking spray
Preheat oven to 325°.
Melt butter and chocolate in a large saucepan over medium heat. Stir in cocoa; cook 1 minute. Stir in sugar, and cook 1 minute (mixture will almost form a ball and be difficult to stir). Remove pan from heat; cool slightly. Gradually add warm chocolate mixture to egg whites and egg, stirring with a whisk until well-blended. Combine flour and baking powder; add flour mixture to chocolate mixture, stirring well.
Spoon batter into a 9-inch square baking pan coated with cooking spray. Bake at 325° for 27-30 minutes (do not overbake). Cool on a wire rack.
Yield: 20 servings
Friday, August 12, 2011
Wednesday, August 10, 2011
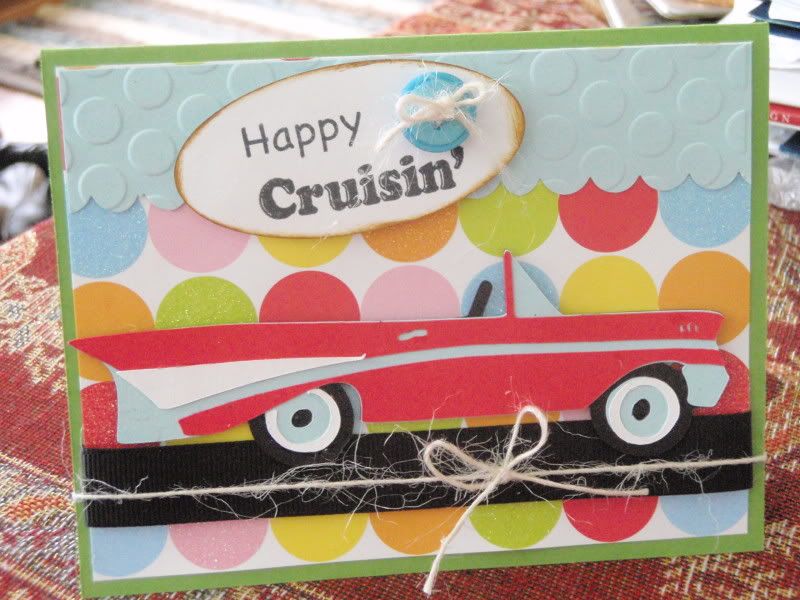
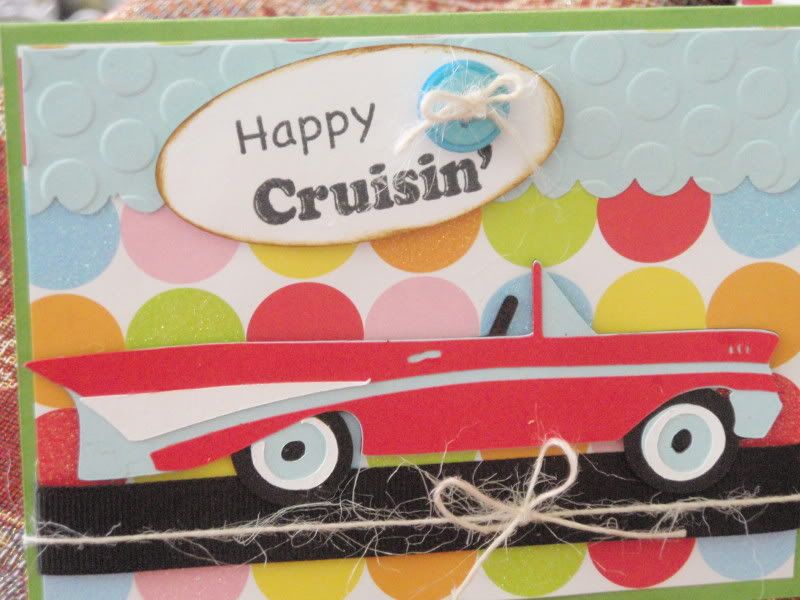
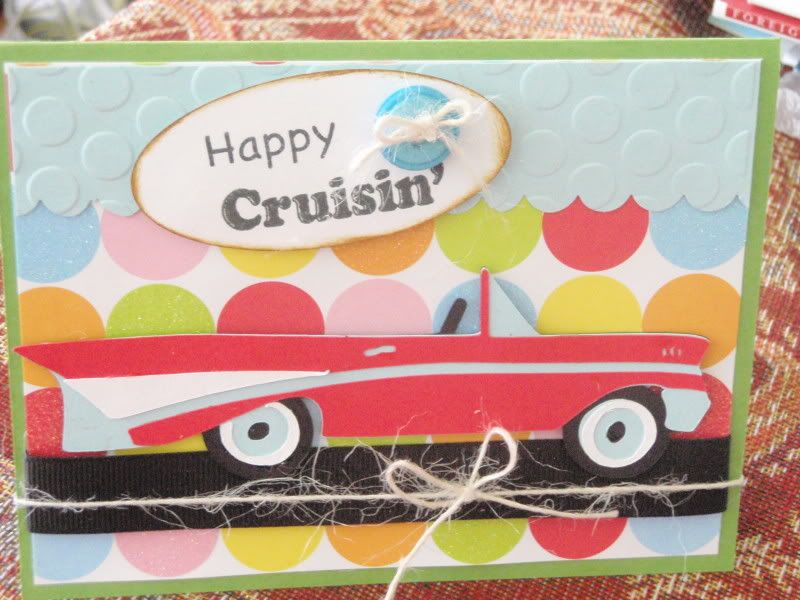
Happy Cruisin' Card
My mother-in-law recently said good by to her trusty Lincoln town car, which she drove for over a decade. This was a traumatic experience for her as apparently town cars are no longer made. However, like the loyal Detroit auto girl she is, fortunately she found a new car--a Cadillac, at a Detroit dealership. Hopefully, she will find as much pleasure driving it as she did her old boat. Here's the card we sent this week wishing her happy cruising.
(Note: her new car looks nothing like this one)
Details
Wrap it Up cartridge
Papertrey Ink cardstock and ribbon/twine
Quick Quotes Paper - Good Times Collection (this is from my local scrapbook store)
Scrappy Moms Stamps - Sun-Kissed
My Pink Stamper - Happiest Moments
Seeing Spots Cuttlebug folder
Sizzix Sizzlits labels #2 (oval)
Distress Ink - Vintage Photo
Tuesday, August 9, 2011
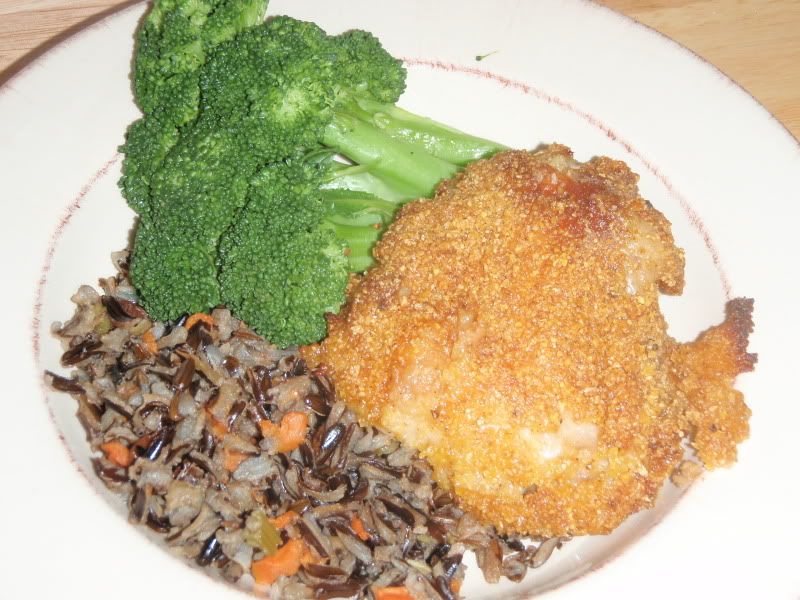
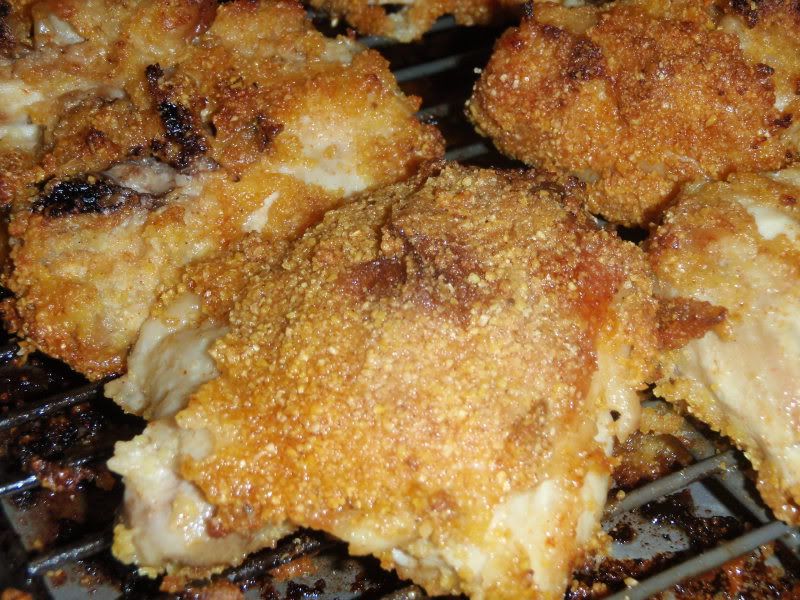
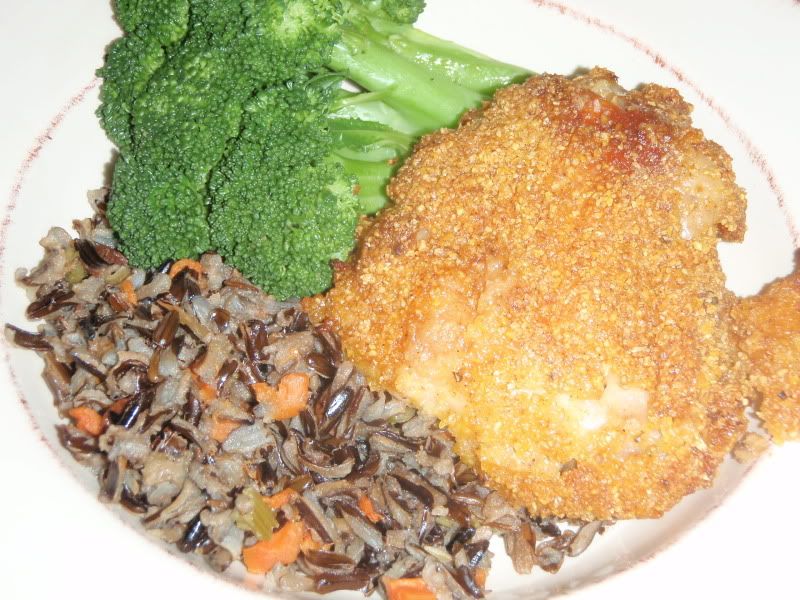
Buttermilk Oven Fried Chicken (another variation)
This is another variation of my oven fried chicken recipe. I've been trying to finish a package of Bob Mill's corn meal. It's a little coarsely ground for this use, but I would try it again with a thinner ground. It gives the chicken an added crunch. I laughed when I looked back at the last time I posted this dish and was surprised to notice that I also served it with the same sides--the wild rice is probably leftover from the same batch as it came from my freezer.
2 c buttermilk
2 lbs chicken pieces
1 c corn meal
1/2 c all purpose flour
1 tsp salt
1.5 tsp paprika (or more to taste--I use heaping tsp)
1/2 tsp ground pepper
1 tsp garlic powder (I used toasted garlic powder)
4 tbs melted butter
1. Marinate chicken in buttermilk for two hours up to overnight. (Alternatively, skip this step and simply dip the chicken in buttermilk before dredging in the flour mixture).
2. Preheat oven to 400 degrees.
3. Whisk together flour, salt, paprika, pepper, and garlic powder in a plastic bag or bowl/tray large enough to accommodate chicken.
4. Drain chicken and coat liberally in flour mixture. Shake off excess flour.
5. Place chicken on a rack in a 9 x 13 baking pan or jelly roll pan. The rack allows the fat to drip away and makes for crispier chicken. Brush or drizzle liberally with melted butter.
6. Bake 30 minutes, turn, and cook for another 20-30 minutes or until cooked through. If chicken becomes too brown, cover loosely with tinfoil.
Serves 4.
Monday, August 8, 2011
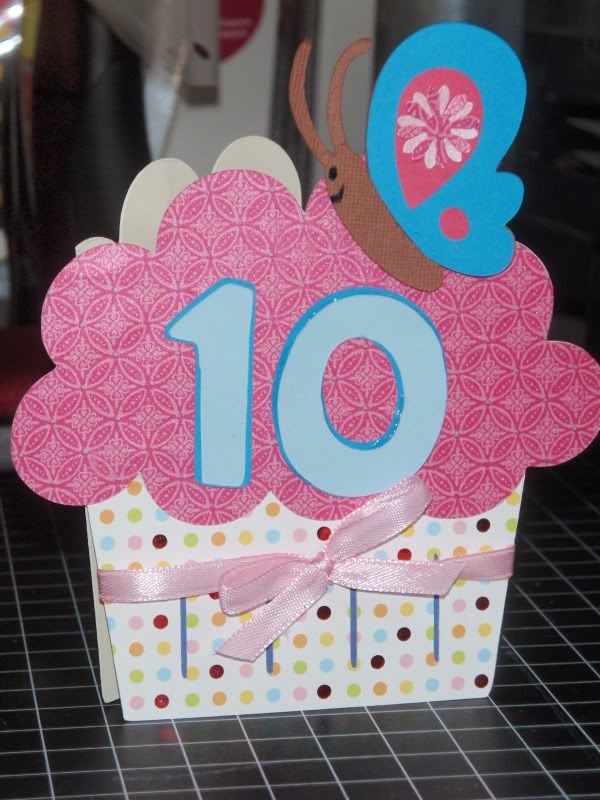
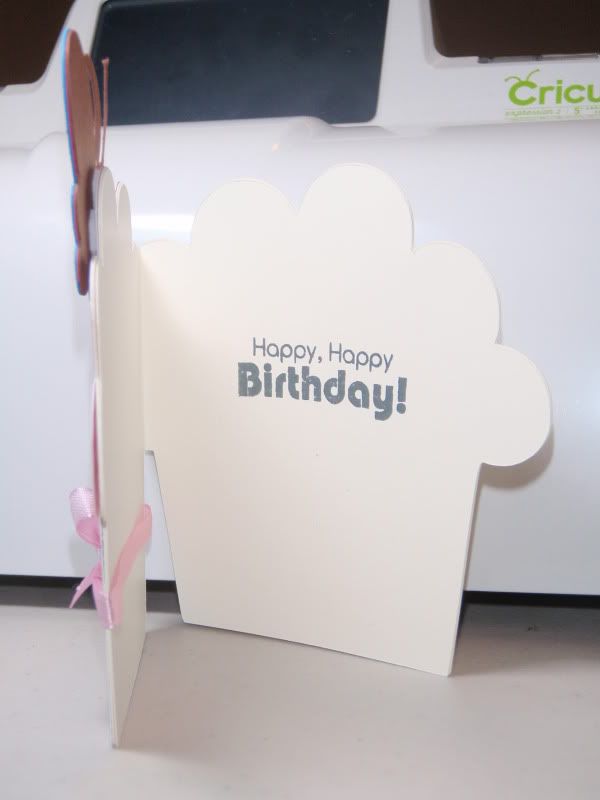
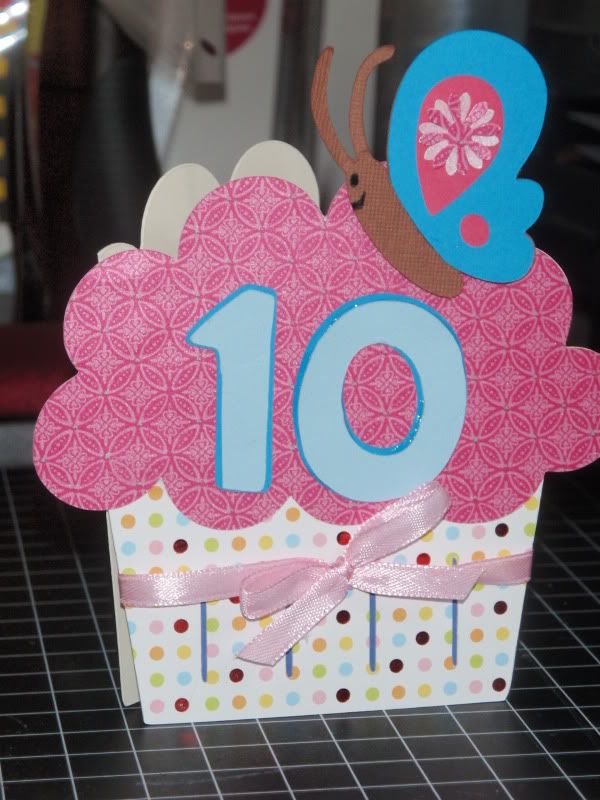
10 year old Birthday Card
I made this shaped card using my Gypsy for a special ten year old. There are tons of cupcakes and butterflies, but I used Create a Critter for both. The font is from Pooh Font.
Details
Create a Critter (butterfly at ~2" and cupcake at 3.5"), Pooh Font (~2")
Martha Stewart Brights Mat Pad
Little Yellow Bicycle - Sweet Love Collection
Misc daisy punch
Scrappy Moms Stamps - Simple Sentiments
Details
Create a Critter (butterfly at ~2" and cupcake at 3.5"), Pooh Font (~2")
Martha Stewart Brights Mat Pad
Little Yellow Bicycle - Sweet Love Collection
Misc daisy punch
Scrappy Moms Stamps - Simple Sentiments
Sunday, August 7, 2011
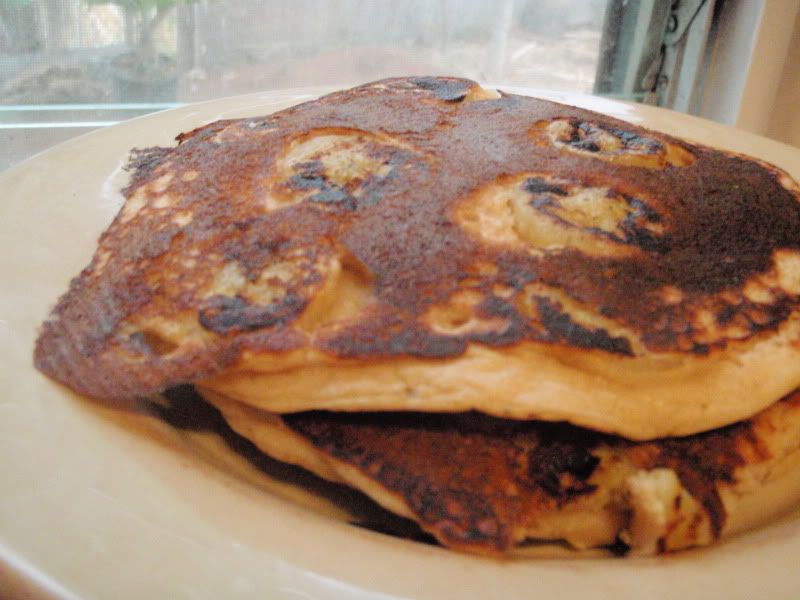
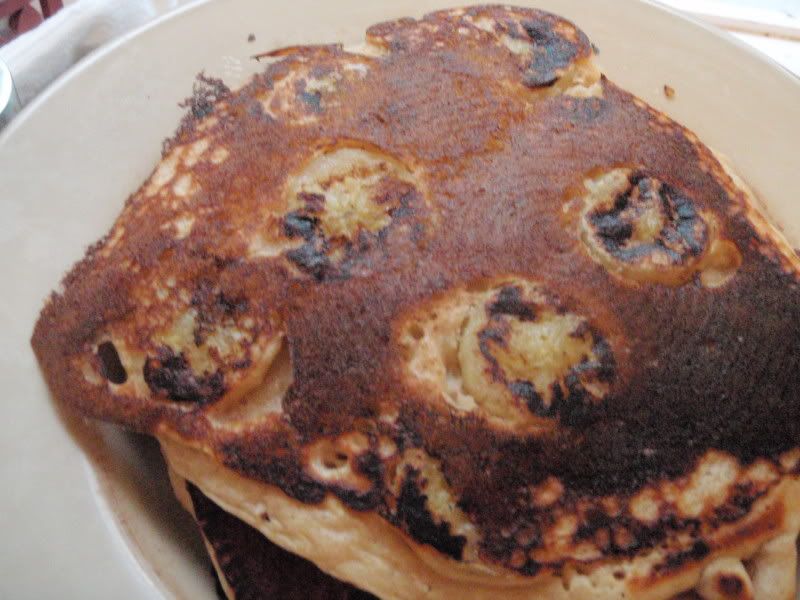
Buttermilk Whole Wheat Banana Pancakes
The pictures aren't terribly flattering, but these were fantastic! On an impulse, I searched Marthastewart.com for a new buttermilk pancakes recipe as I had some buttermilk to finish. I had never tried a pancakes or waffle recipe with brown sugar and I think that's what made all the difference. For the last couple pancakes, I mixed in some chocolate chips which are my husband's favorite. I don't recommend using a Circulon pan because you get those silly rings like a tree trunk, but taste is what counts.
1.5 tbs butter
2 TBS vegetable oil
1 c and a splash of buttermilk (start with 1 c and thin if necessary)
1 egg
1/2 c all purpose flour
1/2 c whole wheat flour
2 tbs brown sugar
1/2 tsp baking powder
1/4 tsp baking soda
1/4 tsp salt
1 banana thinly sliced
handful of chocolate chips, if desired
Stir together flours, sugar, baking powder, baking soda, and salt in a medium bowl. In a separate bowl whisk together all liquids, including egg.
Pour batter onto preheated griddle or skillet. When bubbles begin to form, sprinkle bananas. Flip and finish cooking.
Serves 2
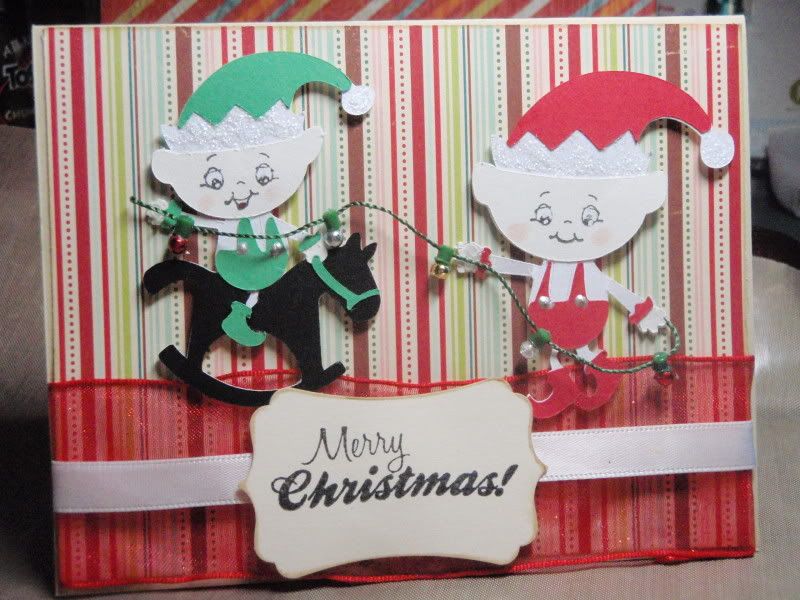
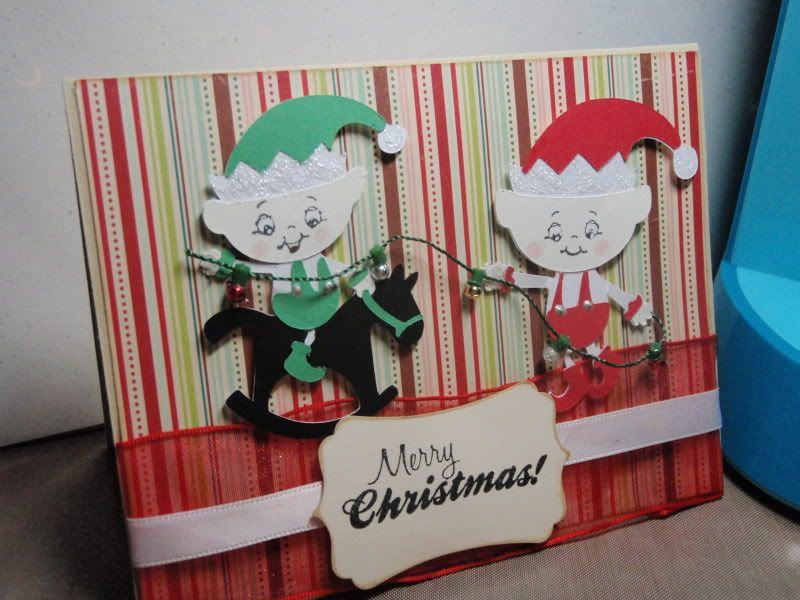
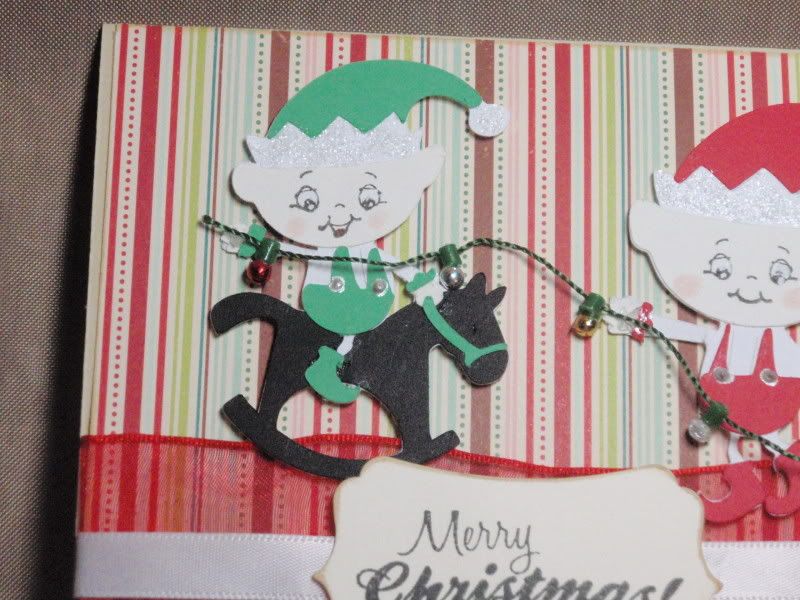
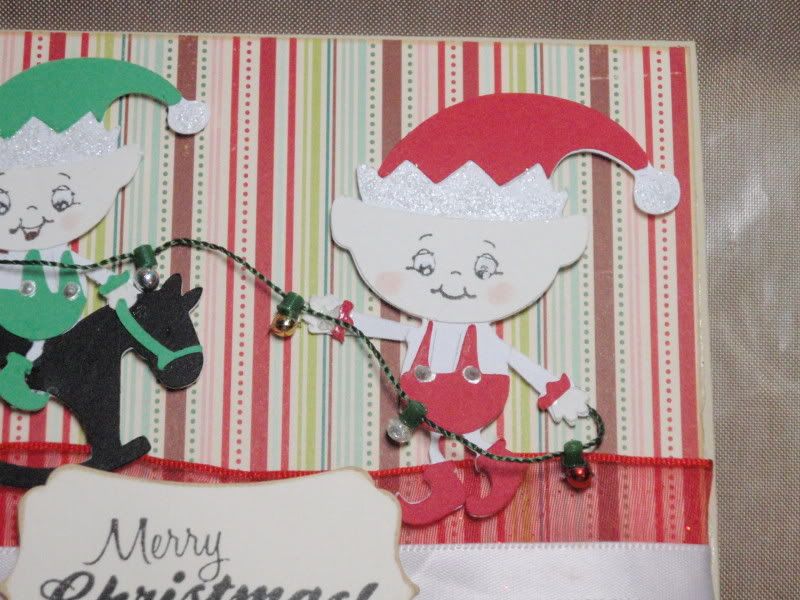
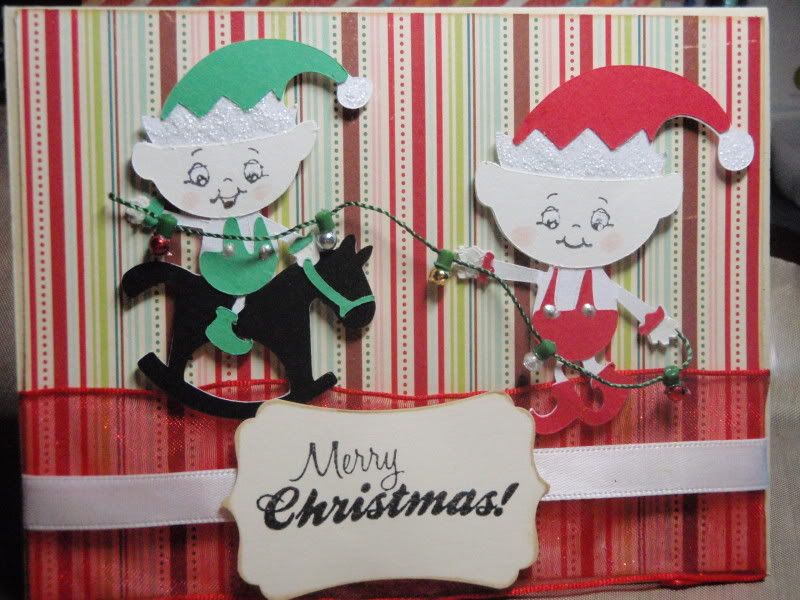
Jolly Holly Elves
One of the most identifiable image from the Jolly Holly cartridge is the elf. Actually, there are about 4 or 5 different ones. Something about the hat, I think. Anyway, this is the third of the three different Christmas cards I made in July. I also did a couple of winter layouts, but other than that am not as far along on my cards as I'd like. One of my close friends had their first baby early throwing my paper crafting schedule a little off :) I'm still using up holiday paper from last year. Actually, unless I do a ton of layouts and mini-albums, I won't have to buy new paper this year at all. Well, I won't have to buy any more paper. I bought a huge DCWV collection pack (180 sheets) from Joann's for $5 not too long ago, but I'm not really counting that. . . ;) Anyway, I hope everyone's having a great Sunday. Here's my card:
Details
Jolly Hollys Cricut Lite Cartridge (images cut at 3.5")
October Afternoon (not sure of the name, but it's a holiday stack from last year)
Papertrey Ink cardstock and twine
EK Success Large Slim Paper Punch - Journal Plate & Bracket
Distress Ink - Antique Linen
Scrappy Mom's Winter Wishes stamps
Peachy Keen Stamps - Wide-eyed kids
Stickles
Misc ribbon and embellishments
Labels:
cards,
Crafts,
Cricut,
holiday cards
Subscribe to:
Posts (Atom)