Sunday, January 30, 2011

Sunday Supper Series # 3 - Beef Pot Pie (cheater-version)

Welcome to the third recipe in my Sunday Supper Series. I've been cooking a lot more beef since my husband is a big beef eater and doesn't eat pork or fish. It's also quick and easy fast to throw a steak on the grill. That being said, reheated steak doesn't go over too well since he likes it extremely rare. Thus, when I stumbled across this recipe on the blog Our Krazy Kitchen, I had to try it. While I don't usually use pre-made bread products, since I was making the "filling" from scratch and it was only one layer of bread, I decided to try it. It wasn't too complicated and loved the outcome, but it made a bit too much for the small pot I was using. Thus, next time I may try it in the slow cooker. On to the recipe!


Photobucket

Ingredients

1 lb top sirloin, chopped into 1/2" squares
2 c zucchini, chopped
8 oz mushrooms, sliced
1.5 c carrots, chopped
3 cloves garlic, minced
1 tsp dried basil
1/2 tsp thyme
1/2 c red wine
1/4 c tomato paste
1.5 tsp Worcestershire sauce
1/2 tsp pepper
14 oz beef broth
2 tbs cornstarch
2 tbs water
1 can Pillsbury bread sticks
Olive oil

Directions

1. In a large pot or dutch oven, brown beef. Next add onions, carrots, mushrooms, basil and thyme. Cook about -7 minutes until veggies are beginning to become tender. Season with salt and pepper.

2. Add zucchini and garlic and cook for another 5 minutes.

3. Whisk together wine, tomato paste, and Worcestershire sauce. Add mixture and beef broth to meat.

4. Bring to a near boil, then simmer until everything is tender.

5. In a small bowl, whisk corn starch and water into a slurry. Add to meat mixture.

6. Cook for a few minutes until thickened.

7, Pour meat mixture into a 9 x 13 inch pan. Cover with bread sticks woven into a lattice form.

8. Bake at 400 degrees for 12-15 minutes until golden brown.

Serves 4.

Sunday, January 23, 2011

Sunday Supper Series # 2 - Turkey Shells

Welcome to the second recipe in my Sunday Supper Series. As I mentioned last week, my goal is to get into a better routine of posting. This week I tried a recipe from one of the blogs I follow in my Google Reader. Her blog is called Finding Joy in My Kitchen, and while it's a fantastic recipe, I messed it up a bit and wound up with a wonderful pasta dish instead of the intended soup. Anyway, she calls it Lasagna Soup. However, since I added way too much pasta, mine definitely wasn't soup. I also only served it with cheese the first time we ate it. Sorry the pictures are from my desk at work. For some reason I neglected to snap a picture immediately after I made it. The ingredients list below reflect what I did to get a pasta dish. If you'd like to make soup, head over to her blog. Have a great week!

Photobucket

Ingredients

1 lb ground turkey or Italian sausage
2 onions, chopped
4 garlic cloves, minced
2 tsp oregano
1 bay leaf
2 tsp basil
1/2 tsp crushed red pepper
2 Tbs tomato paste
28 oz diced tomatoes
1 med green bell pepper, diced
8 oz mushrooms, sliced
1 c frozen spinach
8 c turkey broth
12 oz pasta shells
olive oil, salt, and pepper
Cheese to serve

Directions

1. Brown meat in olive oil. Season liberally with salt, pepper, 1 tsp basil, and 1 tsp oregano if not using sausage. Remove from pan and drain, if desired.

2. Saute in olive oil onions, garlic, bell pepper, mushrooms and oregano for about 5 minutes. Sprinkle with salt and pepper.

3. Return meat to pan and add tomato paste. Cook for 3 minutes.

4. Add tomatoes, broth, and bay leaf.

5. Heat to a near boil, then reduce heat and simmer for 30 minutes.

6. Raise heat to medium high and add pasta. Cook for 7-9 minutes, depending on desired firmness of pasta.

7. Add spinach and basil. Adjust seasoning as needed.

8. Serve with cheese, if desired.

Serves 6-8

Monday, January 17, 2011

Cricut, Cricut, Cricut Everywhere

I just realized that I got 9 new Cricut Cartridges, a Cricut Expression, and a Cricut Cake Mini since November. Between the Black Friday pre-sales, the Black Friday sales, the Christmas sales, the after-Christmas sales, and the New Year's sales, I went entirely crazy. To be fair, three cartridges came with the new machines I got. Still, way too much excess. Thus, my goal will be not to buy another cartridge for at least a month or two.

The list, in approximate order of purchase, appear below. My fingers are crossed that I don't like any of the Hello Thursday cartridges for this month.

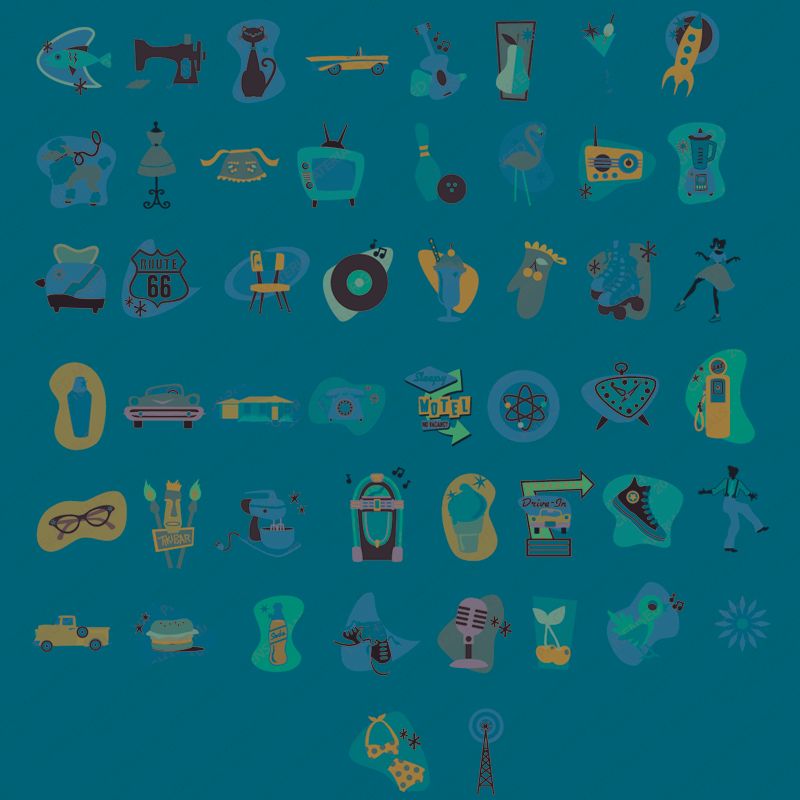
Nifty Fifties - I'm sad to say that I haven't cut anything with this cartridge, although I have
many plans.
Photobucket

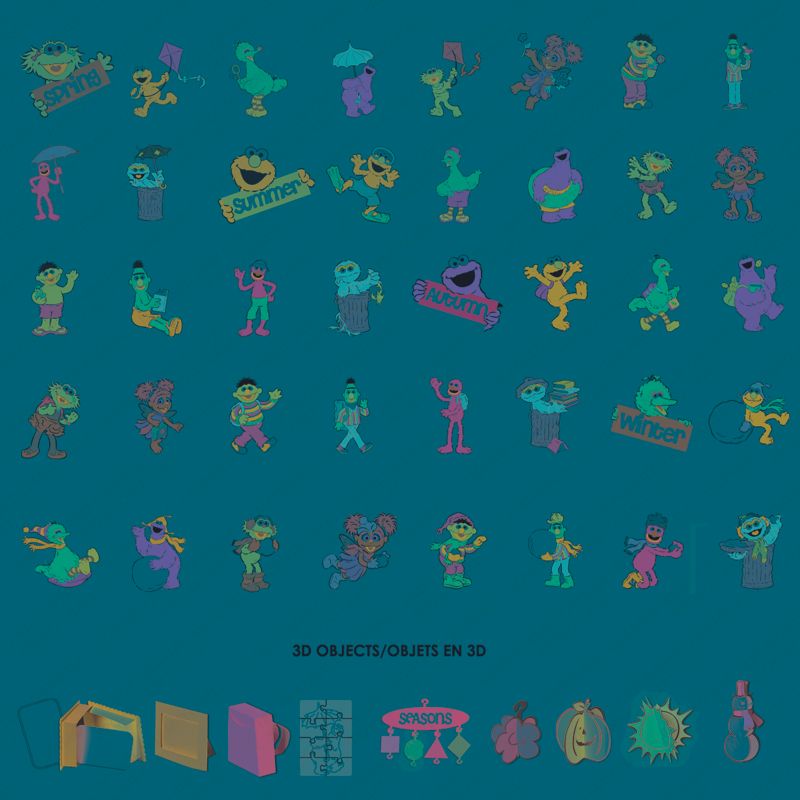
Sesame Street Seasons - I have big plans to make kid-themed stuff using the Sesame characters, but for now I've gotten tons of use out of a couple of snowflakes on this cartridge.
Photobucket

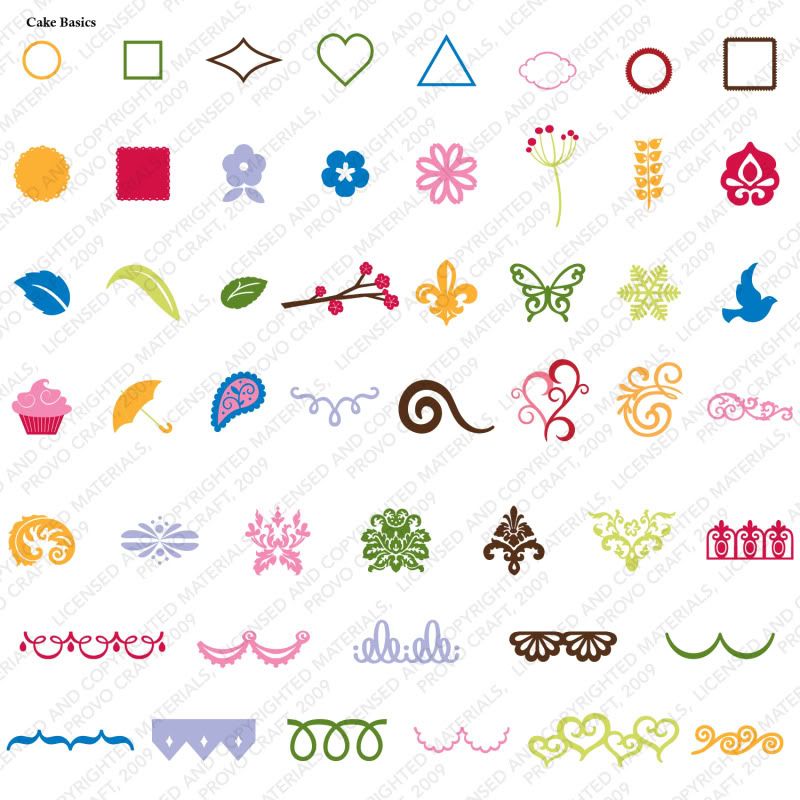
Cake Basis - This came with my Cake Mini, but has some really cute snowflakes that I used on my thanks you cards.
Photobucket

Plantin Schoolbook - This one came with my new Cricut Expression and has a nice font and some basis shapes.
Photobucket

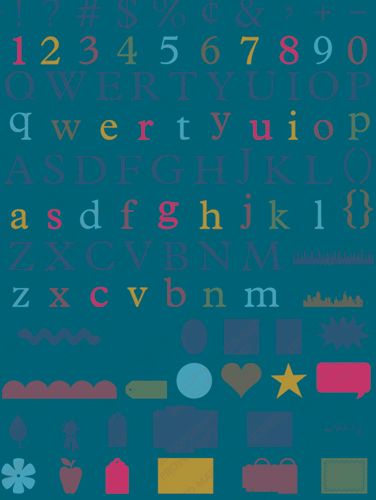
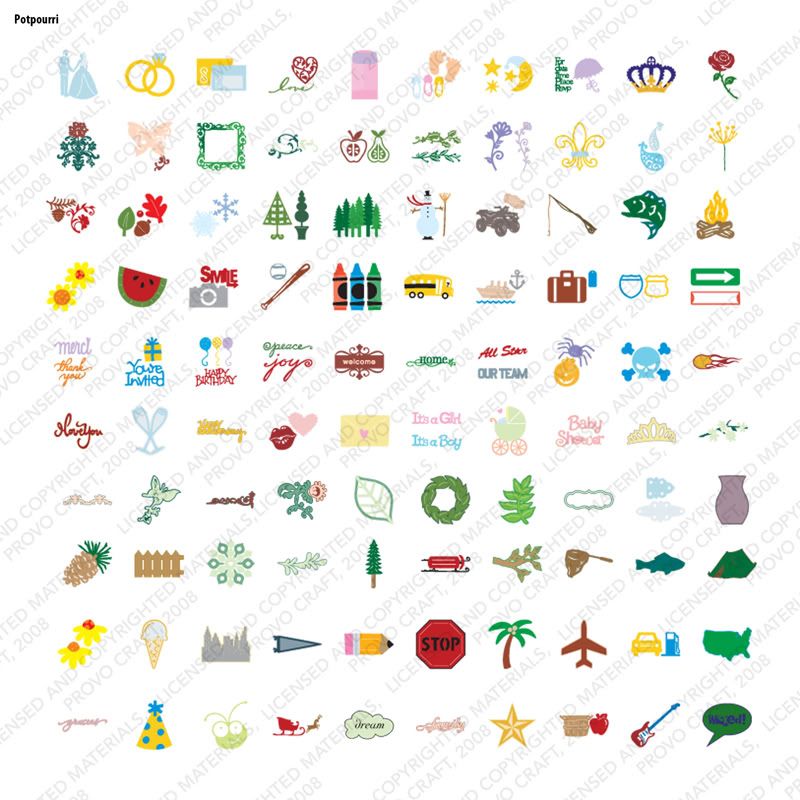
Potpourri Basket - Along with Plantin Schoolbook, this came with my Cricut Expression.
Photobucket

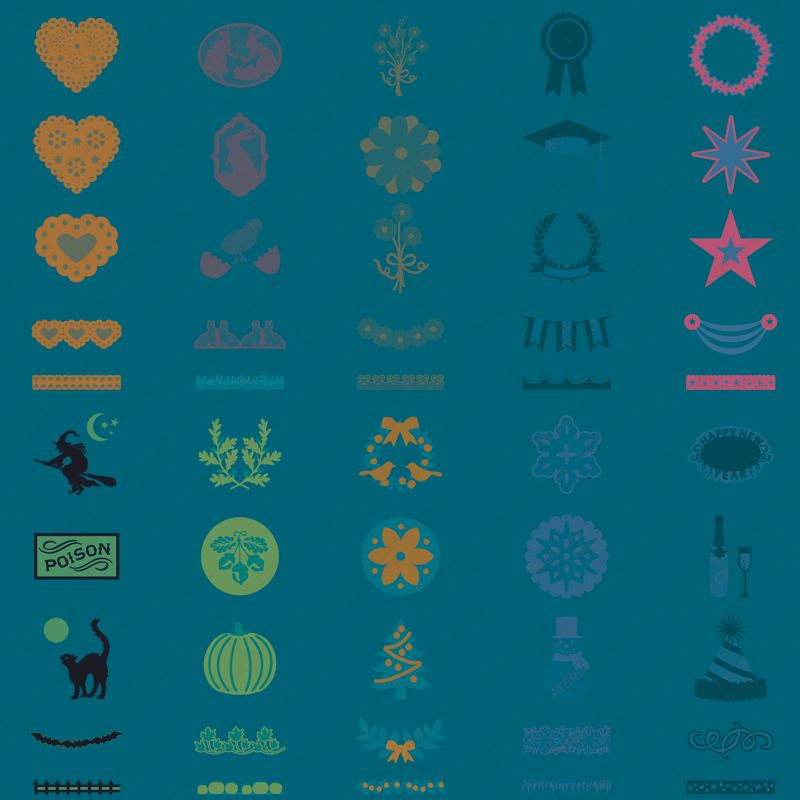
Seasonal Cake Art - This was a favorite with my holiday card-making this year.
Photobucket

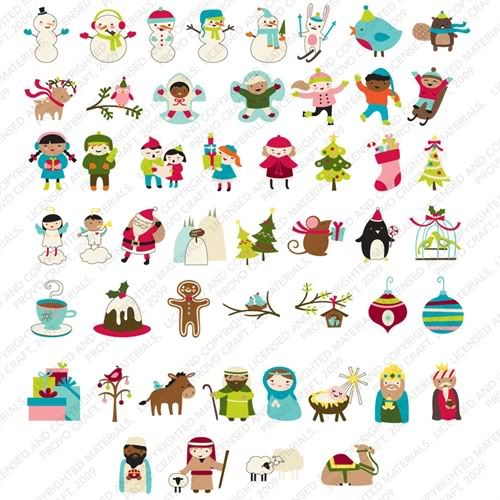
Winter Frolic - I waffled all fall whether I wanted to get this cartridge, but finally could not pass it up when the price fell under $20. I think I may have only paid $14.95 or $16.95 at Cricutmachine.com. While some of the cuts have many layers, for the most part, I'm loving this cartridge and am looking forward to scrapping my holiday pictures with it. I've already started a mini album. Good word art too.
Photobucket

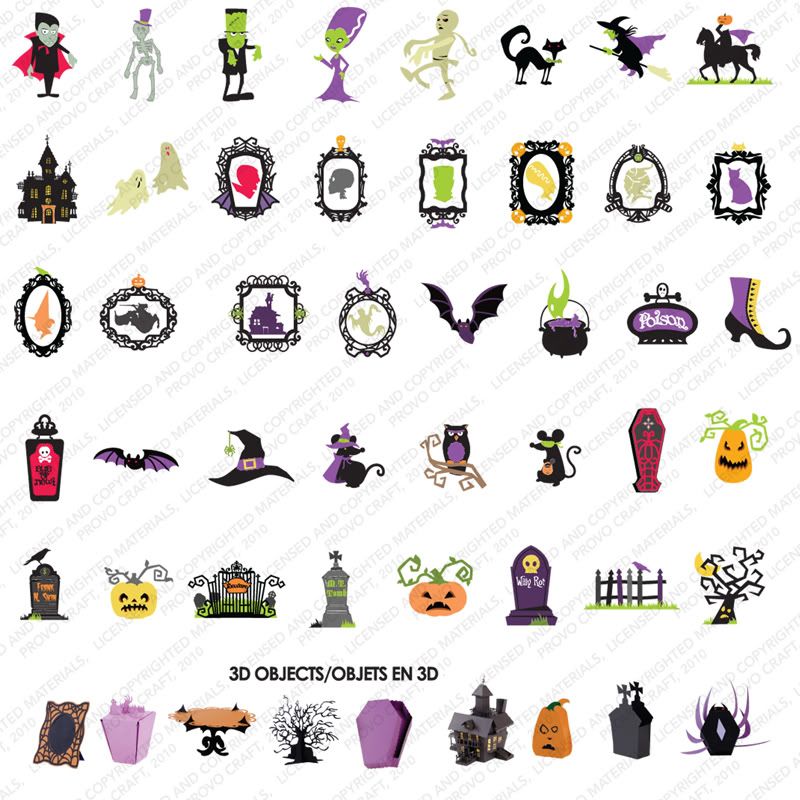
Happy Hauntings - Unopened, but I still haven't finished my Halloween exploding envelopes house, so I am sure this will come in handy.
Photobucket

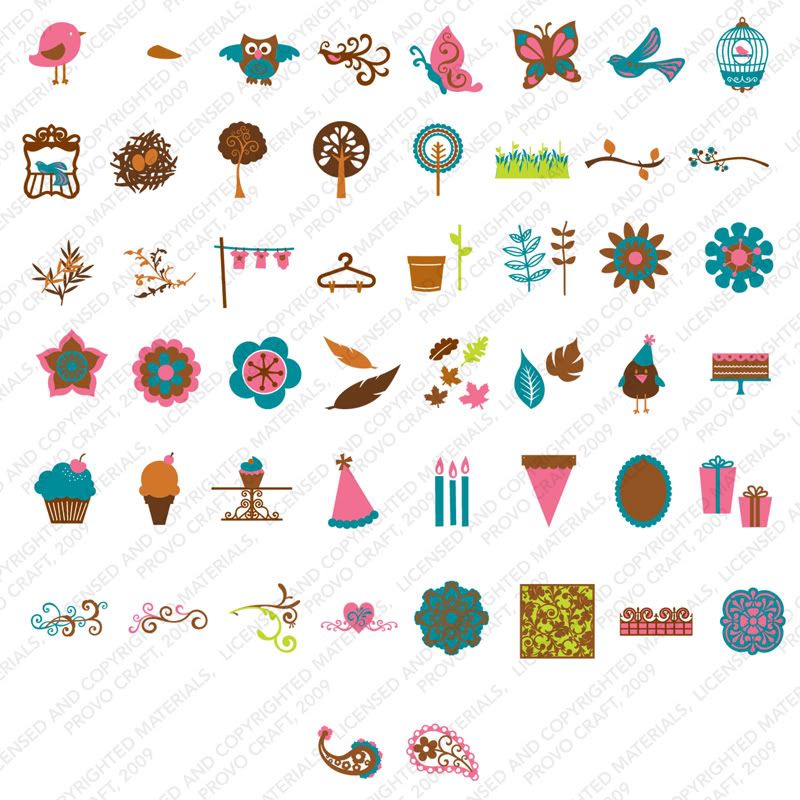
Straight From the Nest - Unopened, but this should be great for spring.
Photobucket

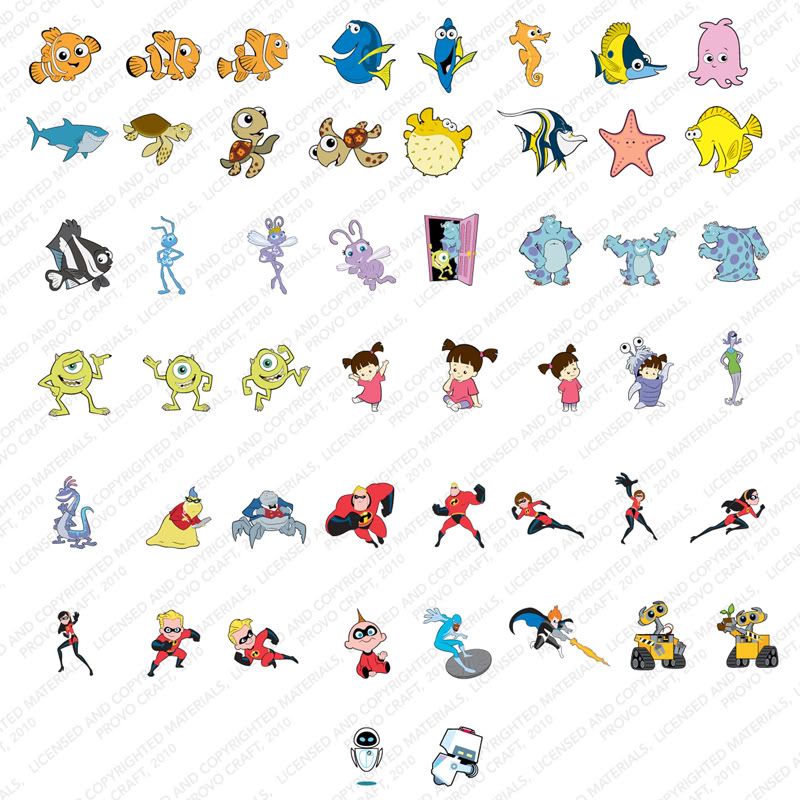
Best of Pixar - This arrived last week and is still awaiting pickup at my aunties. Monsters' Inc is my favorite, however, so I can't wait to play with this cartridge.
Photobucket

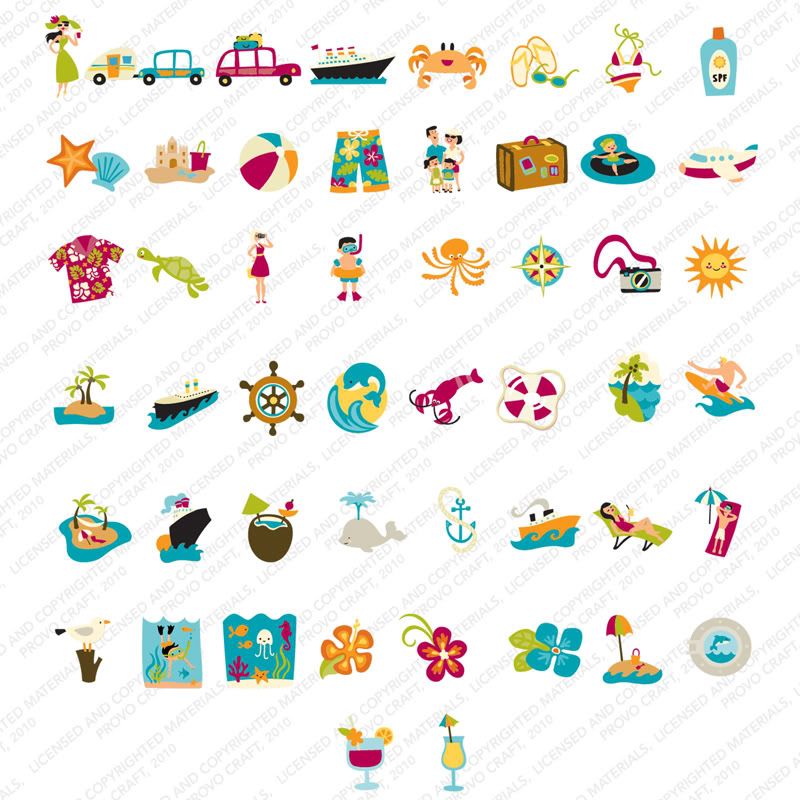
Pack Your Bags - Along with Best of Pixar, this one is at my auntie's waiting for me to go over and pick it up. I love the summery images on this cartridge, so hopefully the cuts will be simple.
Photobucket

Sunday, January 16, 2011

Sunday Supper Series - Baked Apricot Chicken

Welcome to the first Sunday Supper Series recipe. I've posted this recipe in the past here and here, but since I love it and it's super simple, yummy, and reheats well, I thought I'd post it again. When I posted it in March, I spiced it up a bit. This time I scaled it down to serve 2 + leftovers and left out the crushed red pepper. Since we'll likely be out and about today, I baked the chicken in the morning and will reheat when we get home. I hope you have a wonderful Sunday and, if you're off for MLK Day, have a relaxing day!

Photobucket

Photobucket

1/3 cup apricot preserves
1 tablespoon and a splash of balsamic vinegar
1 teaspoon kosher salt
1 tsp ground black pepper
1 large onion
6 chicken thighs
olive oil

1.Preheat oven to 400 degrees F. In small bowl, mix apricot preserves, balsamic vinegar, salt, and pepper. Cut each onion into wedges.

2. Arranges chicken pieces and onion wedges in a square pan. Drizzle with olive oil. Spoon apricot preserves mixture over chicken and onions. Bake 30 minutes.

3. Turn chicken and baste with juices. Bake an addition 15-20 minutes until chicken is cooked through.

Serves 2 + leftovers

Sunday Supper Series

Morning everyone! I'm sorry I've been posting sporadically for quite some time now, posting a bunch of recipes here and then going weeks and months with nothing. I'm going to try to work up to multiple posts a week by scheduling them for particular days by themes. For example, today will be the first of my "Sunday Supper Series" since I tried a couple of new main dishes recipes last week but haven't posted them yet. Then, with any luck, I'll figure out a good day to do some sort of baked good mid-ways through the week. But for now, look for at least a once of week posting for the rest of January.

I'm starting by what we're having today, Baked Apricot Chicken. Stay tuned for that post in a couple minutes.

Friday, January 7, 2011

Thanks Snow Much

Happy Friday! Here's the last of my Christmas cards. I only made one thank you card design, but it turned out really cute so I made 8-10 of them.

Photobucket

Materials Used:
Tim Holtz Alterations embossing folder, Sesame Street Seasons, My Pink Stamper Winter Punnies, Papertrey Ink ribbon, Martha Stewart snowflake punch, DCWV glitter cardstock

Thursday, January 6, 2011

Holiday Cards 5

Photobucket

Photobucket

Material Used:
From My Kitchen, Scrappy Mom's "Winter Wishes" stamps, Peachy Keen Snow Critter faces, white gel pen, and unfortunately I can't remember the paper collection, possibly October Afternoon.

Wednesday, January 5, 2011

Holiday Cards 4

This was a last minute card that I threw together at the last minute for a friend. I turned to Doodlecharms as it has a little bit of everything.

Photobucket

Photobucket

Materials Used: Doodlecharms, Sesame Street Seasons, Martha Stewart Pine Needles Edge Punch, Stickles, Scrappy Mom's "Winter Wishes" stamps, Imaginiscce "Christmas Cottage", garland.

Chocolate Cream Pie

I had these extremely cute mini cookie cutters for pies, so I made this chocolate cream pie for Christmas Eve dinner. We liked it so much that we had the rest of the pie with Christmas dinner. I used this recipe found at Cooking Light and my regular dough recipe.

Photobucket

Photobucket

Ingredients:
Pie dough for a single crust, blind baked for 15-20 minutes at 375 degrees
2 cups fat-free milk, divided
2/3 cup sugar
1/3 cup unsweetened cocoa
3 tablespoons cornstarch
1/8 teaspoon salt
1 large egg
2 ounces semisweet chocolate, chopped
1 teaspoon vanilla extract
1 1/2 cups frozen reduced-calorie whipped topping, thawed

Directions
Combine 1/2 cup milk, 2/3 cup sugar, and next 4 ingredients (2/3 cup sugar through egg) in a large bowl, stirring with a whisk.

Heat 1 1/2 cups milk in a heavy saucepan over medium-high heat to 180° or until tiny bubbles form around edge (do not boil). Remove from heat.

Gradually add hot milk to sugar mixture, stirring constantly with a whisk. Return milk mixture to pan. Add chopped chocolate; cook over medium heat until thick and bubbly (about 5 minutes), stirring constantly. Reduce heat to low; cook 2 minutes, stirring constantly.

Remove from heat; stir in vanilla. Pour into prepared crust; cover surface of filling with plastic wrap.

Chill 3 hours or until cold. Remove plastic wrap; spread whipped topping evenly over filling. Sprinkle with grated chocolate.

Tuesday, January 4, 2011

Slow Cooker Moroccan Chicken

I've been on a dried plums kick lately. I really like the sweetness they add to dishes, plus you can pretend they have redeeming value as a source of fiber. I'm also always on the lookout for slow cooker recipes because it's nice to come home to a yummy-smelling house. Even though chicken often doesn't stand up well in a slow cooker, this dish did just fine, even after 10 hrs.

Photobucket

Ingredients
1 medium onion, coarsely chopped (1/2 cup)
8 oz. baby carrots
1/2 cup pitted dried plums
14 oz chicken broth
8 chicken thighs
1-1/4 tsp. curry powder
1/2 tsp. salt
1/2 tsp. cinnamon

Directions
1. In a 4- to 5-quart slow cooker combine onion and carrots. Add plums and broth. Top with chicken. In a small bowl combine curry powder, salt, and cinnamon. Sprinkle over chicken.

2. Cover and cook on low-heat setting for 8 to 10 hours.

3. Serve over pasta, rice or couscous.

4 servings

Photobucket

Holiday Cards 3

This card also features a popular image from Create a Critter. I found the jingle bells at a local floral supply store.

Photobucket

Materials Used: Create a Critter, Holiday Cakes, The Paper Studio (Hobby Lobby's generic paper, I think), Cuttlebug embossing folder "Winter Trees," jingle bell.

Monday, January 3, 2011

Holiday Cards 2

This card was designed with my husband in mind, but he was too cute not to make multiples. This bear from Create a Critter is by far my favorite die cut of all my Cricut cartridges.

Photobucket

Photobucket

Materials Used: Create a Critter, Imaginisce "Cottage Christmas," Crafters' Companion Popcorn Bear stamps, Glossy Accents, ribbon from Michaels

Easy Scalloped Potatoes

A couple of weeks ago, we had a friend over for flank steak and scalloped potatoes. Yes, there was a veg too, but it wasn’t too exciting so I don’t recall. The flank steak marinade recipe is from Rachel Ray–-really the first recipe that I ever used of hers and one I still use today. The scalloped potatoes were out of my head, but our friend loved them, so I promised to post the recipe/method. It took me awhile to get around to it, but here it is:

Photobucket

Ingredients
1-2 lbs potatoes (use a mix of red and idaho, if possible)
1 c milk (I use skim or 2%)
12 oz shredded cheddar cheese (or a mix, I may also have used parmasan)
Salt and pepper
3 tbs flour
1-2 tbs butter, if desired

Directions
Preheat oven to 400 degrees.

Slice potatoes to about 1/8" thick. Cover the bottom of a 9 x 13" baking pan, that has been coated with cooking spray, with potatoes, allowing them to overlap slightly. Sprinkle with salt, pepper, and half of flour. Scatter a thin layer of shredded cheese.

Repeat for another layer or two until pan is filled. Salt, pepper, and flour again.

Pour milk over mixture; top with shredded cheese.

Cover and bake for 45 minutes or until potatoes are fork tender. Uncover and bake for an additional 10-15 minutes until cheese is golden.

Serves 4-6

Sunday, January 2, 2011

Holiday Cards 1

As I mentioned yesterday, I made nearly all of my holiday cards in sets. In fact, the only "one of a kind" card was made out of scraps. Here's the first design that I gave you a sneak peek of back in November. It wound up being my "adult" card.

Photobucket

Photobucket

Materials Used: Holiday Cakes cartridge, Martha Stewart snowflake punch,EK Success Snowflake punch, My Pink Stamper Winter Punnies, Papertrey Ink cardstock, Cuttlebug embossing folder, stickles, ribbon from Michaels and Recollections paper (I think).

Happy New Year - Chocolate Cupcakes with Cream Cheese Frosting

Happy 2011, everyone. I made these chocolate cupcakes for New Year's eve. The 9 year old who came didn't think the icing was sweet enough, but my auntie liked them a lot. They do not rise very much, so look a little like mini cakes.

Photobucket

Ingredients

Cupcakes
1 1/3 c all-purpose flour
1/4 tsp baking soda
2 tsp baking powder
3/4 c cocoa powder
1/8 tsp salt
4 tbs butter, melted
1.5 c granulated sugar
2 eggs
3/4 tsp vanilla
1 c milk

Frosting
1/2 c butter, softened
8 ounces cream cheese
1-2 c confectioners sugar, sifted
1 tsp vanilla
pinch of salt

Directions - Cupcakes

Preheat oven to 350 degrees

Cream butter and sugar together in a large bowl. Beat in eggs and vanilla.

In a separate bowl, whisk together flour, cocoa powder, baking soda, baking powder.

Beat flour mixture into butter mixture, alternating with milk. Batter will be fairly thin.

Pour into prepared muffin tins. Bake for 15-18 (I had to go to 20) minutes until springy and a tooth pick comes out clean.

Set aside to cool.

Directions - Frosting

Cream butter, cream cheese, pinch of salt, and sugar together until cream. Add in vanilla. Refrigerate until desired firmness is achieved.


Makes 18 small cupcakes

Saturday, January 1, 2011

New Year's Cards

Happy 2011! I can't believe an entire year has gone by. A lot of changes for me this year, most of which occurred in the last couple months, so it's too soon to tell what the outcome will be, but suspect it will be fantastic.

About the cards. Much like my Christmas cards, this year I made multiples, rather than a bunch of different designs. I did not get a banner done, but maybe I'll get an early start for next year. I have a bunch of project ideas, some of which involve more cards. We'll just have to see what happens.

Here are the cards I made:

Photobucket

Photobucket

Photobucket

Materials Used:
Celebrate with Flourish
Papertrey Ink ribbon and cardstock
My Pink Stamper "Happiest Moments"
Seeing Spots Cuttlebug embossing folder
Apron Lace Fiskars Edge Punch
Bling from my stash