Friday, May 24, 2013

Strawberry Rhubarb Scones

 photo strawberryrhubarbscone2.jpg

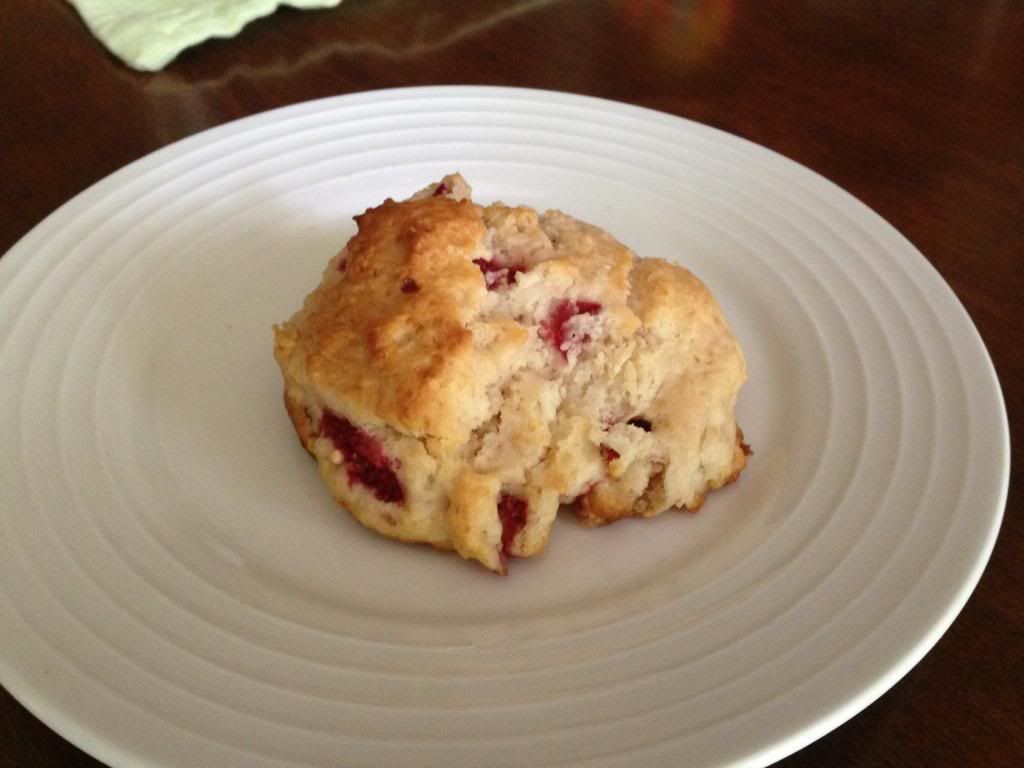
I'd been dying to make strawberry rhubarb something ever since strawberry season began this year, but couldn't quite decide what to make. Then I stumbled up this recipe posted at a new-to-me blog called Dessert First. As you know, I love a good scone so I eagerly whipped up a batch of these guys one evening this week. Using my large muffin scoop, I got about 9 scones. My husband and I polished off 5 right out of the oven, then fought over the last two the next afternoon. Just outside the frame in the picture below, my husband is hovering with plans to grab the last scone and run. Suffice to say, this recipe is very tasty and since it's lower in sugar than my other recipe, I might try this as my go-to scones dough in the future.

Strawberry Rhubarb Scones
2 cups all-purpose flour
1/4 cupsugar
1 TBS baking powder
1/2 tsp salt
6 TBS butter, cold and chopped
1/2 cup chopped strawberries (I probably used 3/4-1 cup)
1/2 cup chopped rhubarb
1 cup half and half or heavy cream

Preheat oven to 425 degrees F. Prepare a baking sheet by lining it with parchment paper or by greasing and flouring.

Whisk flour, sugar, baking powder, and salt together in a medium bowl. Add in butter using a pastry cutter (or two knives) until the mixture resemble coarse crumbs.

Gently toss strawberries and rhubarb in the flour mixture. Pour in cream and fold gently until the mixture comes together. Do not overmix.

You can now either turn dough out onto a floured surface, form into a rough circle about 6 inches wide and 1 inch thick, and cut into six wedges with a sharp knife. Or you can do as I did and use a large muffin scoop.

Place scones on baking sheet and bake for about 12-14 minutes, until tops are golden brown.

Remove and let cool on wire rack before serving.

Makes 6-9 scones

Sunday, May 19, 2013

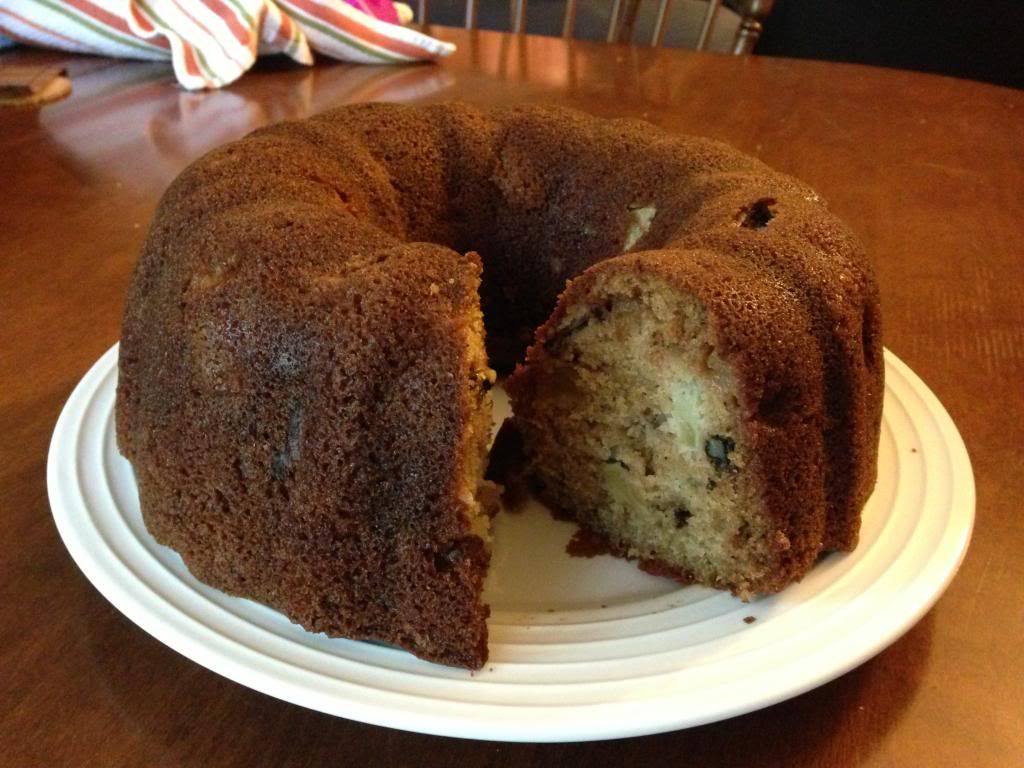
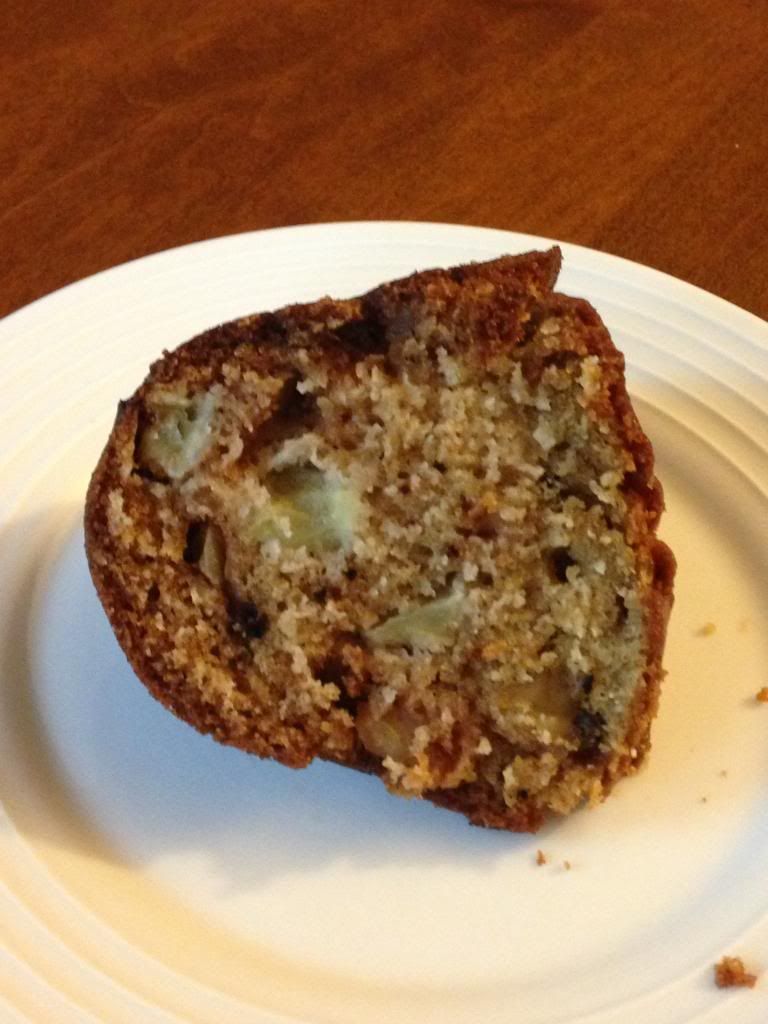
Apple Walnut Coffee Cake

 photo AppleWalnutCoffeeCake3.jpg

Today I have a semi-naughty coffee cake for your breakfast or brunch needs. It's naughty because I used full-fat ingredients and a fair amount of sugar. Here's how that happened: My 10-month old son has yogurt with his oatmeal most mornings. Because he's a growing baby, whole milk dairy products are recommended. (He's only eating cheese and yogurt at the moment.) Last week I mistakenly bought vanilla-flavored whole milk yogurt instead of plain. Although he didn't seem to mind the vanilla flavored, he gets quite enough sugar as it is from all the apple sauce he gulps down. Thus, I switched him back to plain yogurt as soon as I made it back to the store. That left me with nearly an entire quart of whole milk vanilla yogurt, which neither my husband nor I really needed to eat. (I make two batches of my vanilla yogurt using skim milk per week.)

I suppose I could have made frozen yogurt with the rich stuff, but just happened to notice the recipe on the back of the yogurt container: Glazed Apple Walnut Coffee Cake. It sounded rather tasty and as I had everything needed on hand last night I gave it a whirl. Quite tasty, as well as nice and moist! Next time I may add a little more cinnamon, but it was still very yummy. You'll notice that I did not make the glaze. My thinking was that the cake was so rich that we really didn't need a sugary glaze and I think I was right. However, I have included the glaze recipe below if you're interested.

Apple Walnut Coffee Cake
2 cups all-purpose flour
2 tsp baking soda
3/4 tsp cinnamon
1/2 c butter, softened
1 c granulated sugar
1/4 c brown sugar (org. 1/2 c)
4 eggs (I used 2 egg whites in place of 1 egg)
1 c vanilla whole milk yogurt
2 apples, cored, peeled and diced
3/4 walnuts, chopped

Glaze
3/4 vanilla whole milk yogurt
3/4 c apple cider
1/2 confectioners' sugar

Preheat oven to 350 degrees. Grease and flour angel food or bundt cake pan.

In a medium bowl, whisk together flour, baking soda, cinnamon and salt. In a large bowl beat together butter and sugars until light and fluffy. Beat in eggs, one at a time. Beat in 1 cup of yogurt.

With mixer on low, add flour mixture until just combined. Stir in apples and walnuts.

Pour batter into prepared pan and bake for 60 minutes or until a tester comes out clean. Rest in pan for 15 minutes, then turn out onto wire rack. Cool completely.

To make glaze, whisk together cider, 3/4 cup yogurt and confectioners' sugar. Pour over cake.

Serves 6

 photo AppleWalnutCoffeeCake1.jpg

Friday, May 17, 2013

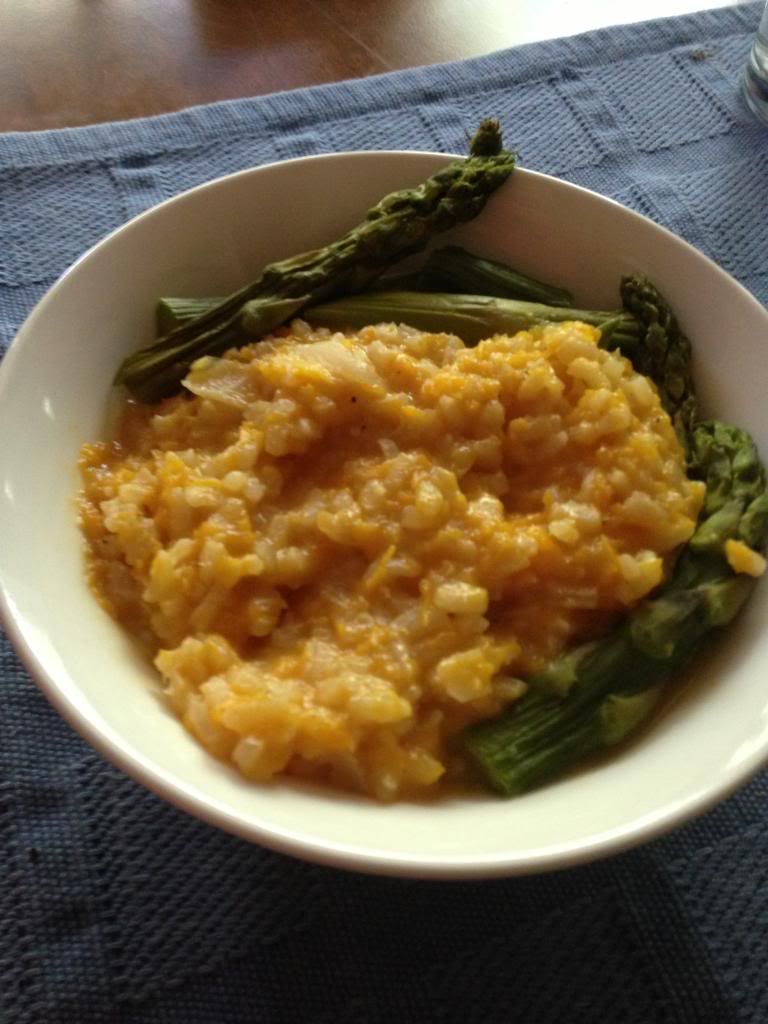
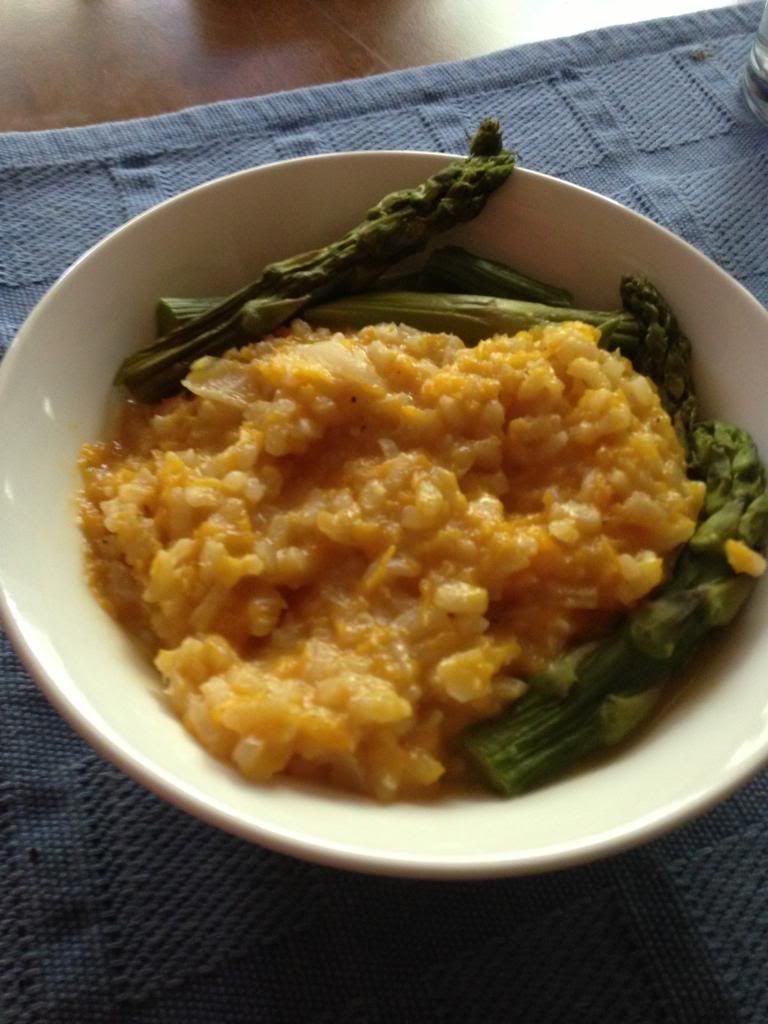
Butternut Squash Risotto

 photo butternutsquashrisotto2.jpg

Happy Friday! I know it's practically summer, but I have another comfort food-type recipe for you today.

For dinner yesterday evening I had intended to make Butternut Squash Raviolis. Yet another post I will get around to writing one of these days. Basically, I roughly follow this Emeril recipe and make my own ravioli dough. Anyway, I intended to make raviolis, but by 5:30 p.m., it just wasn't happening. However, I had already defrosted the roasted butternut squash--typically I buy a sizeable butternut squash (2-3 lbs), roast the entire thing, use half for whatever recipe I'm making and then freeze the rest. So I hit the web for something easier I could make using the roasted/mashed squash.

I came across this slide show from Martha Stewart, which gave me a number of ideas, including butternut squash mac 'n cheese and these tasty-sounding pot stickers. Alas, I didn't have any wonton wrappers, which I also could have used to make raviolis had I had them. Then I came to her butternut squash risotto recipe. It looked quite tasty, but called for chunks of squash to be cooked with the rice whereas my veg was already roasted. I then found this recipe at All Recipes.com, which called for cooking and mashing the squash in the first step. Close enough! I switched up the method a little by adding in the roasted squash at the end instead, which I think made it a heartier or at least prettier dish, but either way works. This dish is great as a side or a meatless main.

Butternut Squash Risotto
1 lb butternut squash, roasted
2 tablespoons butter
1/2 onion, minced
1 cup Arborio rice
1/3 cup dry white wine
5 cups chicken stock (I used beef as that was all I had)
1/4-1/2 cup grated Parmesan cheese (a large handful works)
Salt and pepper to taste

If you're not familiar with preparing risotto, it's a two-pot process. In one saucepan you'll saute your veggies and then prepare the risotto. In a second, smaller pot, you'll keep the broth/stock simmering on low so it's warm when you add it to the rice, which allows it to be absorbed faster (I think). If you add cold liquid, I believe your end result will be mushy and not the nice Melt the butter in a saucepan over medium-high heat. Add onion; cook and stir for 2 minutes until the onion begins to soften, then add in the rice. Continue cooking for another few minutes until the onions are beginning to brown.

Pour in the white wine; cook, stirring constantly, until it has been absorbed by the rice. Add 1 cup of the hot stock to the rice and cook, while stirring, until the liquid has been absorbed, 5 to 7 minutes.

Reduce heat to medium and add another cup of the remaining chicken stock. Continue stirring until the liquid has been absorbed. Keep adding the remaining liquid in 1 cup amounts, always waiting until the liquid is absorbed before you add more liquid. You will notice that the rice "drinks" the liquid quickly at the beginning, then slows down considerably. Continue this process until the risotto is creamy but still has a slight bite to the rice. You may not need all of the liquid. My total cooking time for the brand of arborio rice I buy is usually about 25-30 minutes.

Stir in the roasted squash and cheese until thoroughly incorporated and the squash is warm and the cheese melted. Season with salt and pepper to taste.

Serves 4

 photo butternutsquashrisotto1.jpg

Thursday, May 16, 2013

Slow Cooker Corned Beef

As I just posted what I did with our St. Patty's Day leftovers, I should probably post the corned beef recipe I used this year, particularly since it was amazing! This was only my second time making corned beef and let's just say last year's attempt wasn't much of a success. So many recipes call for just using the included spice packet and water, which just doesn't do it for me.

This year, I started out with a pretty decently sized brisket, but by the time I was finished slicing it, we barely had enough for dinner, one sandwich, and this yummy flannel hash. Other than tossing the seasoning packet, an important step (for me) is to lightly rinse the beef before placing it in the slow cooker. I know corned beef is all about the salted meat, but trust me that you're not going to rinse it all away. This recipe is adapted from one at Taste of Home. Sorry there are no pictures!

Slow Cooker Corned Beef

2 cups potatoes, chopped
2 medium carrots, chopped
1 large onion, sliced
Up to 2 (3 lb) corned beef briskets (I only had one)
1/4 cup packed brown sugar
2 TBS sugar
2 tsp ground coriander
1 TBS whole peppercorns
~4 cups water (see directions)

Discard the spice packets. Gently rinse the brisket and pat dry with a clean towel.

In the bowl of the slow cooker, toss potatoes, carrots and onion. Top with the brisket. Sprinkle the brown sugar, sugar, coriander and peppercorns over meat. Add about an inch or two of water. Cover and cook on low for 8-10 hours or until meat and vegetables are tender.

Slice brisket across the grain and serve with vegetables, on rye bread, or make flannel hash.

About 4 servings.

Wednesday, May 15, 2013

Flannel Hash

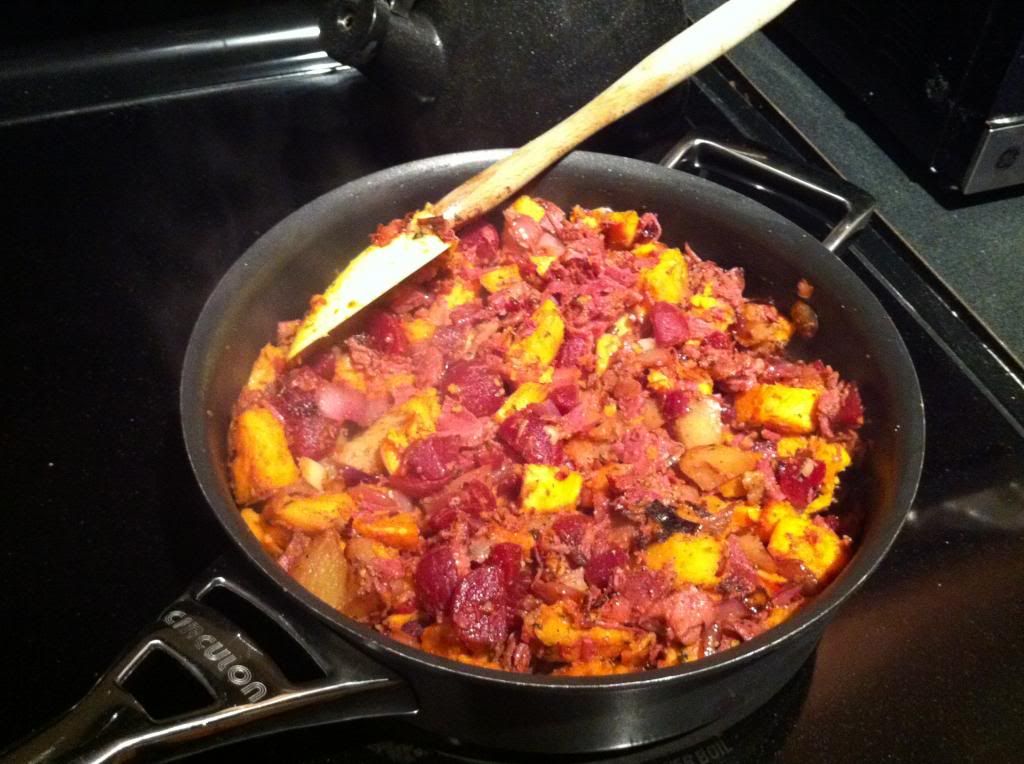
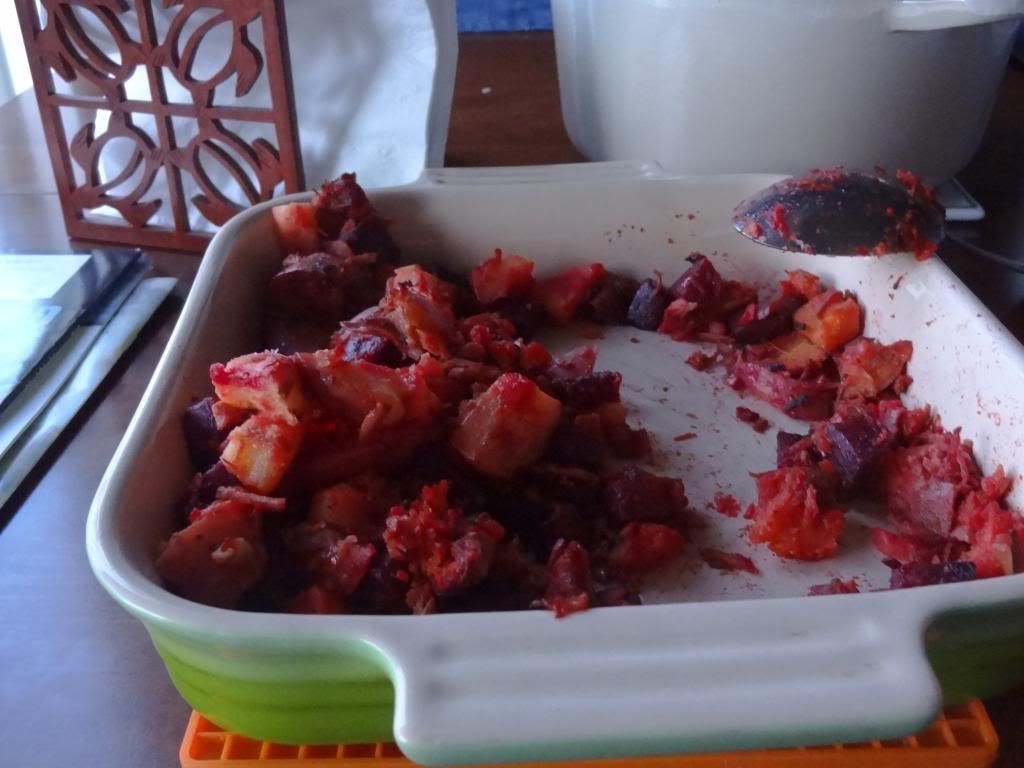
Wow, another month gone by without a post. I have no excuses for you, but I do have a super tasty recipe. Two years ago, my husband and I went to NYC for a long weekend. We caught three shows, did some shopping, and hung out with friends. On our last morning, we stopped for a quick breakfast at a diner around the corner from our hotel. On a whim and looking for something more nutritious than bacon, eggs, and flapjacks, I tried something I had never heard of before: Flannel Hash. When it came, it was a huge plate of different colored cubes ("flannel"). Since I'm not a fan of breakfast potatoes or hash browns, I was apprehensive. I LOVED it. This dish is super easy to make and is perfect for those St. Patty's Day leftover. (Yes, we had this after St. Patty's Day and I'm just getting around to posting it now.) But, trust me, this dish is good enough to take the trouble to make all by itself, any time you can find brisket in the store. It's hearty enough for any meal of the day!

 photo FlannelHash.jpg
Adapted from Simply Recipes.

2 TBS butter
1 TBS olive oil
1 large onion, chopped
2 cups chopped cooked corned beef
1-2 cups chopped cooked beets*
1-2 cups chopped cooked potatoes*
1-2 cups cooked sweet potatoes*
1 tsp Worcestershire sauce
1 tsp dried parsley
Salt and pepper

*I recommend roasting the beets, sweet potatoes, and potatoes for this dish. It brings out their natural sweetness. Cut into 1/2" cubes and toss on a sheet pan with olive oil, salt, and pepper. Roast at 400 degrees for 20 minutes or until fork-tender and slightly browned.

Melt butter in olive oil on medium high heat. Saute onion until translucent. Add corned beef, beets, sweet potatoes and potatoes to the pan. Drizzle with Worcestershire sauce and sprinkle with salt, pepper, and parsley. Go easy on the salt if your potatoes are well-season as corned beef is salty.

Press mixture into even layer, reduce heat to medium and cook for a few minutes until a nice crust begins to form. (This step isn't really necessary for taste, just makes it prettier and adds a little more caramelization.)

Serve by itself or with eggs.

Makes about 4 servings.  photo flannelhash3.jpg