I love my ice cream maker, but sadly had not had the space to make homemade ice cream in at least a month. it might be because there have been fantastic sales on Breyer's Blasts, which is a lowfat ice cream product loaded with candies. The Snickers and Oreo Cookies & Cream Chocolate flavors are my favorites, but they have more than a dozen--nearly all at less than 5 g of fat per serving. But I digress.
My auntie has a separate freezer of which I'm sorely envious. Because of all the space, she keeps not one but two ice cream freezer bowls frozen at all time! (In my little freezer, I can either had ice cream or a freezer bowl in the freezer due to minimal space). Thus while visiting her, I had to make ice cream! (or rather frozen yogurt)
This recipe is actually one for raspberry frozen yogurt which I found at the blog Finding Joy in My Kitchen. Frozen raspberries were ridiculously expensive, so we went with a mixture of frozen and fresh strawberries. The recipe calls for 3/4 c sugar, but I think you could get away with closer to 1/2 c of sugar. However, my auntie likes things sweet and it is true that once frozen the flavor becomes a bit muted so we used the whole amount with good results. However, if you're worried about the amount of sugar, I'd start at a tablespoon or two more than 1/2 c and go to slightly sweeter than taste.
the recipe made about 50% more than the 1.5 qt Cuisinart ice cream bowl could hold. I think it will be okay in my 2-qt bowl at home or at least most the mixture. We used the leftovers to make popsicles. All were quite yummy.
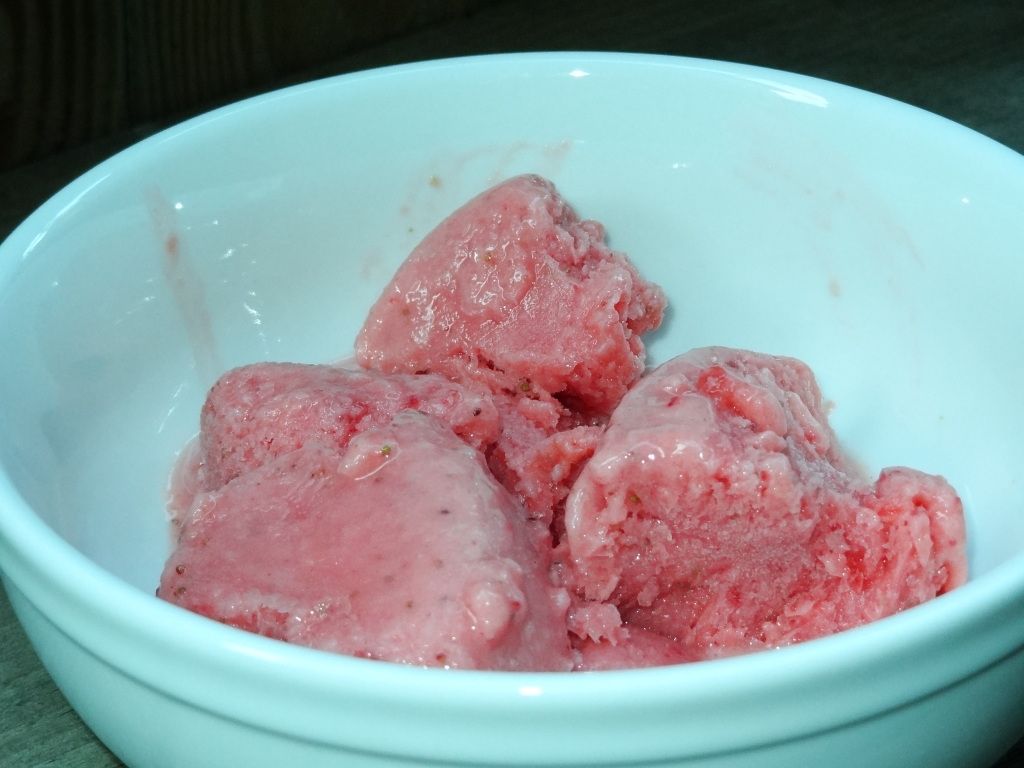
Strawberry Frozen Yogurt
2 C plain yogurt
3 C raspberries (or strawberries)
3/4 C sugar
1/2 C milk (I used 1/2 and 1/2)
Puree berries in a blender. If you are using frozen, put some of the milk and yogurt mixture in the bottom first or allow the berries to melt a bit first.
Whisk together remaining ingredients.
Pour into ice cream bowl and churn as directed by your ice cream maker's instructions. Serve as soft serve immediate or freeze until firm.
Makes about 10 cups.
Monday, June 18, 2012
Sunday, June 17, 2012
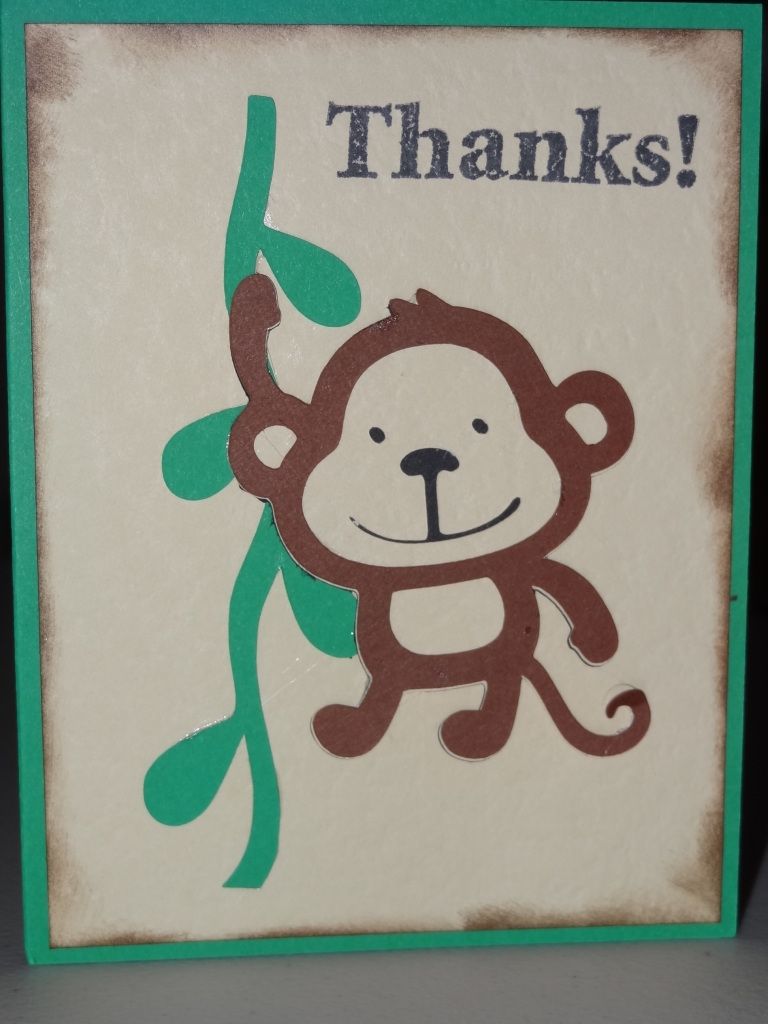
Monkey Thank You Card
Well at 2 am before my trip to Hawaii last week, it occurred to me that I would likely need some thank you notes for my office folks who would assuredly do something for baby. (Sure enough, they threw me a fantastic shower and it was a blast!) Since I hoped to get a little sleep, I turned to my trusty Create a Critter cartridge and whipped up this super simple card.
The stamp is from the Inkadinkadoo "Thanks" set that I've been using, cardstock from my stash, and Tim Holtz distress ink in walnut. Here's another look:
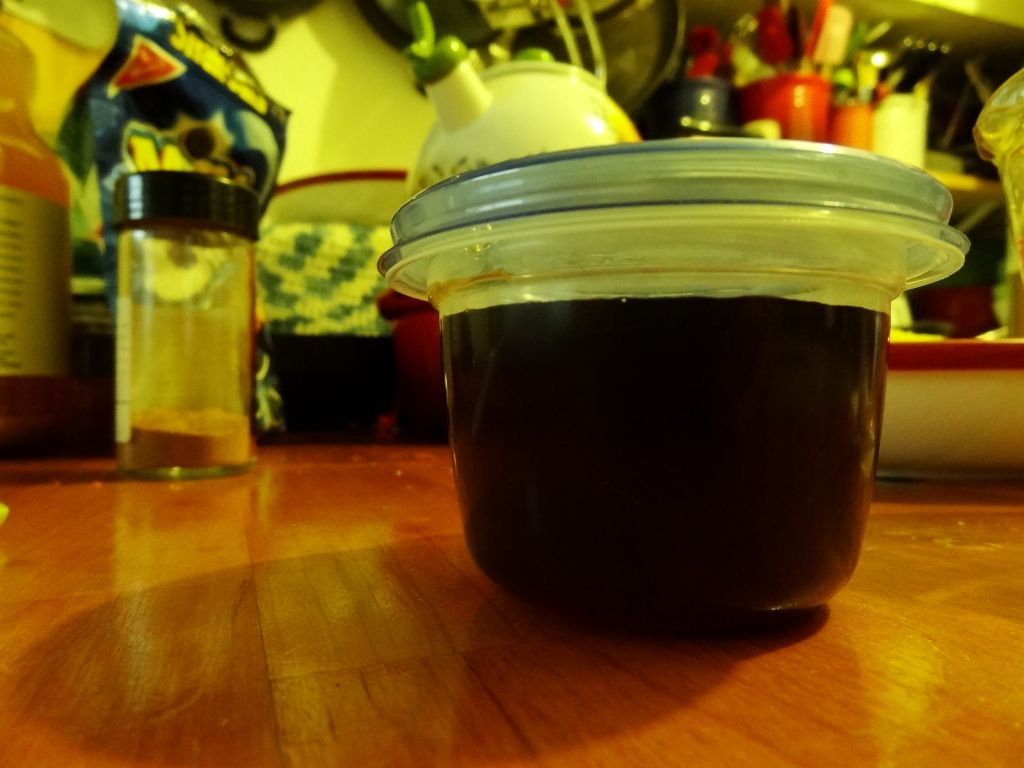
Homemade Pancake Syrup
I admit it. I'm addicted to commercial pancake syrups like Log Cabin, Aunt Jemima, etc. Actually, I recently found a small brand sugar free one that I really like but don't remember the name. 100% maple syrup is fine for baking, but it just doesn't have the right flavor or texture as a sugar/corn syrup/chemical blend. While visiting my auntie, I had the urge to make french toast. However, as a bit of a food purist, she only had real maple syrup which wouldn't work for me. Thus, I set about to find a recipe to concoct my own pancake syrup. I modified this recipe from About.com, mainly to reduce the quantity (since the syrup was just for me) and use real maple syrup as flavoring rather than an extract.
It tasted fantastic! Though it was a little thin, which is the principal complaint from the comments of the original recipe. However, it was rather perfect for the thick slices of french toast that I had only soaked in the egg mixture for a few minutes instead than overnight. I'm thinking that I might experiment with less water or possibly corn syrup next time in efforts to get the right consistency. Not sure how long it will keep in the refrigerator, but probably at least a couple of weeks.
Homemade Pancake Syrup
3 Tbs granulated sugar
7 Tbs brown sugar
1/2 c (or a little less) water
1 Tbs 100% maple syrup
pinch of salt, if desired
Dissolve sugars in water over medium-high heat. Bring to a boil and reduce to 1/2 c. Finish with maple syrup and let cool to room temperature.
Makes about 1/2 c.
Friday, June 15, 2012
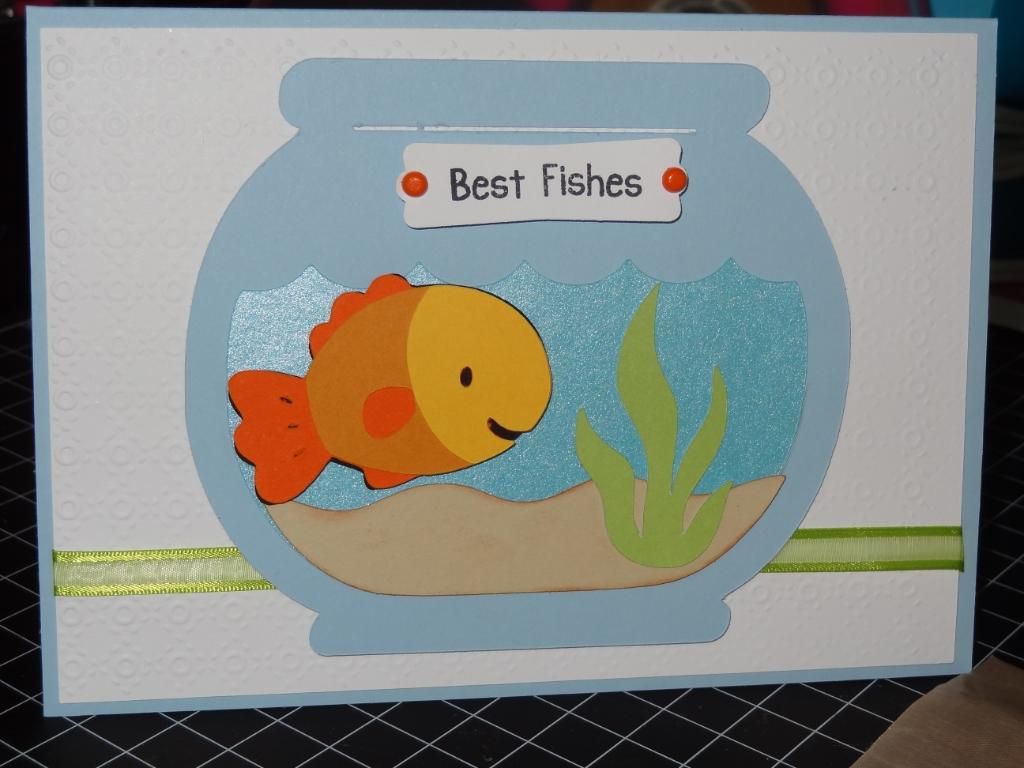
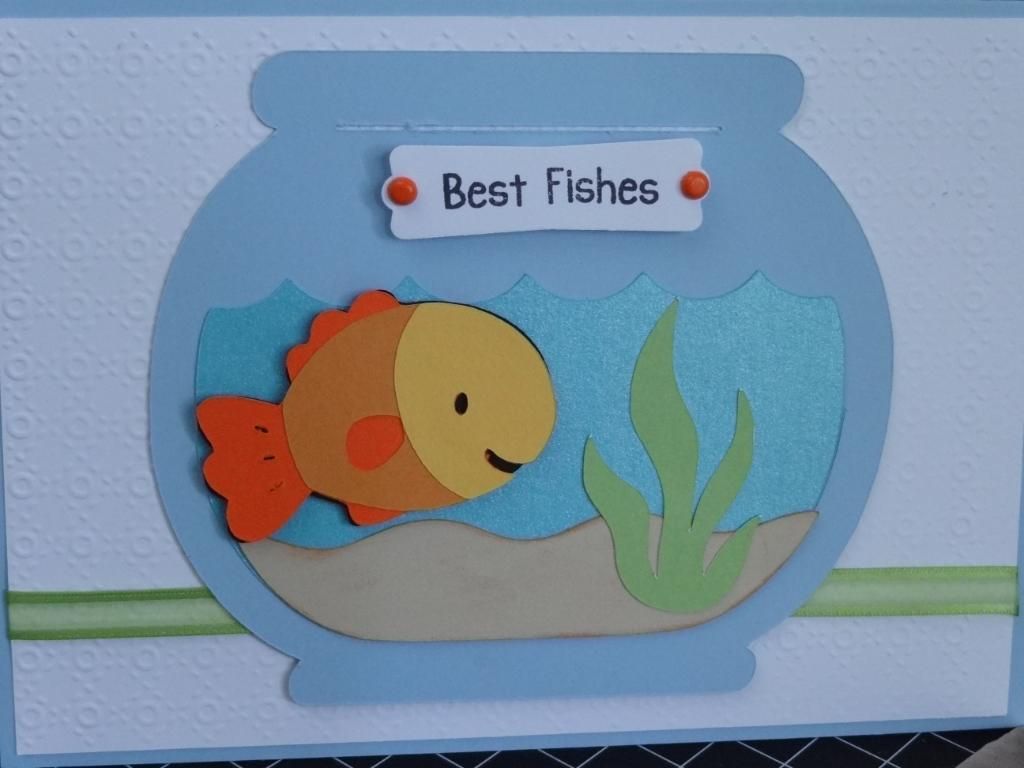
Best Fishes
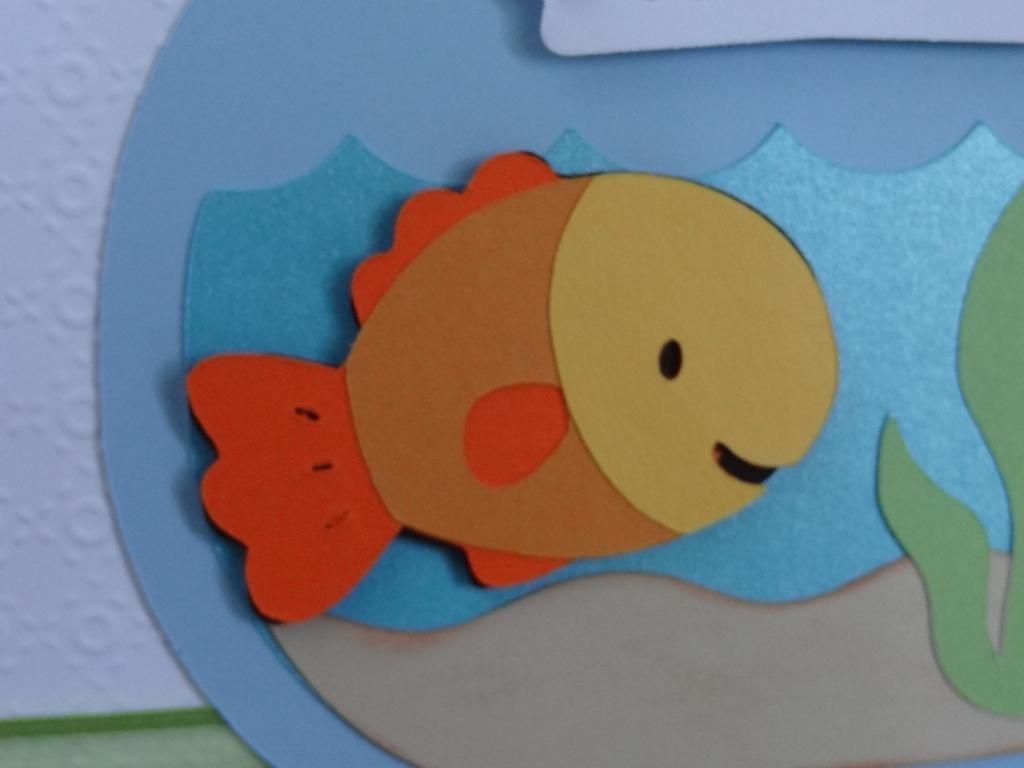
I needed a birthday card for an older adult man. He doesn't golf or like one sport particularly over another so the cliche images are out. Thus, I turned to trusty Create a Critter. Though I'm not entirely happy with the color of the bowl, I'm generally pleased with how this card turned out. It's larger at 5 x 7", which allowed for a larger goldfish.
Materials
Papertrey Ink cardstock
Create a Critter
My Pink Stamper "More Punnylicious"
Cuttlebug Embossing Folder
EK Success Punch
Misc ribbon
Materials
Papertrey Ink cardstock
Create a Critter
My Pink Stamper "More Punnylicious"
Cuttlebug Embossing Folder
EK Success Punch
Misc ribbon
Thursday, June 14, 2012
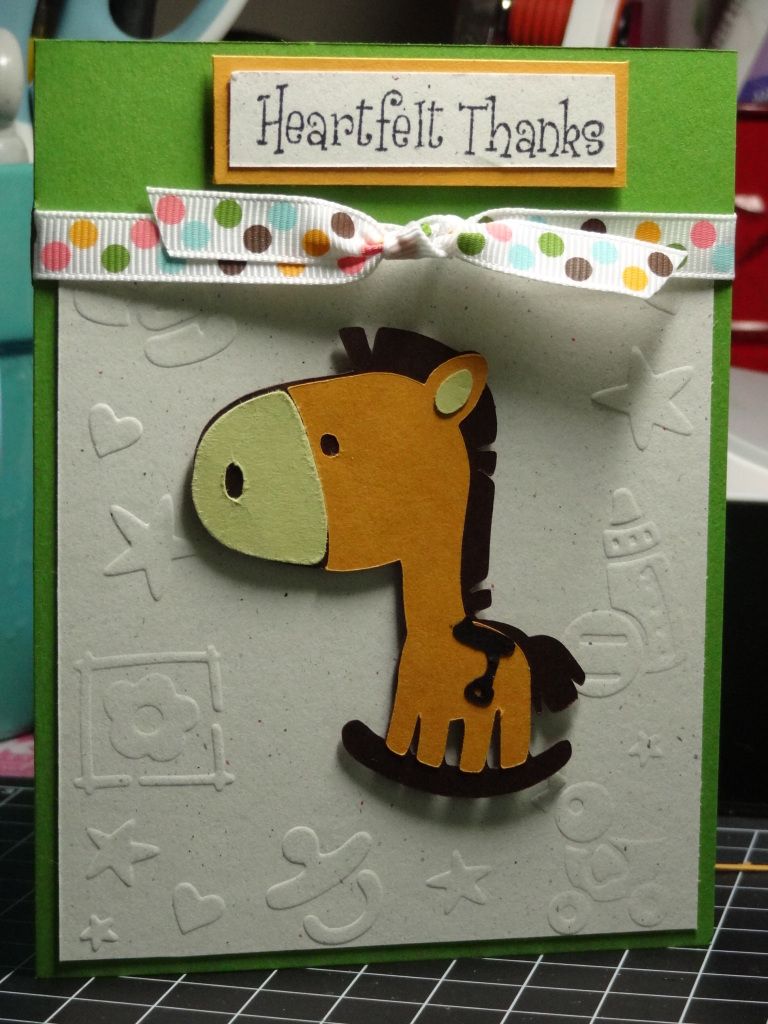
Giraffe Thank You Card
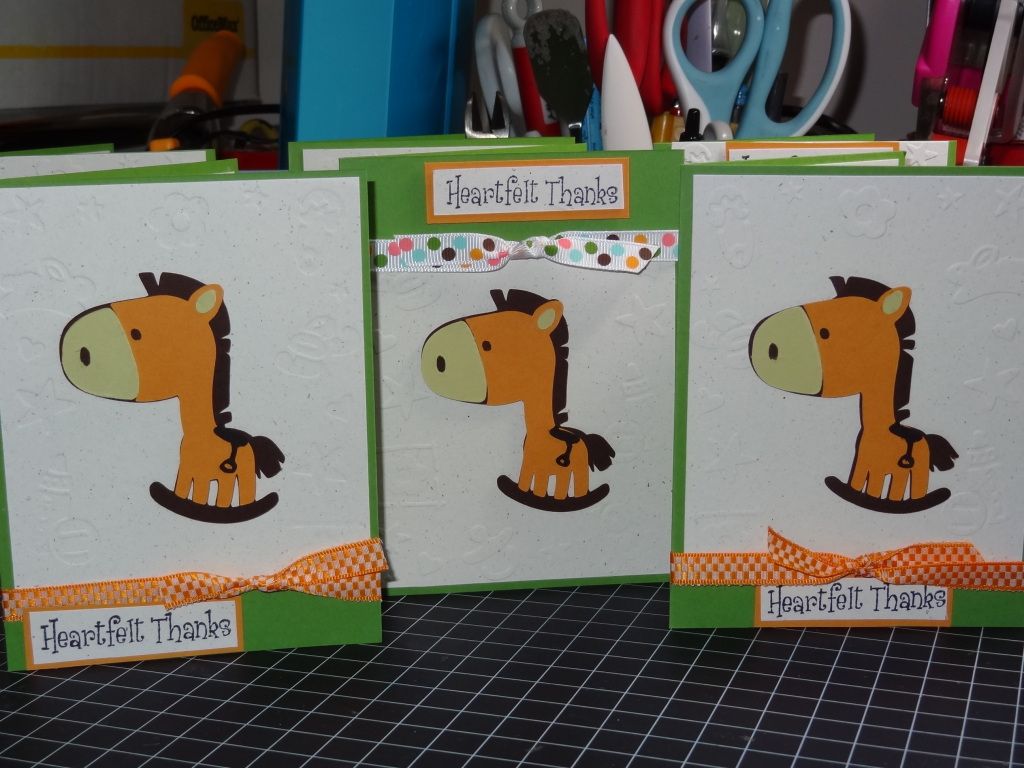
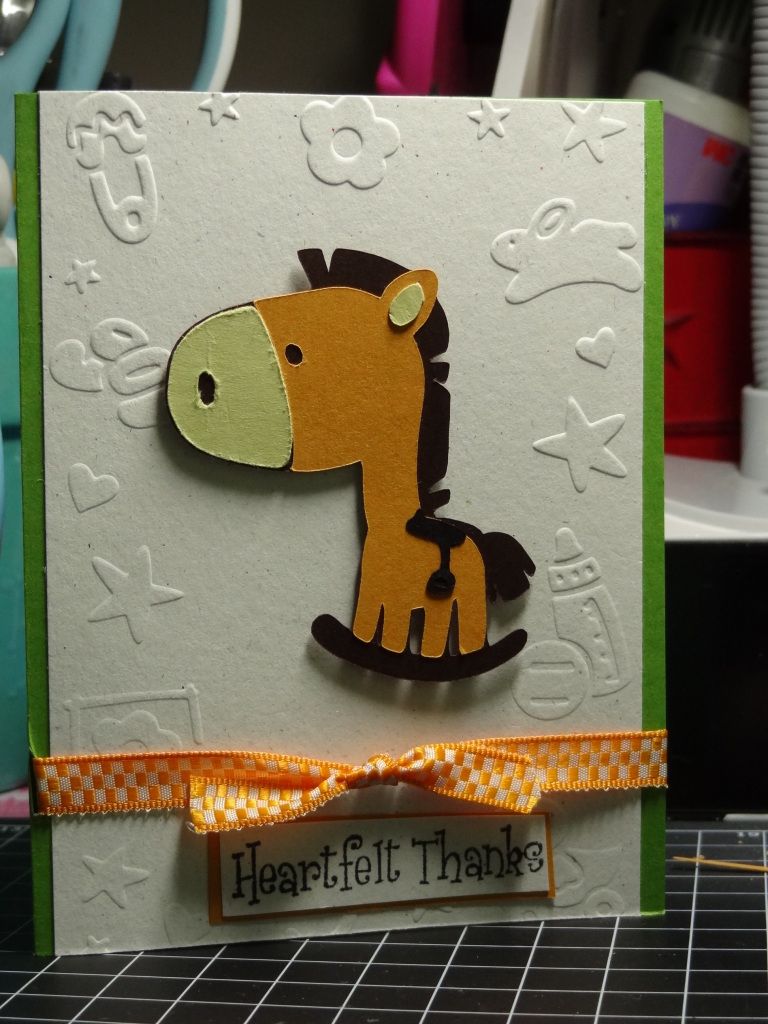
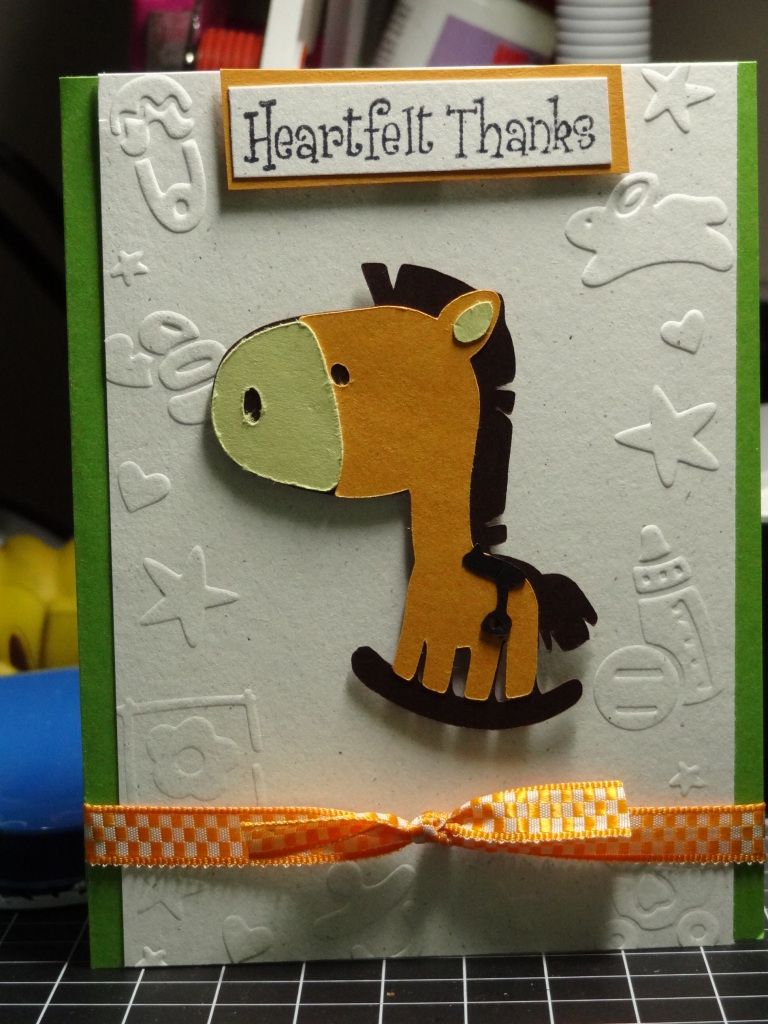
Here's another thank you card I made for my baby shower. After the froggy card, I think this one is my favorite. I used the B is for Boy Cricut cartridge and a baby border embossing folder by Darice. The main reason there are three different variations of this card is because I had trouble using the embossing folder on any other size than a 4 x 5.5"--the border didn't really seem to be designed to be embossed on a smaller scale or partial layer, though I tried. The stamps are from the Inkadinkadoo "Thanks" set that I've been using so often and the ribbon and paper are from my stash.
Wednesday, June 13, 2012
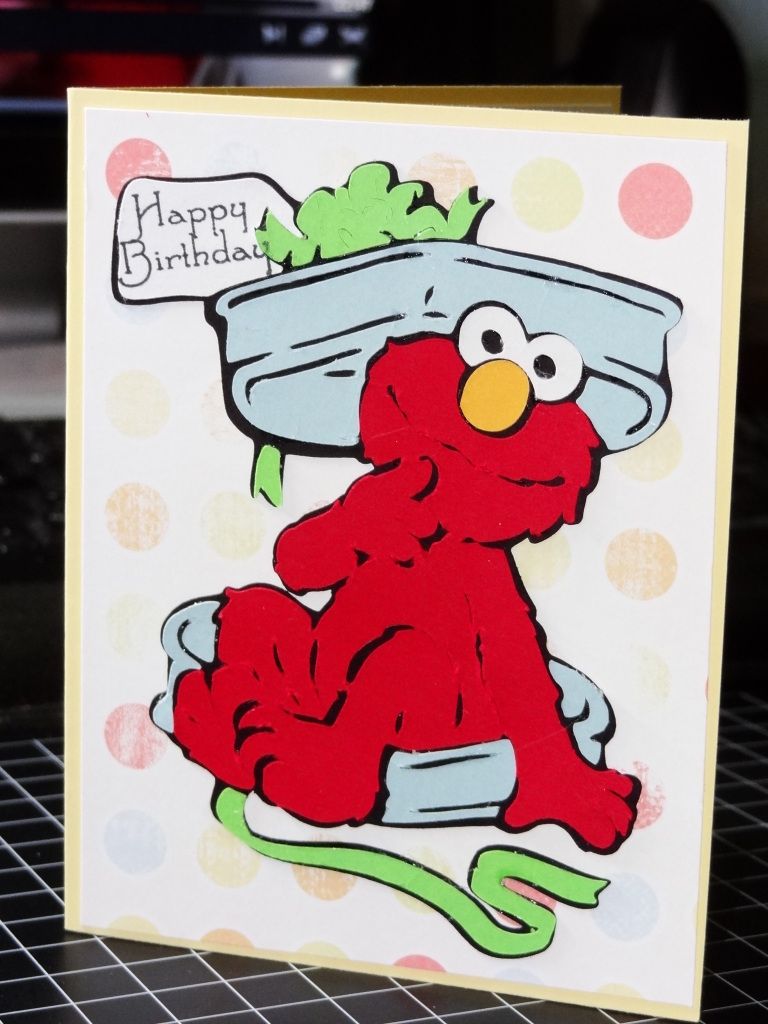
Elmo Birthday Card
Last year, I made my husband an Oscar the Grouch card for his birthday since he mentioned that was his favorite character as a child. When this year rolled around, I had just received Elmo & Friends Holiday cartridge and couldn't wait to try it out. I've always rather partial to Elmo, although this cartridge has some really cute Cookie Monster and Big Bird images, as well.
This is actually a Valentine's Day image, but I decided to stamp Happy Birthday on the tag. My husband made a bit of fun of the card saying that it looks like a potty. Oh well, I like it, particularly Elmo's mischievous expression. That's what counts, right? One thing about this cartridge is that certain images, though this one isn't too bad, suffer from the same major flaw as the other licensed character cartridges--too many small pieces or unnecessary outlining. If you use tweezers and have a little patience, you should be okay but otherwise it may drive you crazy.
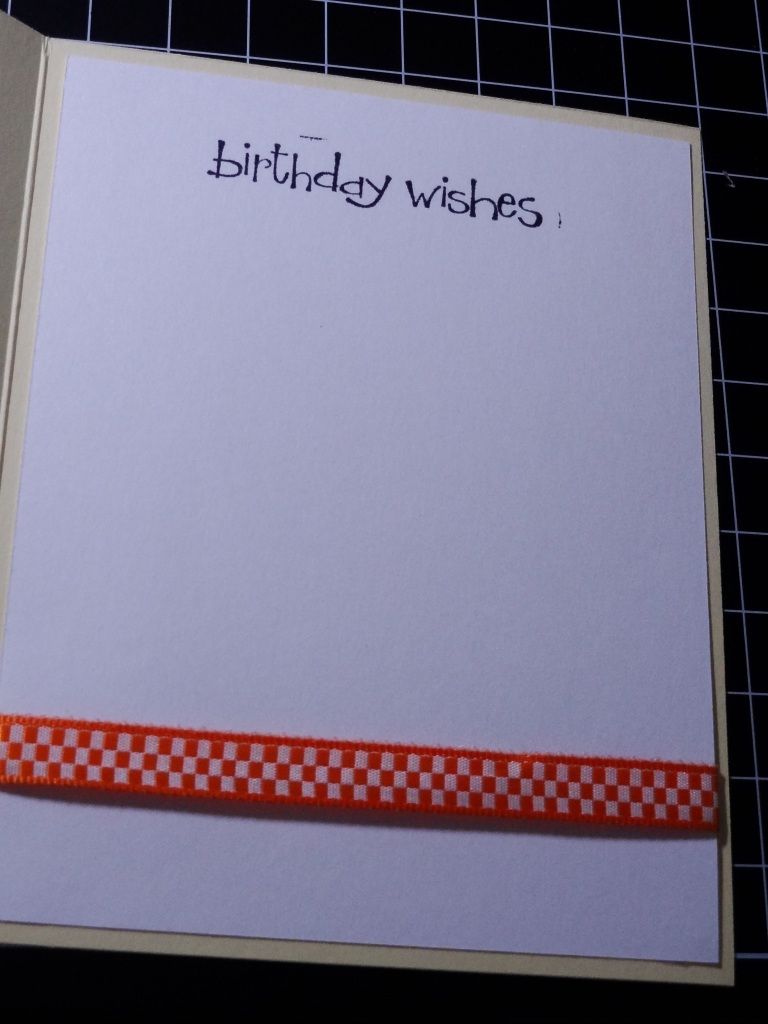
Most of the supplies are miscellaneous from my stash. The interior stamp is from an Stampin Up stamp collection and the interior is a partial stamp using a masking technique from My Pink Stamper's Even More Punny-licious set.
Here's the card:
Wednesday, June 6, 2012
Justin's Birthday Cupcakes
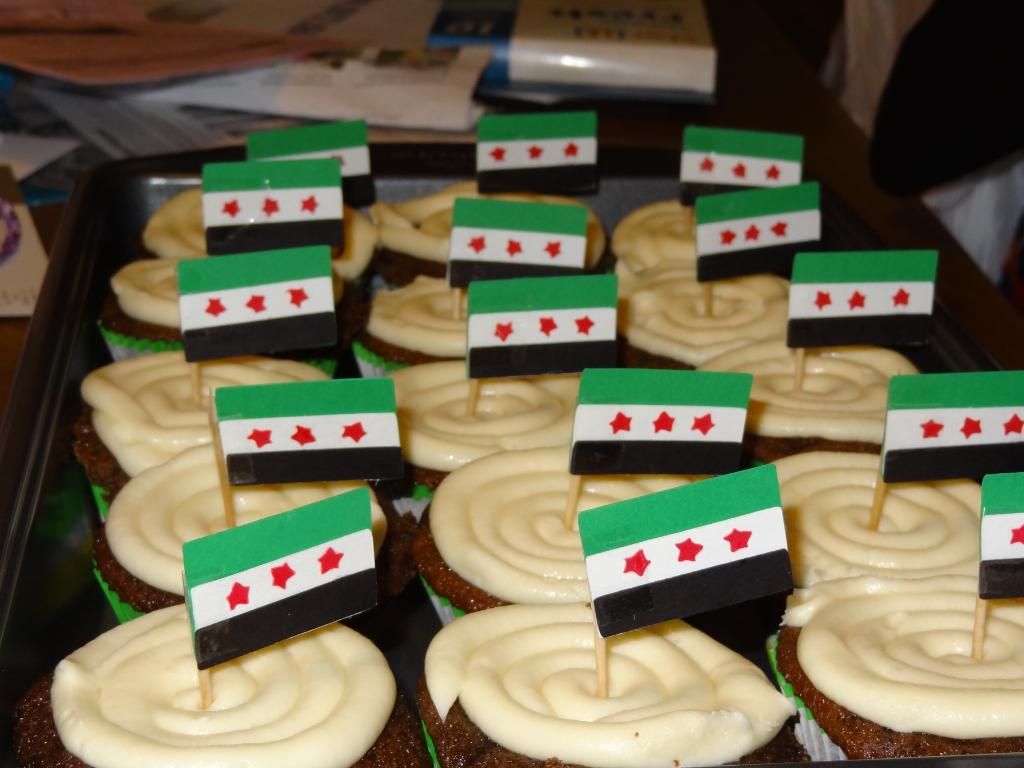
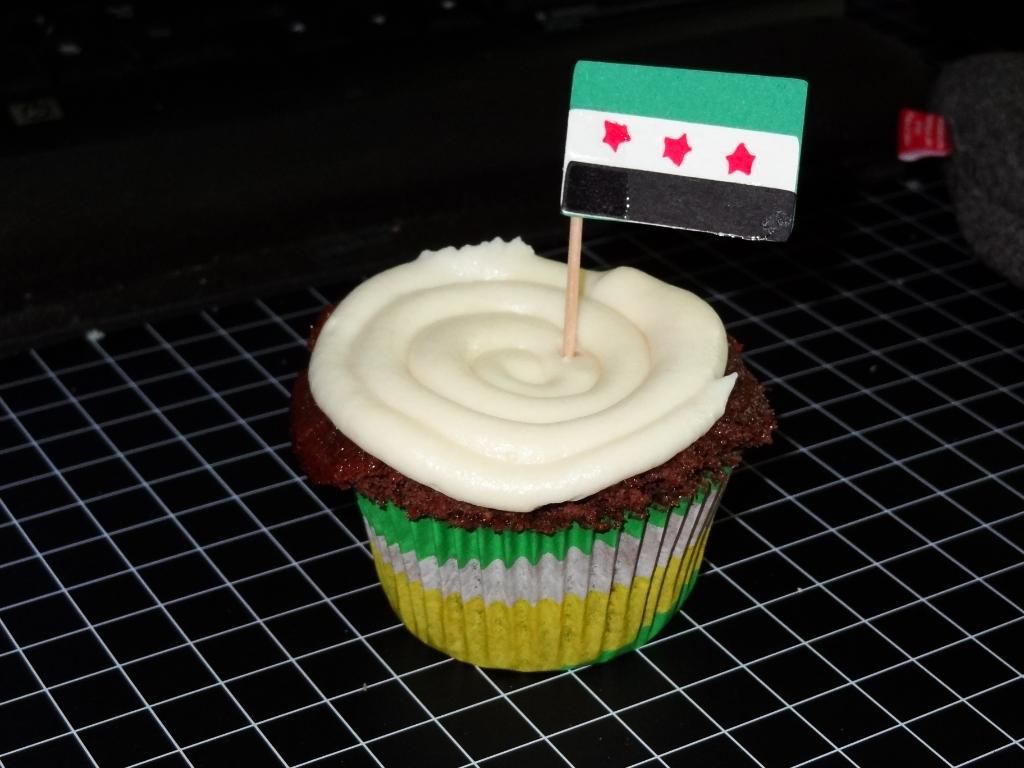
Happy birthday, Justin! As my husband's birthday approached, rather than baking a cake, I planned to send cupcakes to work with him. That provided me with an excuse to bake but not have an entire cake to eat by ourselves. Granted, since baking these yesterday afternoon, I've had at least three, but oh well. Anyway, when I mentioned this to my husband, he requested I make Free Syrian Army Cupcakes!
What?!!!
A little background is in order. My husband is a intell analyst with the U.S. Marines. Currently, his country assignment is Syria. As you likely know, more than a year after the beginning of the Arab Spring, the Syrian people are still struggling to realize their goals. The Free Syrian Army flag (aka rebel flag) is Syria's flag from 1932. As I understand it, the lifespan of this flag included Syria's gaining of independence from France.
My husband suggested that I draw the flags out of icing. However, I wanted to make at least a dozen cupcakes and drawing 36 itty bitty stars did not sound like fun. Plus I had no idea where to get black food dye (yes, I know I could make it, but the proportions thereof are easier said than done). Thus, I turned to my trusty Cricut machine.
Here's a closeup:
I used this cupcake recipe from New Year's. Though the cupcakes are tasty and light, there's something funky about the recipe as the cupcakes do not rise to a nice rounded shape. I even took care not to overfill the cupcake holders, filling them only 2/3rds full. Still they turned out flat. Either way, they were a hit at work and my husband was happy, which is all that counts.
Once again, HAPPY BIRTHDAY JUSTIN!!!
Saturday, June 2, 2012
Smoothie - Greenie Goodness
It's June, can you believe it? Curiously, today's weather is quite spring-like today. It's now about 1pm and we're barely in the mid-70s. Early this morning, it was in the 60s.
Anyway, moving on to today's recipe...I had been wanting to muster the nerve to try including green veggies in my smoothies for some time. Especially since I realized that throwing frozen yogurt cubes in my smoothies was a convenient way to get my 3 servings of dairy a day, it seemed like a great idea to throw in a veggie too. A few months ago, I bought a gigantic bag of kale and gathered a couple new recipes to try, but I wound up cooking it as a side dish one evening. A while passed and I actually stopped having quite as many smoothies--no particular reason, I just didn't make as many. Then last week as we were going out of town for the long weekend, I realized that we still had most of a bag of spinach left which would go bad. On a whim, I threw the whole bag with a banana, a cup of blueberries, some frozen yogurt cubes and enough milk to get the consistency I desired. It looked and tasted (mostly) just like a regular berry smoothie. It wasn't as a sweet as my usual smoothie, but that's likely due to the use of plain yogurt and milk instead of either juice or vanilla yogurt. I don't remember if I took pictures or not, but I'll post them later if I did. That early effort was successful enough to convince me to try other recipes.
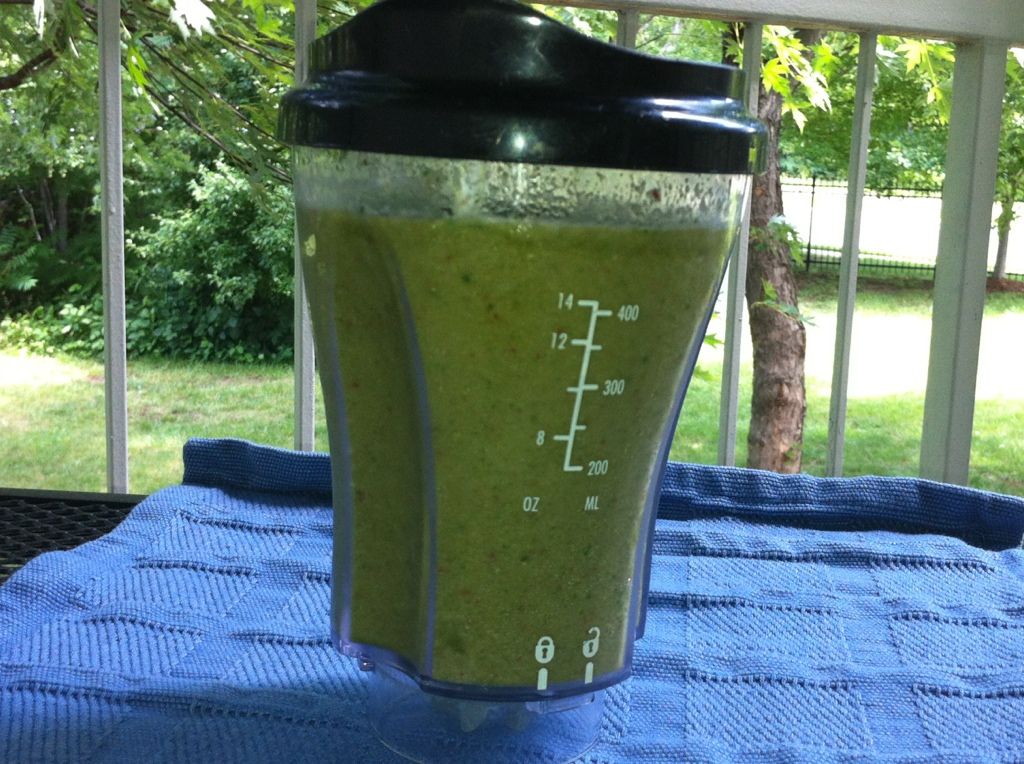
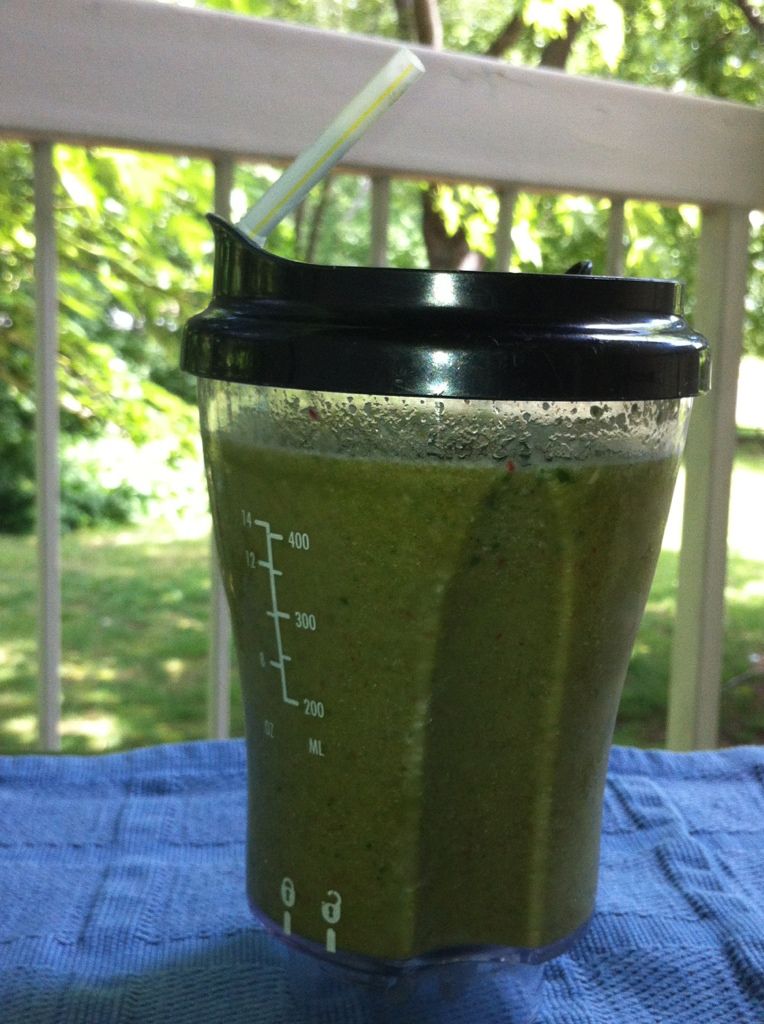
Today's smoothie creation is fantastic, although its color might be a bit off-putting to some. I swear that you cannot taste the spinach, only the sweetness of fruit with a hint of creaminess. I thought about putting it in a nice glass to photograph, but was too lazy (and I couldn't wait to drink it). At least I walked out onto the patio so the background was a little nicer, right? I highly HIGHLY recommend this smoothie, as well as the nifty single serve blender from Hamilton Beach that I mixed it in.
8 oz apple juice
3-4 frozen non-fat plain yogurt cubes (each of my cubes is about 1.5 tbs)
1/4 c frozen strawberries
1 c baby spinach
In my blender, it's best to start with juice or some sort of liquid before adding the frozen goodies. I layered juice, yogurt, spinach, and then strawberries. Blend until desired consistency is reached.
Serves 1-2
Here's a last look.
Subscribe to:
Posts (Atom)