For those of you following my blog(s) in Google Reader or a similar feed aggregator, please pop on over and see my new look. I finally decided to embrace tabs and a spent a lot of time this morning selecting snazzier backgrounds. I also updated by blogroll/link lists.
Please let me know what you think by commenting or sending me an email.
Thanks for visiting.

Sunday, June 13, 2010


Dragonfly - Thinking of you
I'm making a few cards for my auntie to send to her friends. Since they're not for Operation Write Home, they can be bigger than the A2 cards.
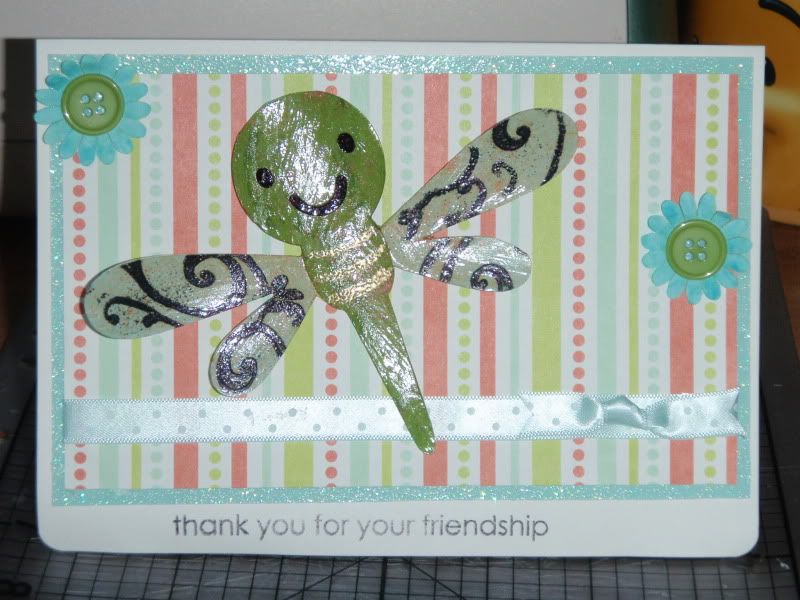
Materials
- 5 x 7 white card base
- DCWV glitter cardstock, cut at 4.25 x. 6.75
- Pattern paper from my stash cut at 4 x 6.5"
- Dragonfly, p. 24 of Create a Critter, cut at 3.75"
- Stampin Up embossing powder, Tuscan Sun Glimmer Mist on the dragonfly
- Making Memories paper flowers, buttons and ribbon from my stash
- Stampendous stamp - "Happy Messages"
- Adhesives: Glue Glider Pro, Glue Dots, foam tape, Mod-Podge for gloss
- Martha Stewart Punch
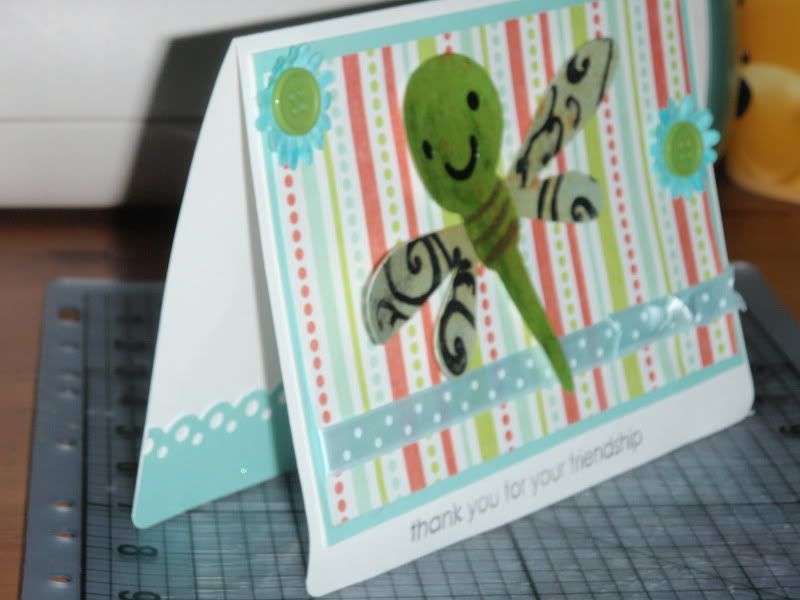
Here's the inside:

Materials
- 5 x 7 white card base
- DCWV glitter cardstock, cut at 4.25 x. 6.75
- Pattern paper from my stash cut at 4 x 6.5"
- Dragonfly, p. 24 of Create a Critter, cut at 3.75"
- Stampin Up embossing powder, Tuscan Sun Glimmer Mist on the dragonfly
- Making Memories paper flowers, buttons and ribbon from my stash
- Stampendous stamp - "Happy Messages"
- Adhesives: Glue Glider Pro, Glue Dots, foam tape, Mod-Podge for gloss
- Martha Stewart Punch
Here's the inside:

Saturday, June 12, 2010
Easy Ribs Method
It was chilly and rainy today, but since it's June, I wanted something summery. Luckily, I had a couple of slabs of baby back pork ribs in the freezer and some of my favorite rub in the cupboard. I posted this recipe last summer here, but took a lousy picture. I didn't make the sauce this time, but really enjoyed the KC Masterpiece, original flavor. (I selected it because high fructose corn syrup wasn't the first ingredient on the label--it was the second, but tomato puree was first and that made me feel a bit better about using a store-bought sauce.)I adjusted the method from last year, just a bit. The broiling step allowed for a finished, slightly charred outcome. Yum!

Here's the dry rub recipe. Place all ingredients in an air-tight container and shake well to combine. It will keep on the shelf for months.
1/2 cup paprika
1/4 cup kosher salt
1/4 cup sugar
1/4 cup powdered mustard
1/4 cup chili powder
1/4 cup ground cumin
2 tablespoons ground black pepper
1/4 cup granulated garlic
2 tablespoons cayenne pepper
1. Preheat oven to 350 degrees.
2. Rub ribs generously on both sides.
3. Place on a rack in a baking pan, cover tightly with foil. Bake for 90 minutes or until tender.
4. Remove foil and brush with sauce. Broil for 5-7 minutes or until you see slight charring.
I made two slabs of ribs, about 2 lbs, but the rub will cover probably 10 lbs.

Here's the dry rub recipe. Place all ingredients in an air-tight container and shake well to combine. It will keep on the shelf for months.
1/2 cup paprika
1/4 cup kosher salt
1/4 cup sugar
1/4 cup powdered mustard
1/4 cup chili powder
1/4 cup ground cumin
2 tablespoons ground black pepper
1/4 cup granulated garlic
2 tablespoons cayenne pepper
1. Preheat oven to 350 degrees.
2. Rub ribs generously on both sides.
3. Place on a rack in a baking pan, cover tightly with foil. Bake for 90 minutes or until tender.
4. Remove foil and brush with sauce. Broil for 5-7 minutes or until you see slight charring.
I made two slabs of ribs, about 2 lbs, but the rub will cover probably 10 lbs.
Congratulations
I needed a last minute card for a retirement party, so here is what I made. The recipient was a male, which was part of the reason for the dark colors--and I like blue and purple.
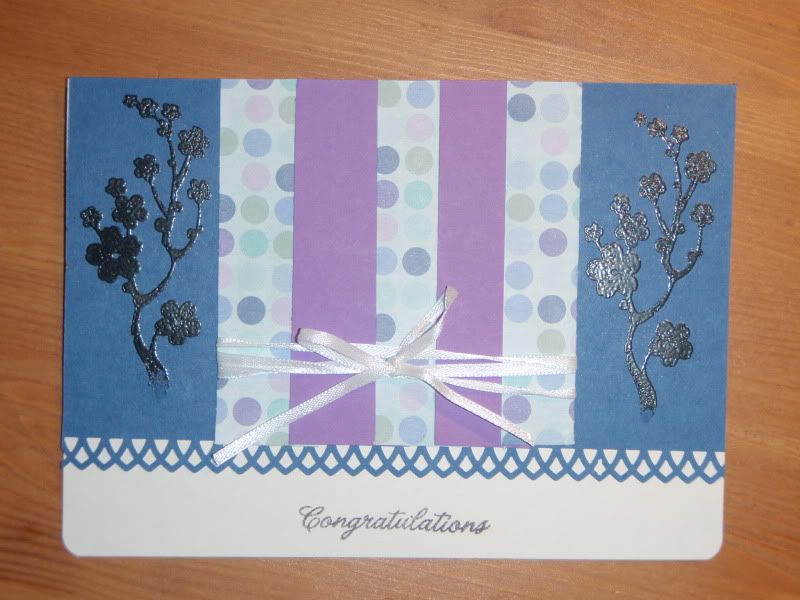
Materials:
Paper--Assorted cardstock and pattern paper from my stash.
Punch--One of my brand new Martha Stewart punches called Arch Lattice.
Stamping--Embossing powder from Stampin Up; cherry blossom from a Inkadinkadoo stamp collection called "Asian by Design;" "Congratulations" stamp from Hero Arts collection called "Everyday Sayings."
Ribbon--White inexpensive stuff, probably from Michaels (what I had was a bit too skinny, so looped it around three times).
Adhesive--My new Glue Glider Pro
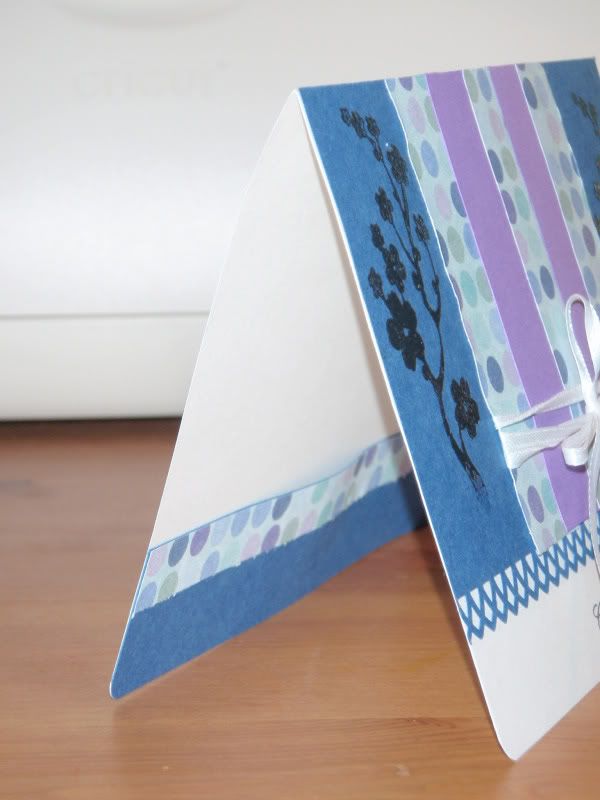
Here's the inside. I made a simple pocket for the gift card.

Materials:
Paper--Assorted cardstock and pattern paper from my stash.
Punch--One of my brand new Martha Stewart punches called Arch Lattice.
Stamping--Embossing powder from Stampin Up; cherry blossom from a Inkadinkadoo stamp collection called "Asian by Design;" "Congratulations" stamp from Hero Arts collection called "Everyday Sayings."
Ribbon--White inexpensive stuff, probably from Michaels (what I had was a bit too skinny, so looped it around three times).
Adhesive--My new Glue Glider Pro
Here's the inside. I made a simple pocket for the gift card.

Cricut Lite Wishlist
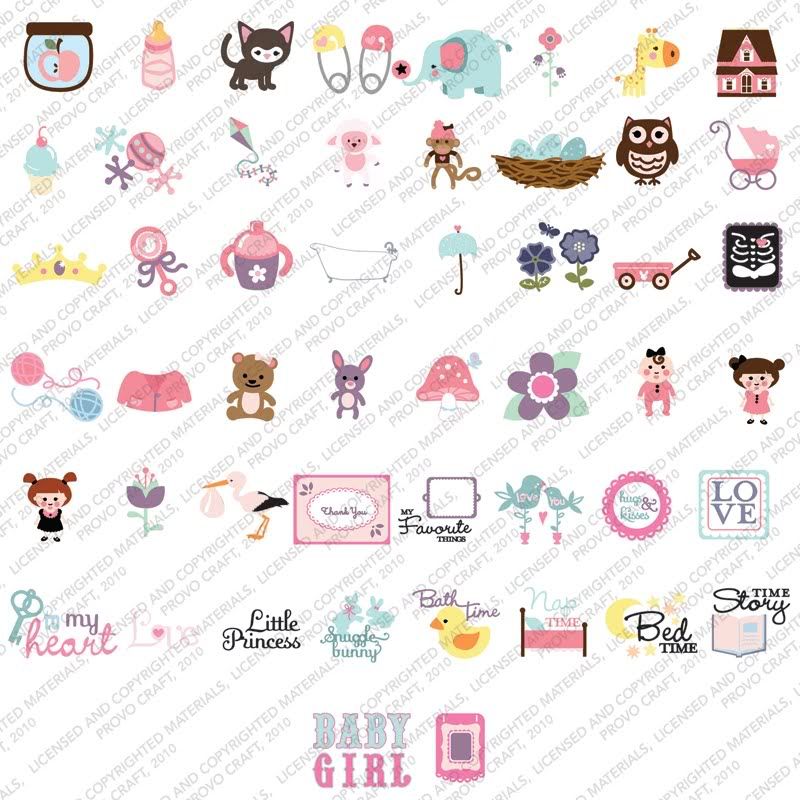
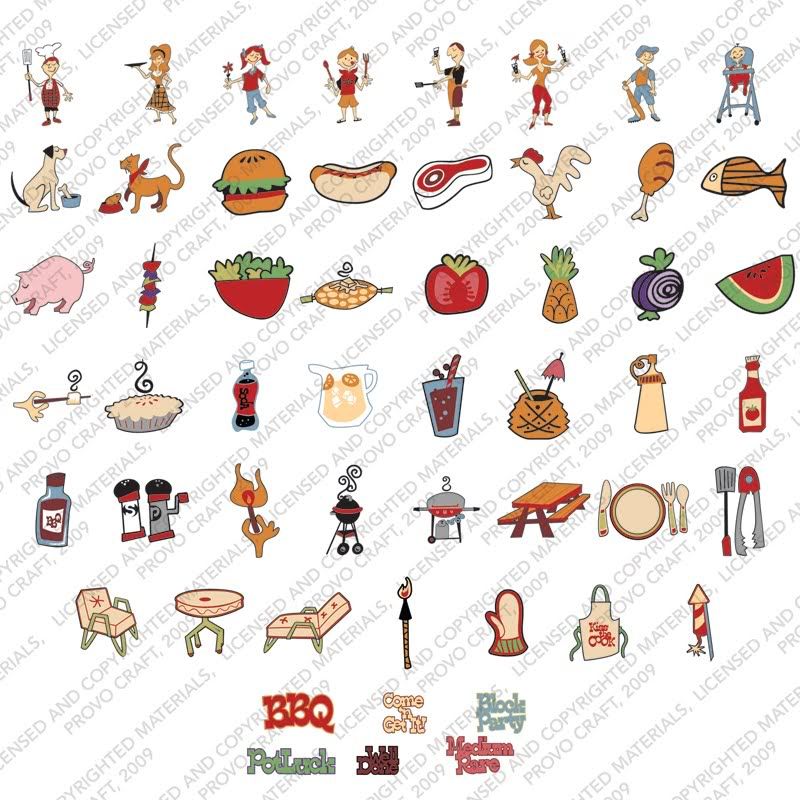
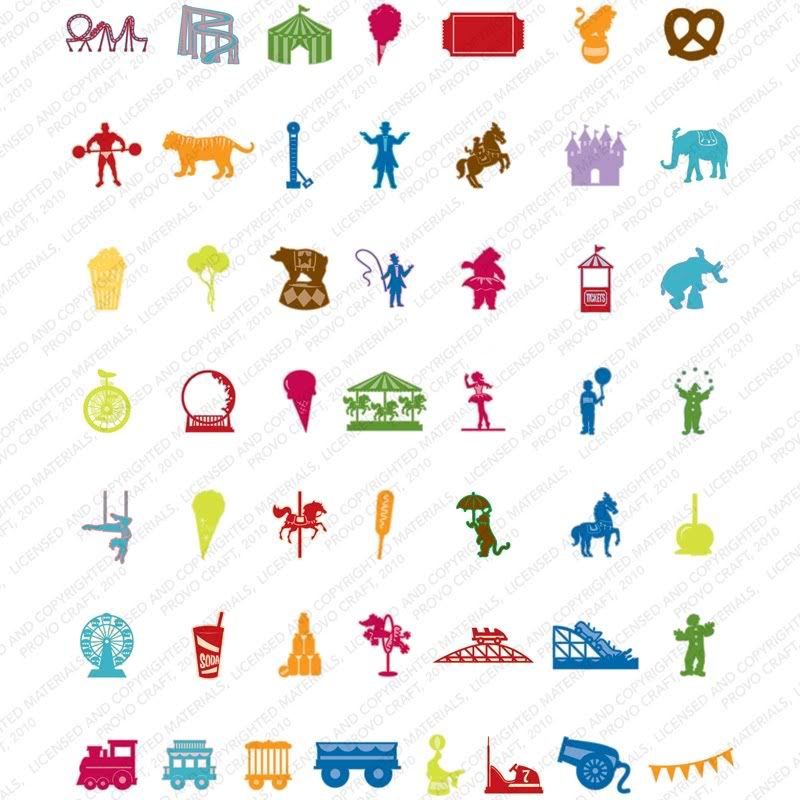
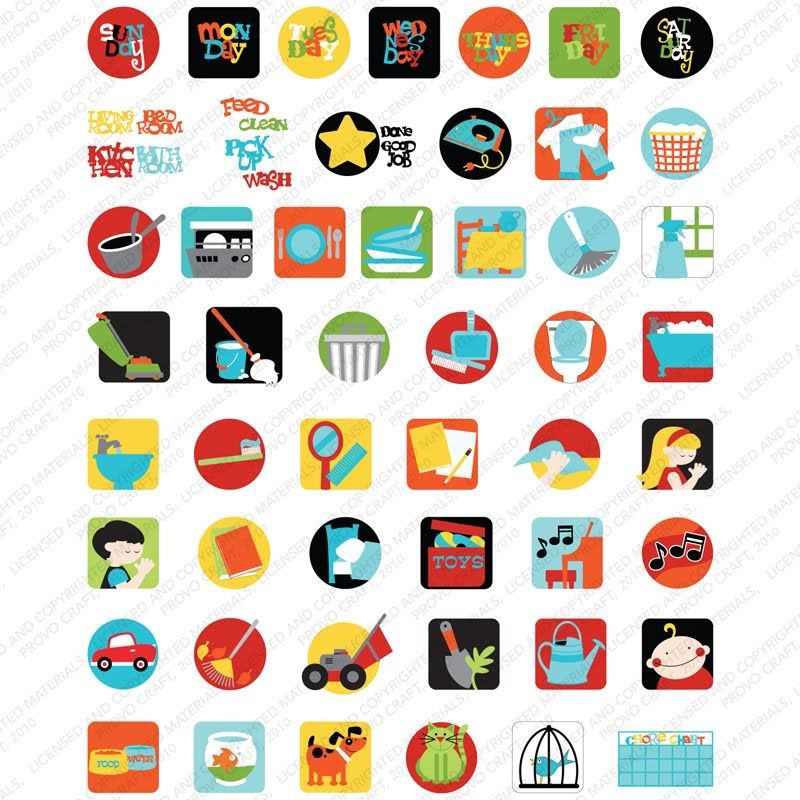
On Hello Thursday, June 10th, Cricut announced 24 new "lite" cartridges! Grrr, made exclusively for Walmart. Not fair as there is no Walmart near me and I hate shopping for popular items in stores. See all of the cartridges here. These are the ones that go on my wishlist, in order of preference:
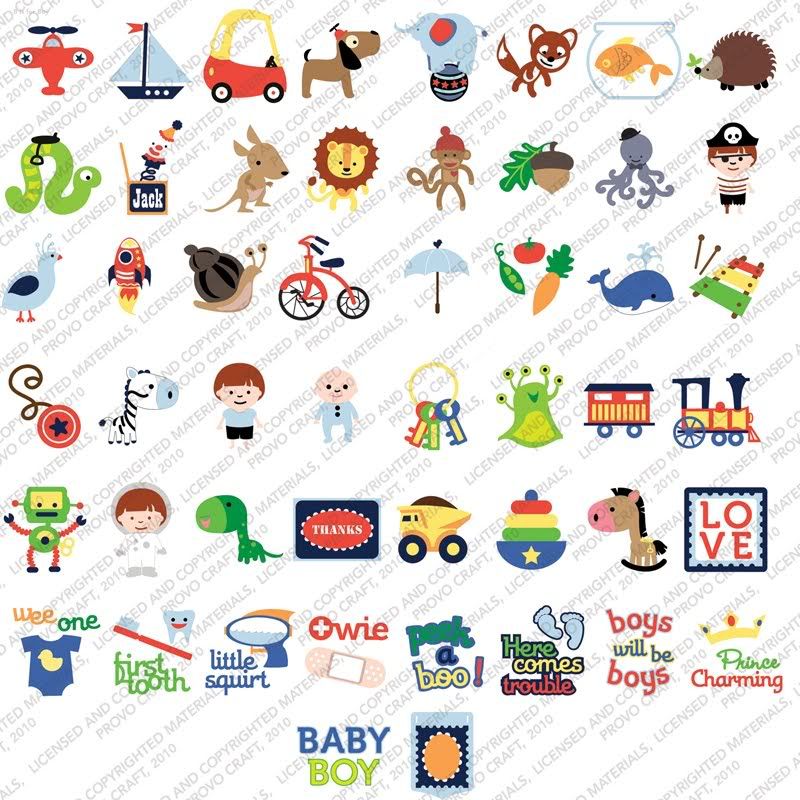
Cricut Lite B is for Boy Cartridge
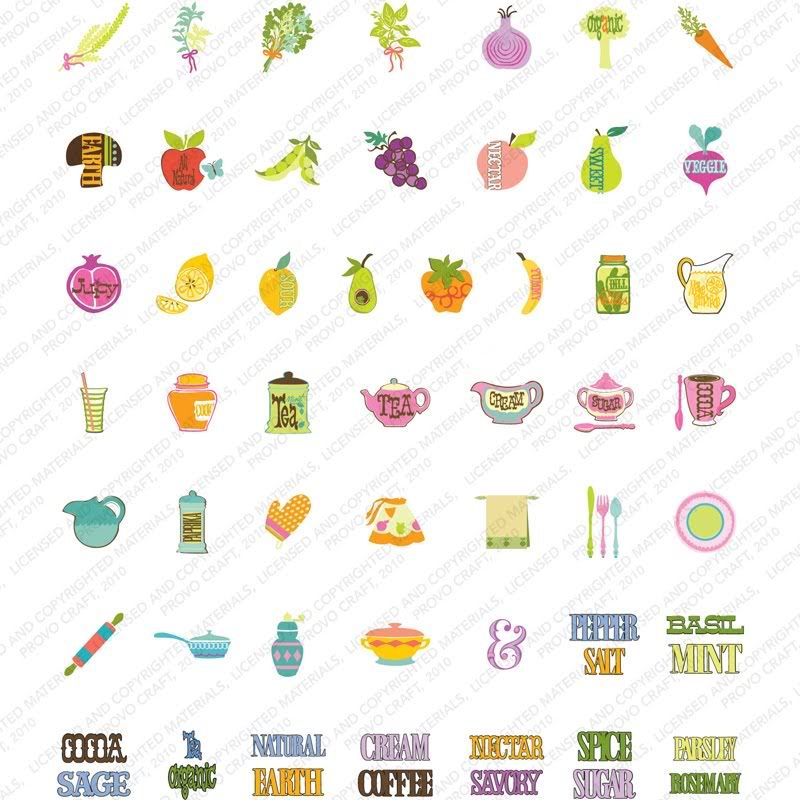
Cricut Lite Savory Cartridge
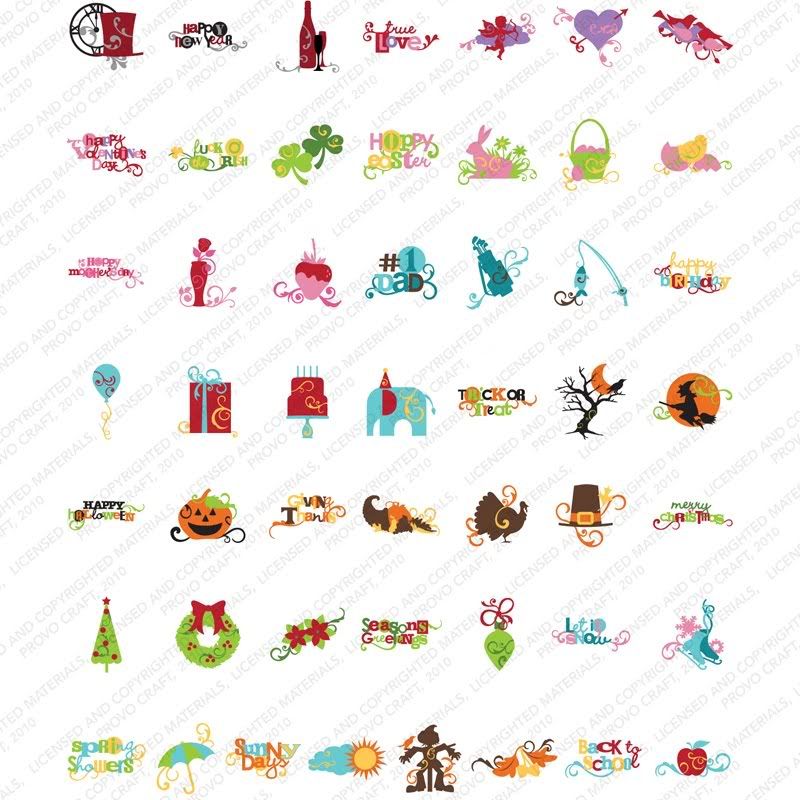
Cricut Lite Celebrate with Flourish
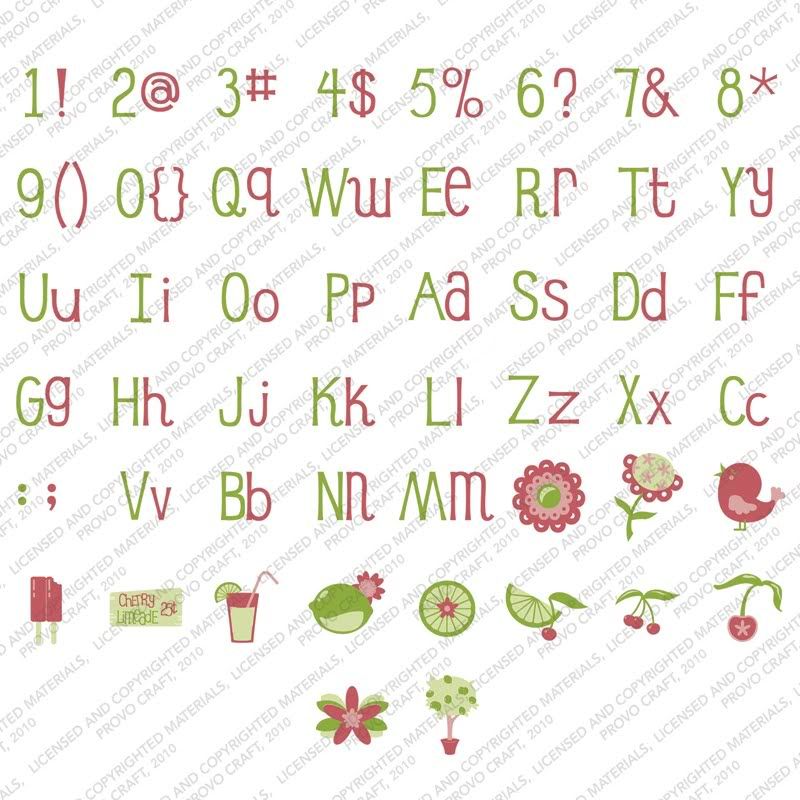
Cricut Lite Cherry Limeade Cartridge
Cricut Lite Sugar and Spice Cartridge
Cricut Lite Block Party Cartridge
Cricut Lite Carousel Cartridge
Cricut Lite Chore Chart Cartridge
Cricut Lite B is for Boy Cartridge

Cricut Lite Savory Cartridge

Cricut Lite Celebrate with Flourish

Cricut Lite Cherry Limeade Cartridge

Cricut Lite Sugar and Spice Cartridge

Cricut Lite Block Party Cartridge

Cricut Lite Carousel Cartridge

Cricut Lite Chore Chart Cartridge

Friday, June 11, 2010
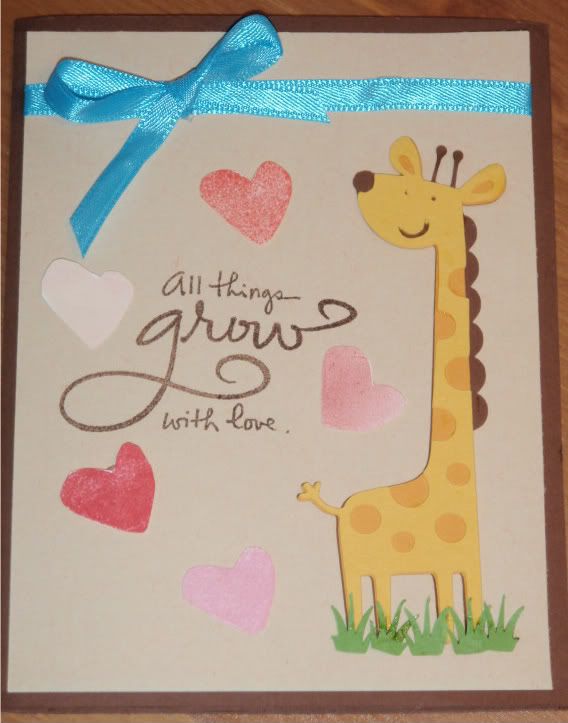
Love Giraffe
Still working with the Create a Critter cartridge. The giraffe appears on p. 48 and is cut at 4". The grass is an accessory to the turtle and cut at 1/2". The hearts and sentiment are from the "Kathy Davis Expressions" by Inkadinkado. The ribbon is from Michaels.

Thursday, June 10, 2010
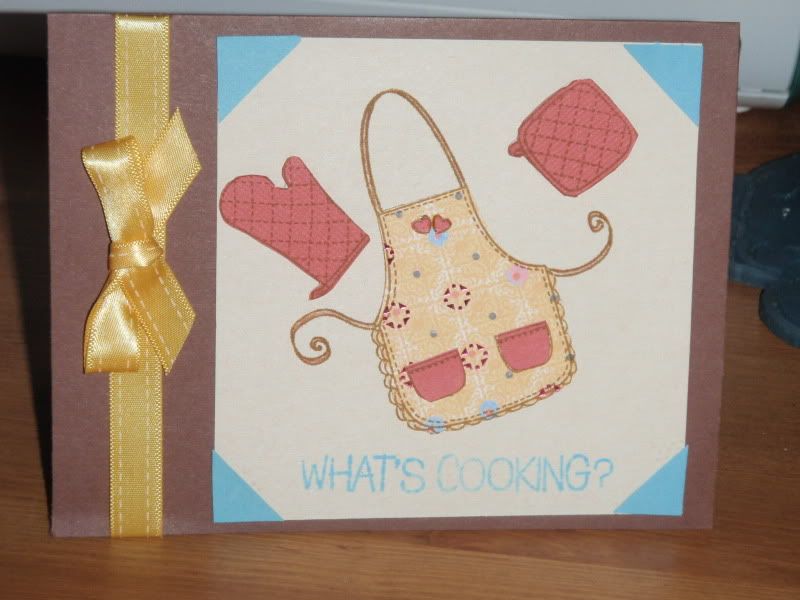
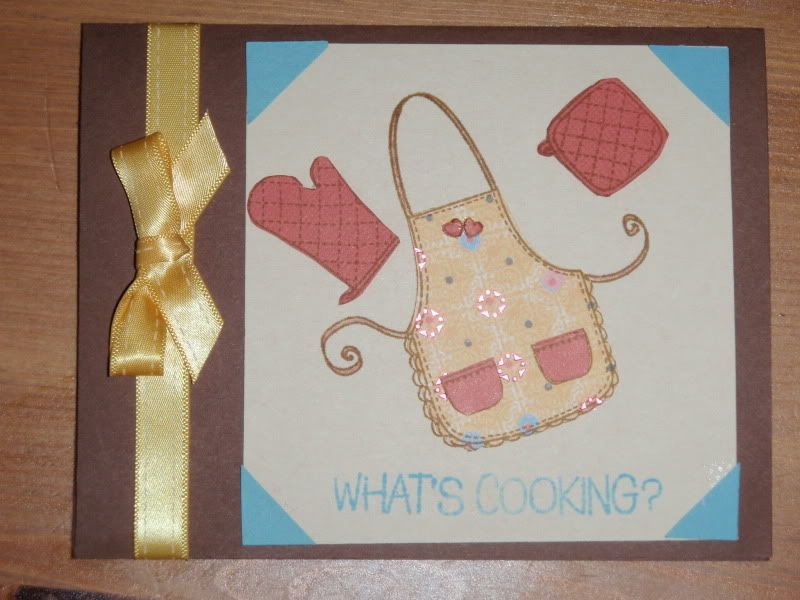
What's Cooking?
I made this card using an adorable stamp set from Hero Arts called "What's Cookin?" I stamped the apron image on paper from K&Co "Portabello Road" collection and the pockets and potholders on DCWV cardstock. I then stamped the apron image on beige cardstock and layered. The potholders are popped up with foam tape. The ribbon is from the Target dollar bin.


Wednesday, June 9, 2010
Hello Whale
While I was making yesterday's whale card, I accidentally cut out the light layer at a different size, 3.25" or maybe I cut out two copies of the same layer, instead of just one. (I don't really remember, but the point is that I had two). Thus, I decided to do another whale card, still using the D'Vine Swirl embossing folder. This time, I used the cloud that appears on p. 52 of the Create a Critter booklet (whale is on p. 41) and is cut at 1.25".

The ribbon is from Target, but really brought the card together for me. (I spent a long time agonizing over the whale/ocean colors and wasn't happy until I found the ribbon.) The whale is popped up with foam tape. The sentiment is the Happy Messages set by Stampendous, stamped using Studio G ink. Finally, I glossed the whale with Mod-Podge.
Here it is before I glossed it. You can see how it really needed something.


The ribbon is from Target, but really brought the card together for me. (I spent a long time agonizing over the whale/ocean colors and wasn't happy until I found the ribbon.) The whale is popped up with foam tape. The sentiment is the Happy Messages set by Stampendous, stamped using Studio G ink. Finally, I glossed the whale with Mod-Podge.
Here it is before I glossed it. You can see how it really needed something.

Tuesday, June 8, 2010
Pizza with Roasted Garlic, Chicken, Spinach
As you know, I bought a new pizza pan at the Wilton Tent Sale. It is extra large and has holes in the bottom for a crisper crust. I didn't have the patience or time to make a dough from scratch, so bought a whole wheat premade crust from the store. I can't remember the name of the company (Botelli?) but they are not sold in the refrigerated section but in plastic packaging that hangs from display hooks. Lots of sodium, but a good amount of fiber, so I didn't feel too guilty. I got a little fancy by roasting the garlic, but other than that it was extremely simple to make. Yummy results!

Dough for a single large pizza (store-bought or homemake)
1/2 lb chicken breast
4 c fresh spinach or 16 oz frozen
1 large head of garlic
2-3 c tomato sauce of choice
12 oz shredded mozzarella
1/4 c shredded parmesan
8 oz mushrooms, sliced
1. Chop top of garlic and wrap in tin foil coated with olive oil or cooking spray. In a 400 degree oven, roast garlic until softened, about 45 minutes. Set aside to cool.
2. Broil or grill chicken breast seasoned with salt, pepper, and olive oil until cooked through. In the broiler, it took about 12 minutes. Set aside to rest for 10 minutes, then chop into bite-sized pieces.
3. In medium pan coated with olive oil, saute mushrooms until golden brown and have given up most of their moisture. Add in spinach, stirring to wilt.
4. Raise oven temprature to 450. Spread sauce evenly on crush. Layer spinach/mushroom mixture, chicken, and roasted garlic that you've squeezed from the skin. Top with cheeses.
5. Bake for 10-15 minutes until cheese is melted and is golden brown in spots.
Serves 2-4.


Dough for a single large pizza (store-bought or homemake)
1/2 lb chicken breast
4 c fresh spinach or 16 oz frozen
1 large head of garlic
2-3 c tomato sauce of choice
12 oz shredded mozzarella
1/4 c shredded parmesan
8 oz mushrooms, sliced
1. Chop top of garlic and wrap in tin foil coated with olive oil or cooking spray. In a 400 degree oven, roast garlic until softened, about 45 minutes. Set aside to cool.
2. Broil or grill chicken breast seasoned with salt, pepper, and olive oil until cooked through. In the broiler, it took about 12 minutes. Set aside to rest for 10 minutes, then chop into bite-sized pieces.
3. In medium pan coated with olive oil, saute mushrooms until golden brown and have given up most of their moisture. Add in spinach, stirring to wilt.
4. Raise oven temprature to 450. Spread sauce evenly on crush. Layer spinach/mushroom mixture, chicken, and roasted garlic that you've squeezed from the skin. Top with cheeses.
5. Bake for 10-15 minutes until cheese is melted and is golden brown in spots.
Serves 2-4.

Just Because Whale
This is my take on a card posted by MelanieAllen3 on the Cricut message board here. She is also ScrappyMel on her blog.

I finally got a D'Vine Swirl Cuttlebug embossing folder which is used to make the waves. It looks as though she sanded or colored the paper after embossing, but I kept it simple. I did, however, chalk the background and tried to make clouds/waves around the island with some chalk from Stampin Up and a makeup sponge. The gem was an afterthought as a bit of stray glue left an unsightly mark that I wanted to hide. The whale appears on p. 41 of the Create a Critter cartridge booklet and is cut at 3.25". I omitted the base layer, but trimmed down the shadow a bit using my craft knife. The island is from Everyday Paper Dolls and is an accessory to the island girl on p. 42. I cut it in three different colors at 1" and then layered them together. The "sand" is made with textured cardstock from DCWV and the rest is plain stuff from the Paper Co.

I finally got a D'Vine Swirl Cuttlebug embossing folder which is used to make the waves. It looks as though she sanded or colored the paper after embossing, but I kept it simple. I did, however, chalk the background and tried to make clouds/waves around the island with some chalk from Stampin Up and a makeup sponge. The gem was an afterthought as a bit of stray glue left an unsightly mark that I wanted to hide. The whale appears on p. 41 of the Create a Critter cartridge booklet and is cut at 3.25". I omitted the base layer, but trimmed down the shadow a bit using my craft knife. The island is from Everyday Paper Dolls and is an accessory to the island girl on p. 42. I cut it in three different colors at 1" and then layered them together. The "sand" is made with textured cardstock from DCWV and the rest is plain stuff from the Paper Co.
Blueberry-Oat Muffins
I was absolutely positive that I took several pictures of these after they came out of the oven and before I took them to work. However, when I went to upload them, there were none. Guess I imagined it. Anyway, this single muffin was one of two that were made in a second pan after I filled my 12-muffin tin. Since it was a darker metal, the two muffins browned faster. The bottom line is that the ones you're not seeing were prettier, but they all were tasty (I had 3 yesterday :). This recipe is adapted from blueberry crumb muffins in the Modern Baker by Nick Malgieri. I skipped the crumb topping and added oatmeal.

2.5 c all purpose flour
2 tsp baking powder
1/2 tsp cinnamon
1/4 tsp salt
1/2 c butter, melted
1/2 c brown sugar
3/4 granulated sugar
2 eggs (1 egg + 2 whites)
1/2 c skim milk
1/4 c half and half
1 pint frozen blueberries
1/2 c oatmeal (quick cooking)
Preheat oven to 375.
Whisk together flour, salt, baking powder, and cinnamon in a small bowl.
In stand mixer, beat together sugars and butter until well-mixed and fluffy. Add in eggs, one at a time.
Mixing on medium, add in half of flour mixture. Scrap down bowl, as needed.
Mix in milk, half and half, and remaining flour, beating until thoroughly moistened.
On low, add in blueberries and oatmeal. Pulse (or speed up) mixer a couple times to mush some of the blueberries.
Divide evening into muffin cups. Tap pan on counter to eliminate air bubbles.
Bake for 25-30 minutes until a tester comes out clean.
If desired, sprinkle with a couple teaspoons of sugar and cinnamon as soon as they come out of the oven.
12-14 servings

2.5 c all purpose flour
2 tsp baking powder
1/2 tsp cinnamon
1/4 tsp salt
1/2 c butter, melted
1/2 c brown sugar
3/4 granulated sugar
2 eggs (1 egg + 2 whites)
1/2 c skim milk
1/4 c half and half
1 pint frozen blueberries
1/2 c oatmeal (quick cooking)
Preheat oven to 375.
Whisk together flour, salt, baking powder, and cinnamon in a small bowl.
In stand mixer, beat together sugars and butter until well-mixed and fluffy. Add in eggs, one at a time.
Mixing on medium, add in half of flour mixture. Scrap down bowl, as needed.
Mix in milk, half and half, and remaining flour, beating until thoroughly moistened.
On low, add in blueberries and oatmeal. Pulse (or speed up) mixer a couple times to mush some of the blueberries.
Divide evening into muffin cups. Tap pan on counter to eliminate air bubbles.
Bake for 25-30 minutes until a tester comes out clean.
If desired, sprinkle with a couple teaspoons of sugar and cinnamon as soon as they come out of the oven.
12-14 servings
Monday, June 7, 2010
Wilton Tent Sale
I went to my very first Wilton Tent Sale yesterday. It runs from June 4 - 22 in Woodridge, IL. We had a blast, even though there wasn't quite as much scrapbook stuff as I had hoped. This is all my loot:

Here's a close up of all the stamps, etc that I got:

Head over to my recipe blog for a close up of the kitchen-times.

Here's a close up of all the stamps, etc that I got:

Head over to my recipe blog for a close up of the kitchen-times.
Wilton Tent Sale
I went to my very first Wilton Tent Sale yesterday. It runs from June 4 - 22 in Woodridge, IL. We had a blast, even though there wasn't quite as much scrapbook stuff as I had hoped. This is all my loot:
Here's a close up shot of the kitchen-related stuff:

Those cupcake wrappers are mainly for the guys at work. They were each under a $1, so I couldn't resist.
Go to my papercrafts blog for a close up shot of the stamps, etc!
Here's a close up shot of the kitchen-related stuff:

Those cupcake wrappers are mainly for the guys at work. They were each under a $1, so I couldn't resist.
Go to my papercrafts blog for a close up shot of the stamps, etc!
Hey There Crab!

I've been wanting to make this sand castle since I first got the Create a Critter cartridge. However, in my enthusiasm, I think I made it too big as I had a devil of a time getting both sand and sky/sea in the background. It also looks more like it should have a knight and dragon, rather than sand and sea crab. Oh well, I will have to try again.
The castle and crab appear on p. 40 of the Create a Critter booklet. The castle is cut at 3.5 and the crab at 1". I ran the "sand" through my BigKick using an embossing folder. The blanket is from an awesome DCWV paper pack called "All About Boys." I picked it up at the Memorial Day Michaels' sale and hope to use it to make boy-themed stuff for Debbie's new baby (due in a little over a month!). It has great primary bright colors s, as well as cute robots, tools, ships, and even a bit of cowboy stuff. Can you tell that I'm excited about using more?
I popped both the castle and crab up with foam tape so it would appear to sit up on the blanket. I chalked the dark brown windows with an orangish chalk mainly because I thought the chocolate brown was too dark. Then I did some faux stitching along the edges. Finally, I put some neutral cardstock on the inside, mostly to balance the card.

Sunday, June 6, 2010
Cat
I'm not sure whether this is a cat or a cutesy tiger...cat, I think. He appears on p. 29 of the Create a Critter booklet and is cut at 3.75". For those of you who might be skipping the base later to save cardstock, I don't think that is an option here because of the whiskers. However, if you have a better solution, please let me know. I think I need to start buying certain colors of cardstock by the ream ;) Anyway, the kite is an accessory to the giraffe on p. 48. The kite is cut at 3.5 using textured cardstock (in cream and a muted cranberry shade) from a DCWV pad I got at Michaels at the Memorial Day supersale! The pattern paper was from my stash, but matched surprisingly well with the cardstock.

The flash washed out my colors. Here he is without the flash--colors are truer, but he's a little fuzzy.


The flash washed out my colors. Here he is without the flash--colors are truer, but he's a little fuzzy.

Saturday, June 5, 2010
You're a Hoot
I was initially skeptical of the owl found on the Create a Critter cartridge on p. 25. Shown in colors very similar to the one I did, I wasn't sure whether it worked or not. I like it! The suggested colors went well with my K&Co papers and I even used the branch and "hoot." The owl is cut at 2" and the branch at 2 3/4 ". I popped the bird up slightly using foam tape (that was the only thing I elevated). The stamped greeting is from a Hero Arts collection using chestnut roan Colorbox ink. I cut the "You're" at 1.25" using the Don Juan cartridge and the "a" is at 3/4". Since I'm sending it to a friend, rather than donating it, I used a 5x7" card base. Hope she likes it.


Friday, June 4, 2010
Friendly Turtle
I hadn't given much thought to flocking for a couple of years until Michaels had all sorts of colors put out by Studio G in their dollar bins. Naturally, I picked up at least 8 different colors, so you may see them appearing in more cards. Here, I used them to add a little texture to the turtle's shell. (For those of you who might be unfamiliar with flocking, you treat it a lot like glitter (glue, then dust) but it feels velvety.) Anyway, the turtle appears on p. 64 of Create a Critter booklet. He's cut at 2 and 3/4". I was surprised at how long he turned out--in my first attempt at 3", he at least an inch too long for my A2 (4.25 x 5.5) card. The ladybug appears on p. 62 and was cut at 1/2". The sentiment is from a brand new stamp set (bought just this a.m. at Michaels) called Notes for Friend by Stampendous.


Thursday, June 3, 2010
Love Deer
These adorable deer are found on p. 69 of the Create a Critter cartridge and the heart is an accessory to the turtle on p. 64. I cut the deer at 3" and the heart at 2". The paper is K&Co's Sera Sera. I used a pair of Fiskar edgers for the grass, and added faux stitching using a Galaxy Marker white pen.


Wednesday, June 2, 2010
Another Froggy Card
This frog is so adorable that I had to give him the entire floor. A few days ago, I posted this card which was cute and all, but did not properly give him his due. This time, I cut him at 4" and mod-podged him for a glossy sheen. I also popped him up using the huge Stampin Pp pop dots. The frog is found on p. 24 of the Create a Critter cartridge, along with his lily pad. (Note: the lily pad had to be cut at 3 inches and then trimmed down to fit on a portrait-oriented A2 card.) The stamp is from a Hero Arts set and the paper is K&Co from the Sera Sera collection.


Tuesday, June 1, 2010
Hello Piggy
Still using the Create a Critter cartridge...Here's the pig that inspired me to make yesterday's card, but didn't actually make the card as I didn't think it went together with the house. The pig is cut at 2 3/4" and is found on page 28. The tulip is an accessory to the hippo and is found on p. 44. I cut the stem at 3 inches but the tulip bulb at 2.5" mainly because I thought it balanced with the pig better. The cloud is from the giraffe and appears on p. 48. The paper is from Hot Off the Press and is at least a year old (from my stash).


Subscribe to:
Posts (Atom)