

Monday, May 31, 2010
Home Sweet Home
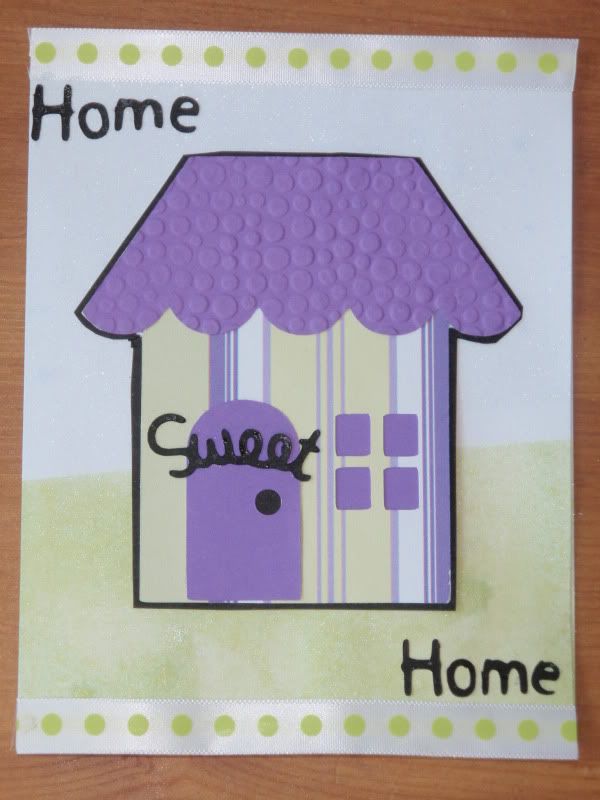
I'm still using my Create a Critter cartridge! The house is found on p. 28 and is an accessory to the pink pig. After cutting them both, I decided that pink, purple, and green do not go to together. Actually, I'm not sure if the purple and green pattern paper looks right either, but pink definitely didn't go. One of the thing I need to get is a color wheel ;) Anyway, the house is cut at 2 1/4". I ran the roof through an embossing folder and really rather like how it came out. I glimmer-misted the grass (sweet clover) and sky (glacier, hitting it immediately with a heat gun so the paper didn't warp too much. The "Sweet" is the accompanying phrase for the skunk on p. 61 and "Home" is cut using my Pooh font cartridge. The ribbon is again from the Target dollar bin.


New pocket pie mold
You might remember all the fun I had with the William Sonoma pocket pie molds last year. Well, they released a new mold for the summer! It's called the Lattice Pocket Pie Mold. For whatever reason, I could not find them on the William Sonoma website yet, so I've linked above to the ones from last year. However, my auntie bought one for each of us in store! She tried her out for the first time over the weekend with these gorgeous results:
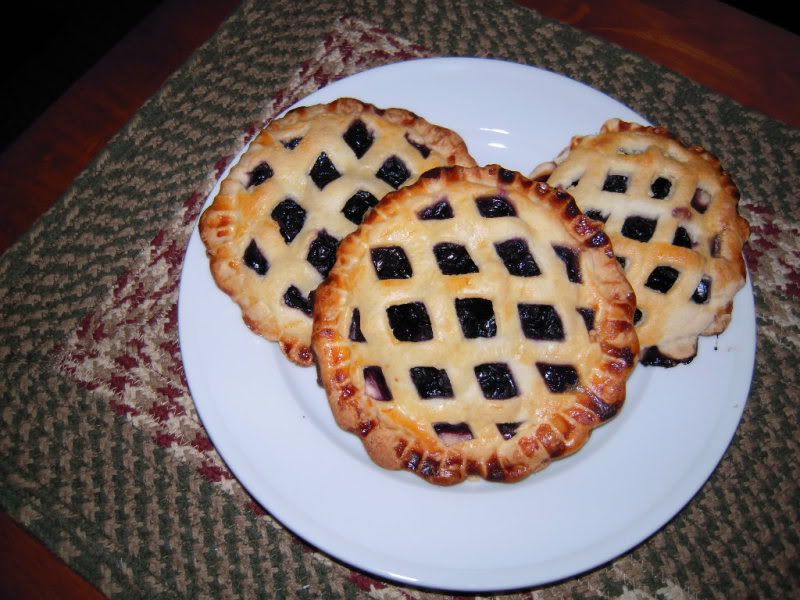
Aren't those beautiful? I can't wait to try mine.

Aren't those beautiful? I can't wait to try mine.
Sunday, May 30, 2010
Ham & Spinach Pasta
This is the second time this week that I tossed an egg with pasta, so I thought I'd share. I know that an egg goes in carbonara sauce, but I don't know what all else. My method is just a quick way to use leftovers out of the fridge using the egg as a binder.
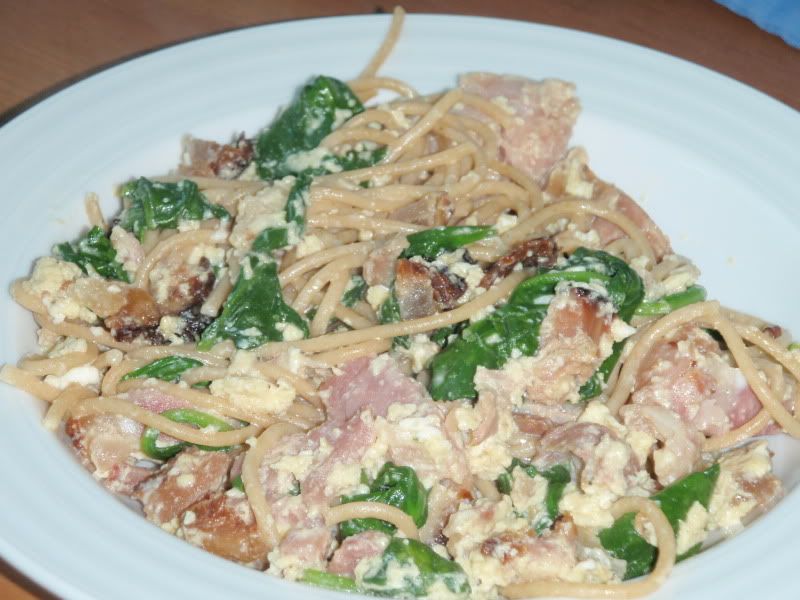
1/2-1 c diced cooked ham
1 c fresh spinach
1 egg
2-3 tbs milk
salt and pepper
2-3 tbs grated parmesan cheese
1 c cooked pasta
In a medium non-strick skillet, saute the ham to take the chill off and brown it a little. Meanwhile, cook/reheat the spinach and pasta in the microwave for 1-2 minutes covered with a wet paper towel.
In a small bowl, beat together the egg, cheese, milk, and a sprinkle of salt and pepper.
In the skillet, toss everything together with the ham. Cook for about 3 minutes, tossing the mixture with tongs or stirring with a spoon, until the egg is cooked.
Serve with additional cheese, if desired.
1 serving if main dish, 2 if served as a side

1/2-1 c diced cooked ham
1 c fresh spinach
1 egg
2-3 tbs milk
salt and pepper
2-3 tbs grated parmesan cheese
1 c cooked pasta
In a medium non-strick skillet, saute the ham to take the chill off and brown it a little. Meanwhile, cook/reheat the spinach and pasta in the microwave for 1-2 minutes covered with a wet paper towel.
In a small bowl, beat together the egg, cheese, milk, and a sprinkle of salt and pepper.
In the skillet, toss everything together with the ham. Cook for about 3 minutes, tossing the mixture with tongs or stirring with a spoon, until the egg is cooked.
Serve with additional cheese, if desired.
1 serving if main dish, 2 if served as a side
Froggy card
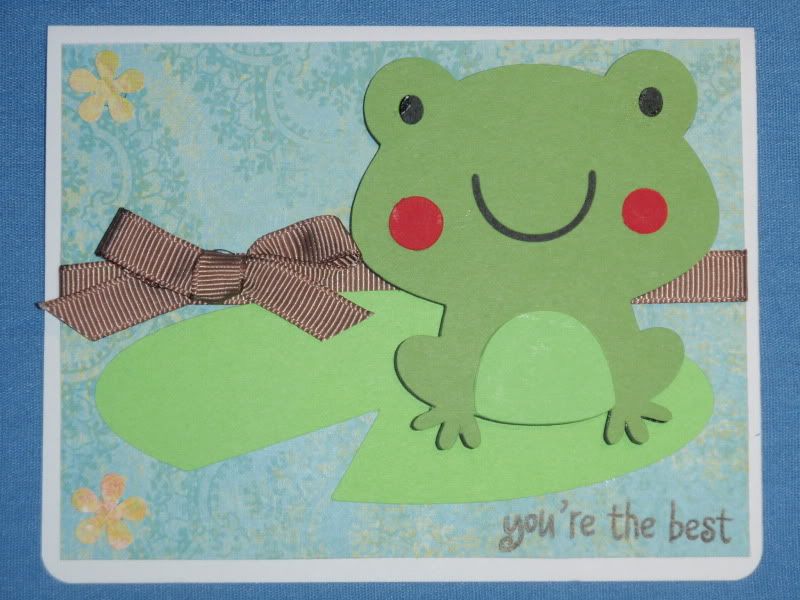
The goal is to work my way through my Create a Critter cartridge, or at least until I get tired of all it's cuteness. (Doubt that will happen anytime soon.). The frog and lily pad are found on p. 24 and are cut at 3 inches.

Cricut cartridges--I think I have an addiction
I have six Cricut cartridges!!! Can you believe that I've only had my Cricut machine for a little over two weeks? I might have been late to the Cricut party, but I'm certainly going out of my way to make up for lost time. To be fair, one came with the machine and one was the gift, so I've only bought 4, all on sale at $39.99 or less.
Here they all are:
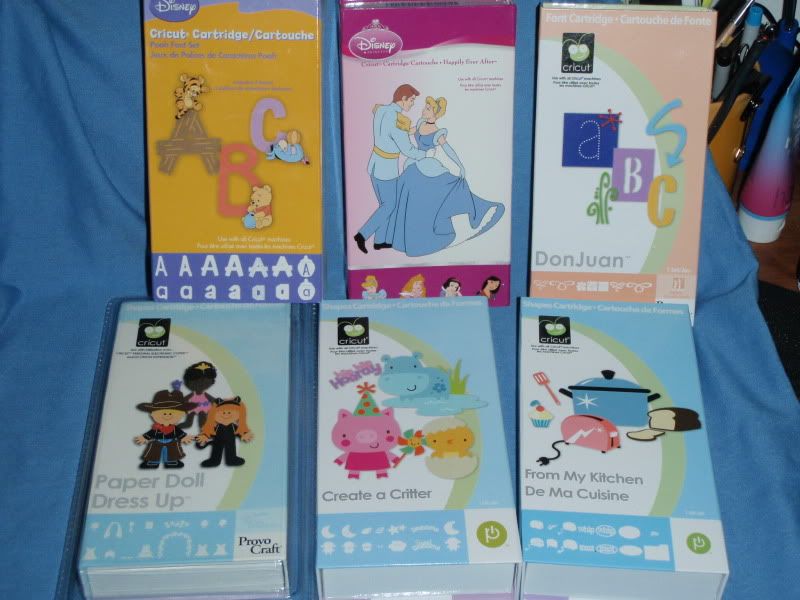
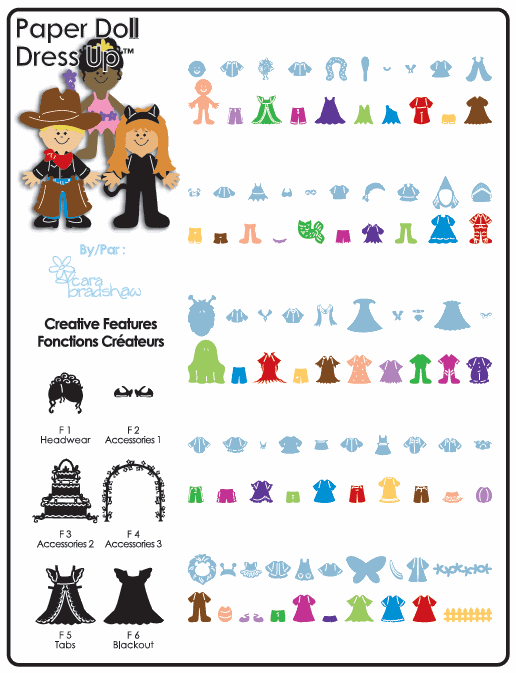
Last night I went to Michaels with some friends. Although I had a 60% off coupon for Cricut cartridges, it only applied to cartridges that were not on sale and regularly priced $69.99. As you may know, regular price for most Cricut cartridges is $89.99, so there was a limited selection and I wound up not using the coupon. However....one cartridge was only $19.99!!! Paper Doll Dress Up is cartridge that's being retired, unfortunately. Possibly because it seemed to have a niche market--people with little kids. What most people may not known is that in addition to great outfits, it comes with terrific accessories like a wedding cake, old-fashioned car, dinosaur, red wagon, rocking horse, unicorn, pirate ship, castle, dragon, skeleton, city skyline, rocket ship, gingerbread man, a picket fence, and grass. Here's the back of the box:
Here they all are:

Last night I went to Michaels with some friends. Although I had a 60% off coupon for Cricut cartridges, it only applied to cartridges that were not on sale and regularly priced $69.99. As you may know, regular price for most Cricut cartridges is $89.99, so there was a limited selection and I wound up not using the coupon. However....one cartridge was only $19.99!!! Paper Doll Dress Up is cartridge that's being retired, unfortunately. Possibly because it seemed to have a niche market--people with little kids. What most people may not known is that in addition to great outfits, it comes with terrific accessories like a wedding cake, old-fashioned car, dinosaur, red wagon, rocking horse, unicorn, pirate ship, castle, dragon, skeleton, city skyline, rocket ship, gingerbread man, a picket fence, and grass. Here's the back of the box:

Saturday, May 29, 2010
Balloon Birthday Card
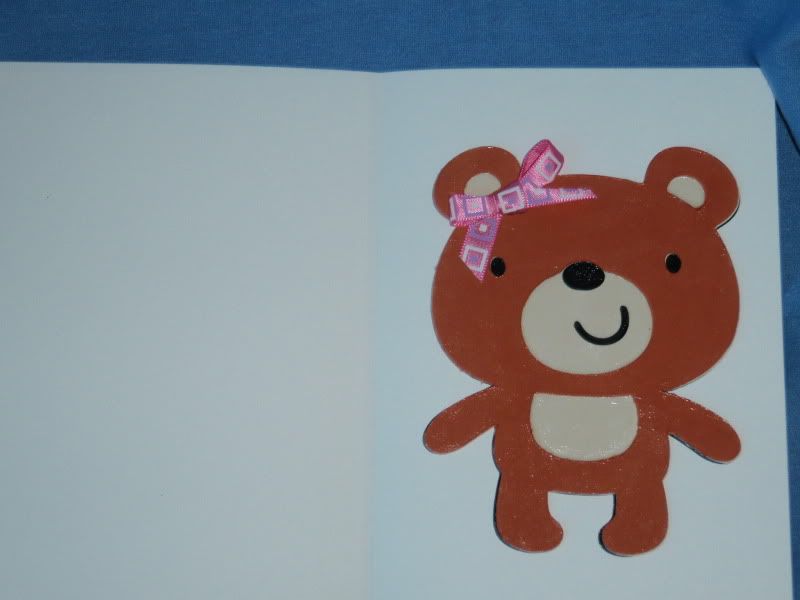
Sorry this post comes so late in the day. I finished it this afternoon, but then forgot to post it before I went out. I used my new Create a Critter cartridge! The bear is found on p. 27 and the balloon is an accessory to the snake that appears on p. 30. Since I'm sending this to my husband, I put the bear on the inside ;) The cardstock is from the paper company and the ribbon is from the Target dollar bin. I glossed all the cut-outs with mod-podge.
Here's the front:

Here's the inside:
Here's the front:

Here's the inside:

Thursday, May 27, 2010
No cards till the weekend :(
I'm finally out of posts that I had scheduled last week ;( However, this week is proving to be too busy to get more cards made. I did FINALLY receive the two cartridges that I order 2 weeks ago--Create a Critter and From my Kitchen. After letting my order hang in limbo for over a week, Joann.com finally express mailed them to me. They are both just as cute and neat as everyone had said, so I'm excited about making lots of cards with them.
I also did some (more) online shopping and should be getting some neat embossing folders, inks, ribbon and cardstock in the next few days.
Thanks for visiting and please check back on Saturday!
I also did some (more) online shopping and should be getting some neat embossing folders, inks, ribbon and cardstock in the next few days.
Thanks for visiting and please check back on Saturday!
Wednesday, May 26, 2010
Another Dog Card
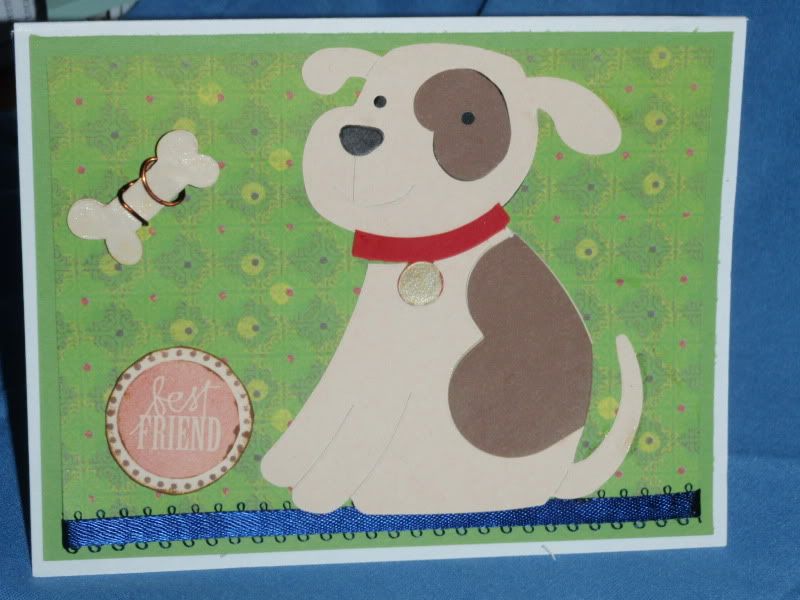
Another card using the Sizzix original die and Studio G stamps from the Michael's dollar bin. The paper is K&Co, but I'm not sure which collection. I painted the bone with rock candy crackle paint and then wrapped some bronze wire around it. I am hoping that it will lay flat enough in the envelope to mail.
Here's the inside. I often add a frame on the inside to help counter-balance the weight.
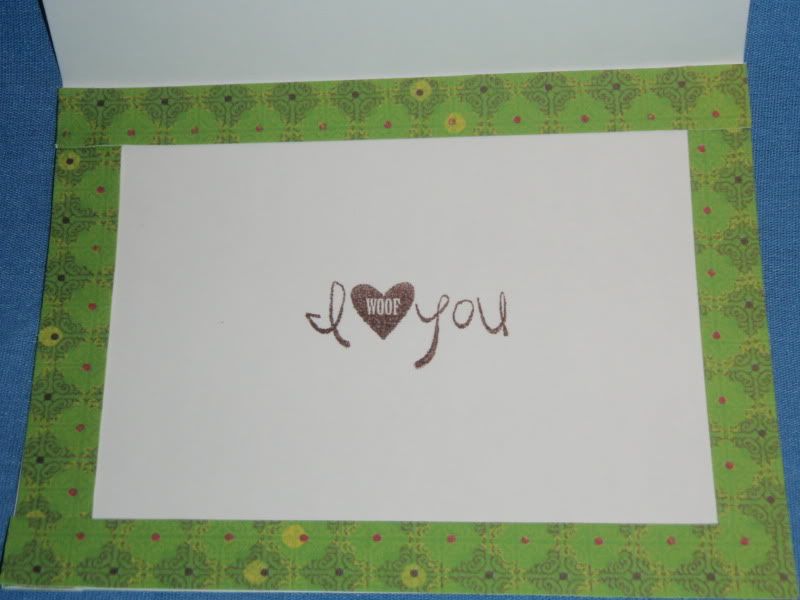

Here's the inside. I often add a frame on the inside to help counter-balance the weight.

Tuesday, May 25, 2010
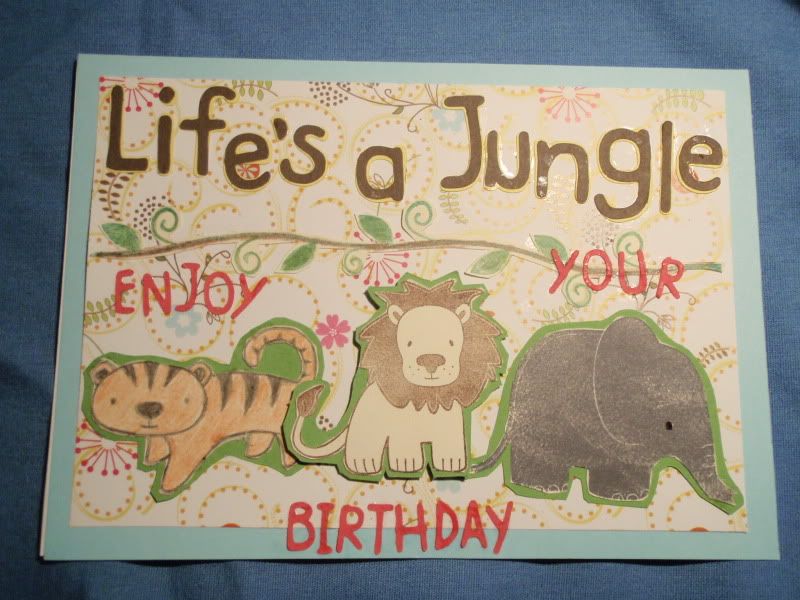
Happy Birthday - Jungle
This was cut using my new Pooh Font cartridge! It's an awesome font cartridge that even comes with honey pots and baby Poohs. The animals are from the Paper Co's Jungle clear stamp set. After all this time, I finally learned the difference between types of inks, specifically that water-based inks will not coat big images as well as chalk or pigment inks. My favorite right now are Colorbox's chalk inks and I definitely plan on getting more when I can. I put the animals on green cardstock and popped them up with foam tape. I used the Zig two-way glue to adhere all the little letters and ran the big ones through my Xyron.

Monday, May 24, 2010
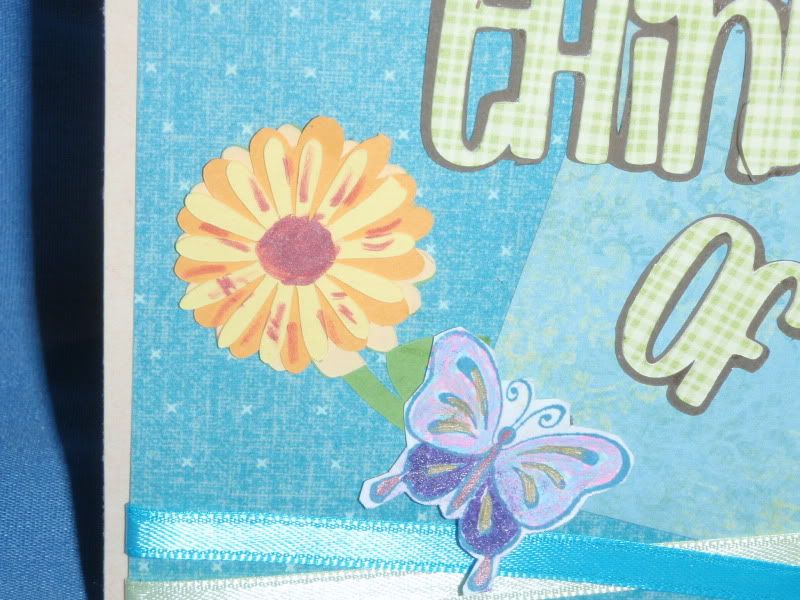
Thinking of You
This card was made using the Don Juan cartridge for the greeting and flower. I stamped the butterfly, colored with gel pens, and popped it up slightly. The paper is from K&Co's Portabella Road and Que Sera collection.



Sunday, May 23, 2010
Still Waiting....
As you know, my Cricut was ordered on the same day that I ordered the Create a Critter and the From My Kitchen cartridges from Jo-Ann's. Well, my Cricut arrived two days after it was ordered and and 11 days later, I'm still waiting on the cartridges. (I do have a tracking number and FedEx has promised them by tomorrow at 3pm. We'll see.) In the meantime, I've been playing with these two cartridges:
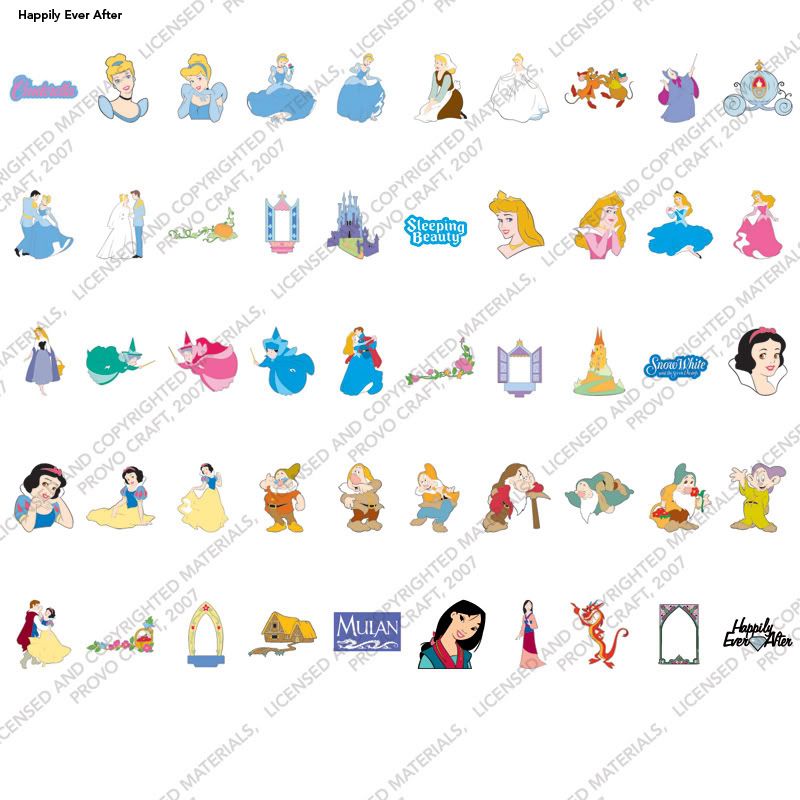
Disney Happily Ever After - lots of neat extras such as windows that will make great decorative frames, flowers, a bucket, broom, scissors, pine tree, watering can, shovel, bird, squirrel, and more. The characters are a little intricate, but I'll work on it.
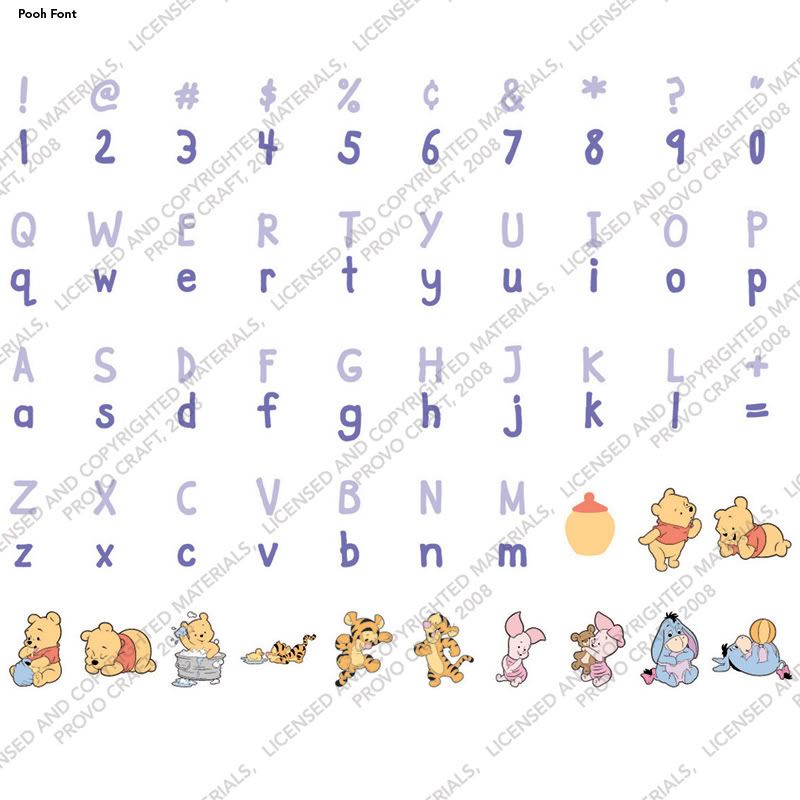
Pooh Font Cartridge-This is a great all-purpose font, similar to the Comic MS font that you're probably familiar with in Word. There are both upper and lower case letters and you can make characters that look like wood or even print the letters on honey pots. Also included are 12 baby Pooh characters! Love it.
I've already made several cards using these cartridges. I will try to get better about labeling by cartridge name. Can't wait till the other two come tomorrow. If there were only more hours in the day! Stay tuned....
Disney Happily Ever After - lots of neat extras such as windows that will make great decorative frames, flowers, a bucket, broom, scissors, pine tree, watering can, shovel, bird, squirrel, and more. The characters are a little intricate, but I'll work on it.

Pooh Font Cartridge-This is a great all-purpose font, similar to the Comic MS font that you're probably familiar with in Word. There are both upper and lower case letters and you can make characters that look like wood or even print the letters on honey pots. Also included are 12 baby Pooh characters! Love it.

I've already made several cards using these cartridges. I will try to get better about labeling by cartridge name. Can't wait till the other two come tomorrow. If there were only more hours in the day! Stay tuned....
Tomato Spinach Soup
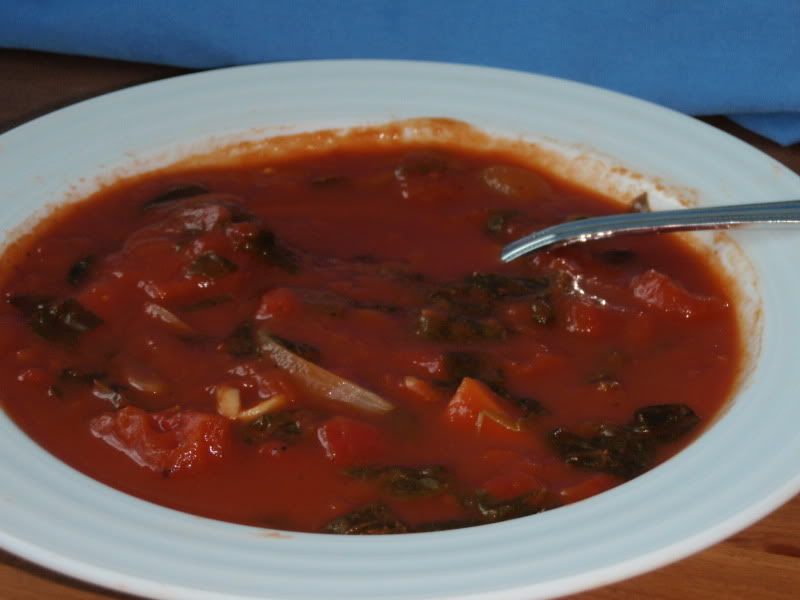
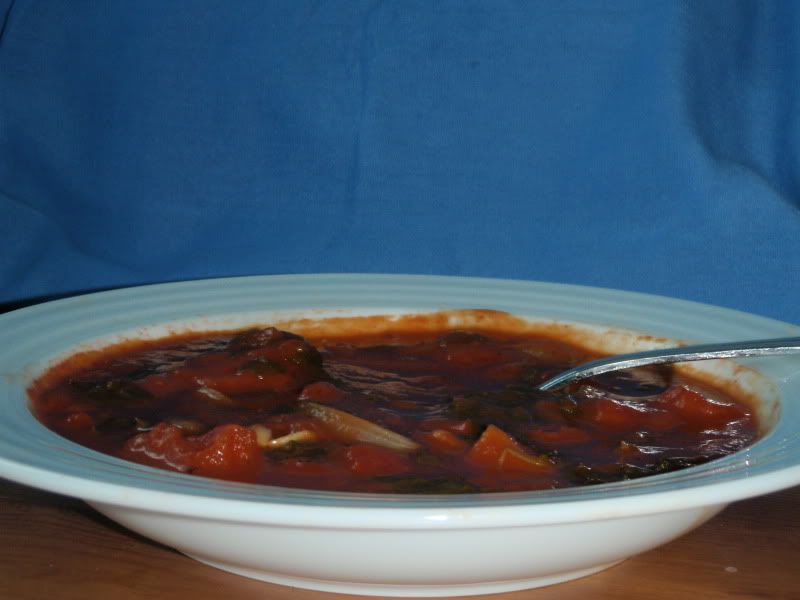
I'm sick and wanted a soup that had green veggies in it. This Rachel Ray Recipe was my inspiration, but I made a number of modifications.
28 oz diced tomatoes, drained
28 oz tomato puree
2.5 c chicken broth
1 large onion, sliced
2 med carrots, diced
3 cloves of garlic, minced
10 oz fresh spinach (I used baby)
salt, pepper, olive oil
2 tsp sugar, if necessary
In a dutch oven over medium heat, saute onions and carrots in olive oil. Continue cooking while stirring often, over med-low until they have caramelized. This should take upwards of 20 minutes. (I got impatient so had to add sugar at the end).
Raise heat and add garlic. Cook for 1 minute.
Stir in tomatoes, tomato puree, and broth. Sprinkle with salt and pepper.
Bring to a near boil and wilt in spinach. Depending upon the size of your pot, this may take some time.
Reduce heat to low and simmer for 20 minutes. Adjust seasoning to taste. (This is where you add the sugar, if necessary).
Serves 6 (about 1 c servings)

28 oz diced tomatoes, drained
28 oz tomato puree
2.5 c chicken broth
1 large onion, sliced
2 med carrots, diced
3 cloves of garlic, minced
10 oz fresh spinach (I used baby)
salt, pepper, olive oil
2 tsp sugar, if necessary
In a dutch oven over medium heat, saute onions and carrots in olive oil. Continue cooking while stirring often, over med-low until they have caramelized. This should take upwards of 20 minutes. (I got impatient so had to add sugar at the end).
Raise heat and add garlic. Cook for 1 minute.
Stir in tomatoes, tomato puree, and broth. Sprinkle with salt and pepper.
Bring to a near boil and wilt in spinach. Depending upon the size of your pot, this may take some time.
Reduce heat to low and simmer for 20 minutes. Adjust seasoning to taste. (This is where you add the sugar, if necessary).

Serves 6 (about 1 c servings)
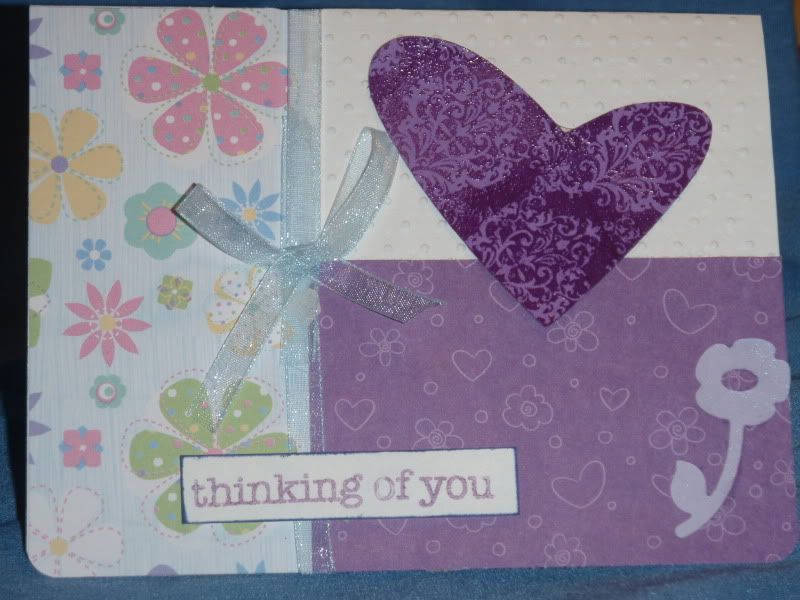
Thinking of You
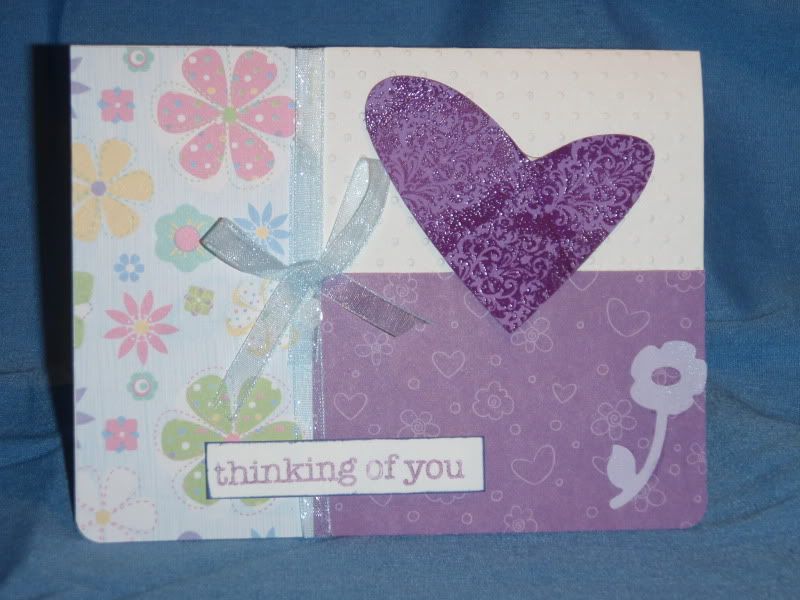
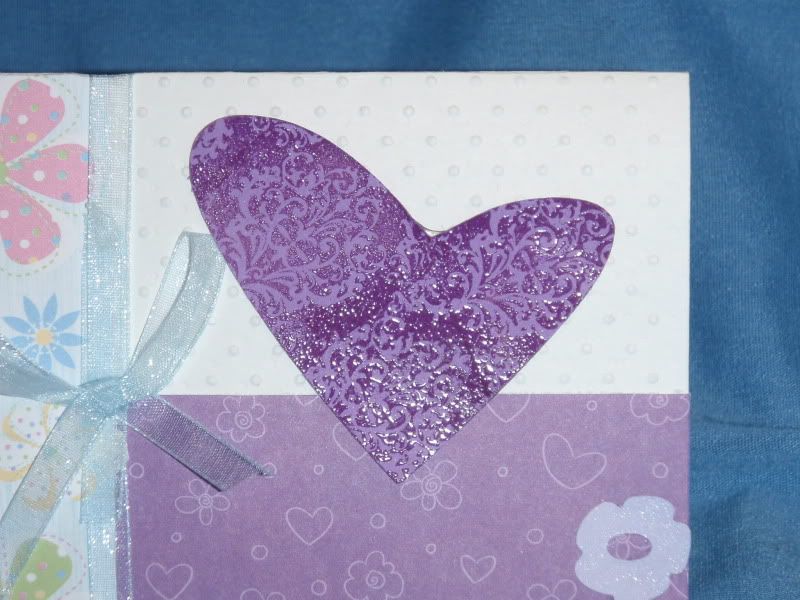
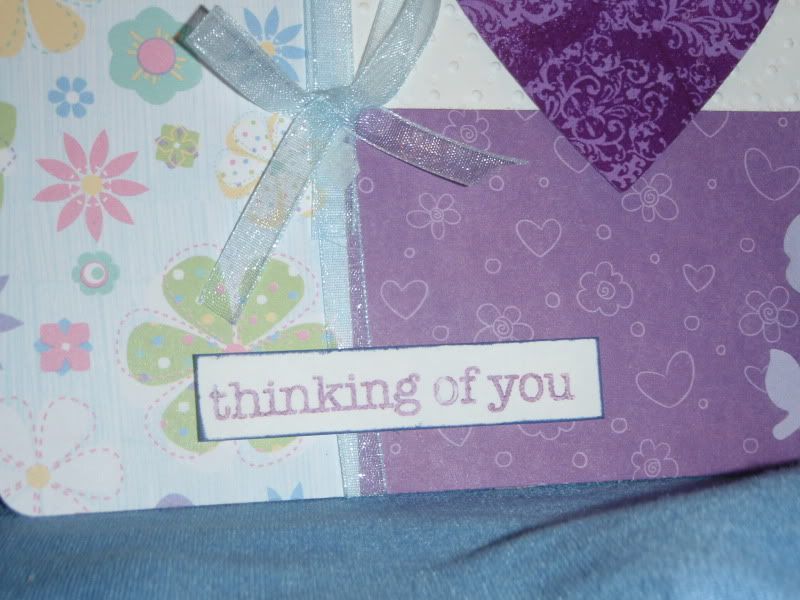
Hopefully this card doesn't look too cluttered. I kept thinking it needed one more detail, so it wound up being a pretty good medium and technique sampler. The heart is cut using the Don Juan cartridge of my new Cricut at 2 inches, I think. I then stamped a pattern stamp in a purple shade using Studio G ink, then clear embossed it. Michaels had these great background stamps in their dollar bin, so I bought about 5 on Saturday. The only difficulty with them is that they're not clear, so you have to guess where in order to line them up. I had to do both sides of the heart to get it right, but the outcome works, I think. The greeting is stamped using a fantastic Hero Arts clear stamp set called "Everyday Sayings." I embossed the base of the card using a Cuttlebug embossing folder. The flower is punched using my BigKick die-cutting machine, but I'm not sure what Sizzix set it is.


Saturday, May 22, 2010
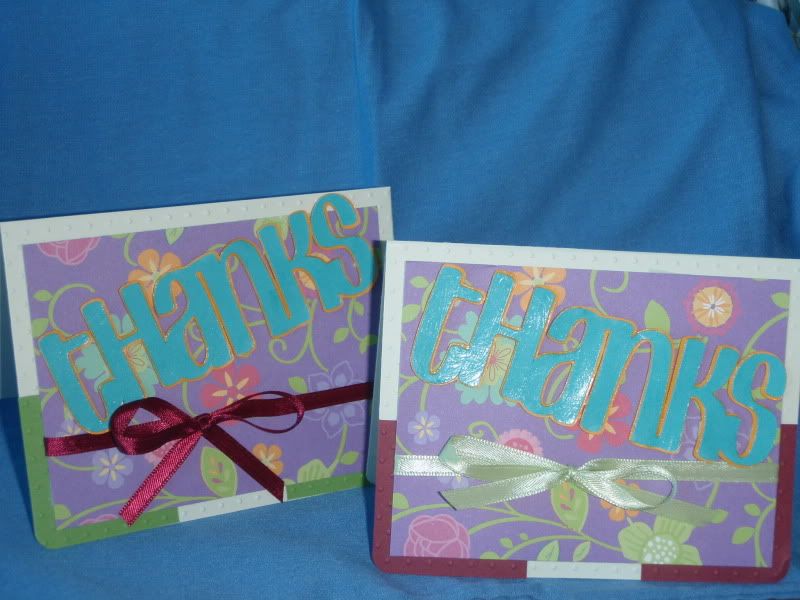
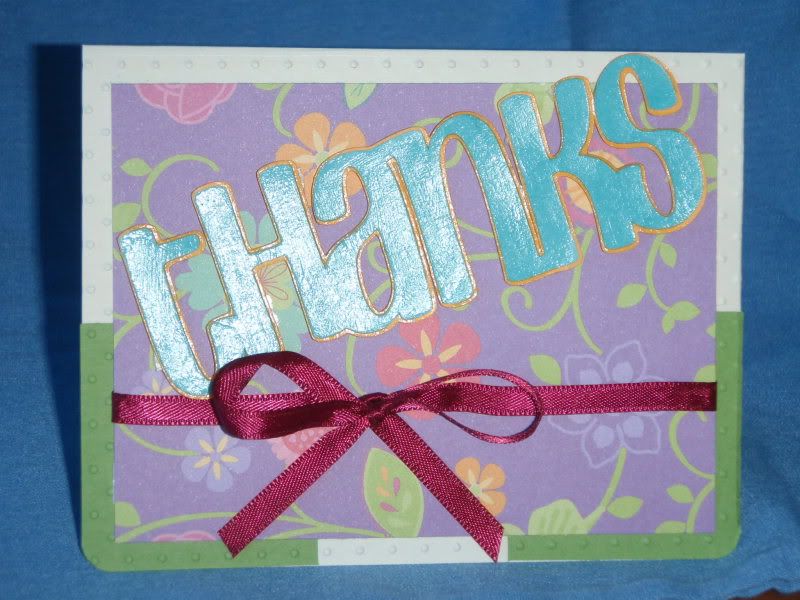
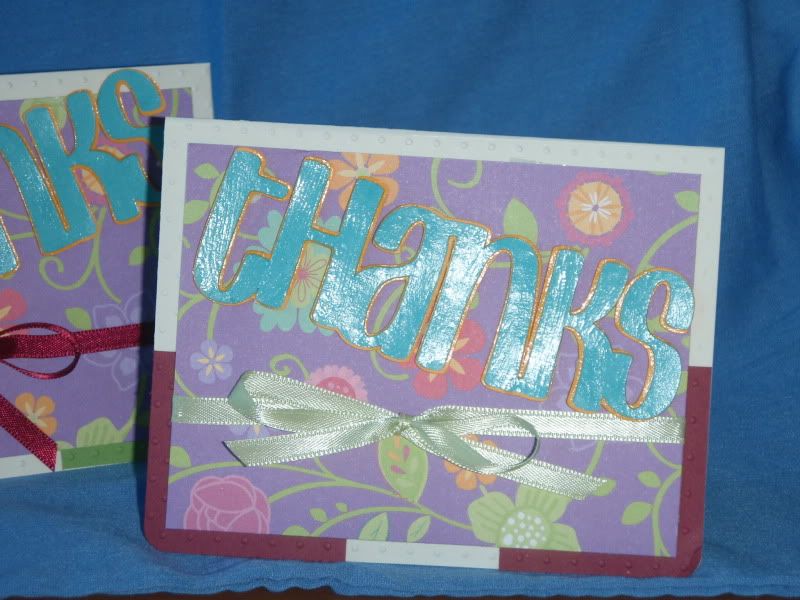
Two More Thanks Cards
Similar to the card I made for my auntie. I used the Don Juan cartridge for the thanks cut at 1.75". It's hard to tell, but I embossed using the swiss dots cuttlebug embossing folder the card after adhering the squares. I mod-podged the sentiment to give it a glossy sheen and mounted it with foam tape.


New look
I was up a little too late last night and discovered something called "Blogger in Draft" which is basically a really simple layout editor. I thought this background was kinda summery, so I will try it out for a bit. Let me know what you think.
Friday, May 21, 2010
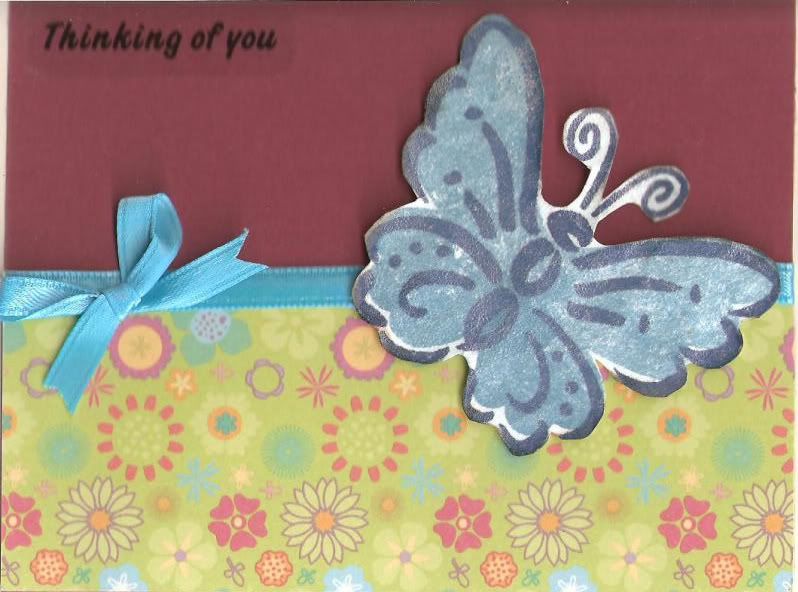
Butterfly
I'm absolutely loving this patterned paper, which I think came with a magazine set a year or more ago. The butterfly is from a two-part Stampin Up set that is also years old.

Thursday, May 20, 2010
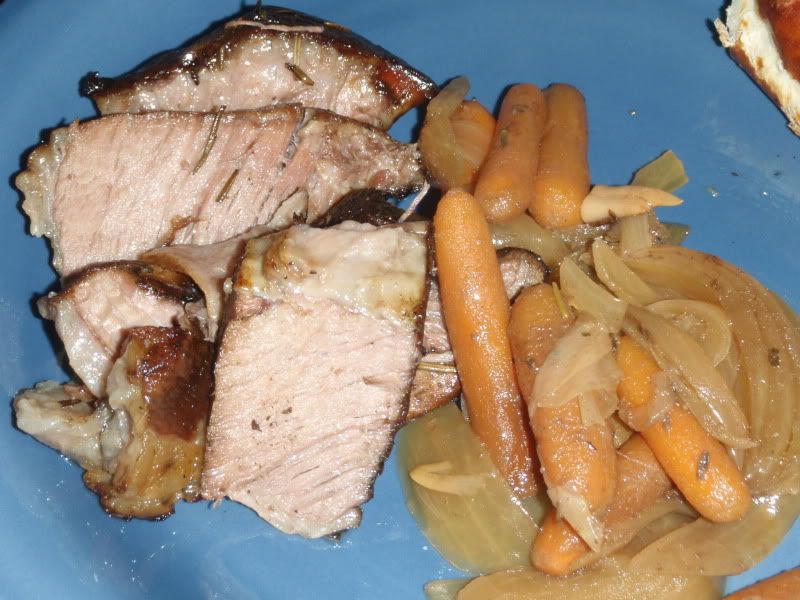
Super Simple Pot Roast
Jewel was having a two-for-one sale on boneless chuck roasts last weekend, so I couldn't help but pick up a couple. However, I couldn't decide what to do and didn't really feel like doing anything too creative, so I made a simple as can be roast. It was yummy! No gravy or additional seasonings required. One caveat should be made. While I cooked it for 8 hours, I was a tad late getting home from work, so it sat on warm for more than two hours. I do not recommend that! The meat is nice and moist right out of the crockpot, however I expect it will require a bit of doctoring upon reheat. Enjoy!
2 lb boneless chuck roast
2 c sliced onion, about 2 medium
8 cloves garlic, smashed and peeled but mostly whole
16 oz baby carrots
1 tsp dried rosemary
1/2 tsp dried tarragon
1 tsp salt
1 tsp pepper
3/4 c beef broth
Sprinkle meat with salt and pepper. Brown in an extremely hot pan in olive oil on all sides.
Place veggies in the bottom of the crockpot. Sprinkle with remaining salt and pepper.
Place meat on top of veggies.
Mix herbs with beef broth and pour over meat and veggies.
Cook on low for 8 hours until meat is tender.
Serves 4-6.

2 lb boneless chuck roast
2 c sliced onion, about 2 medium
8 cloves garlic, smashed and peeled but mostly whole
16 oz baby carrots
1 tsp dried rosemary
1/2 tsp dried tarragon
1 tsp salt
1 tsp pepper
3/4 c beef broth
Sprinkle meat with salt and pepper. Brown in an extremely hot pan in olive oil on all sides.
Place veggies in the bottom of the crockpot. Sprinkle with remaining salt and pepper.
Place meat on top of veggies.
Mix herbs with beef broth and pour over meat and veggies.
Cook on low for 8 hours until meat is tender.
Serves 4-6.
I Woof You!
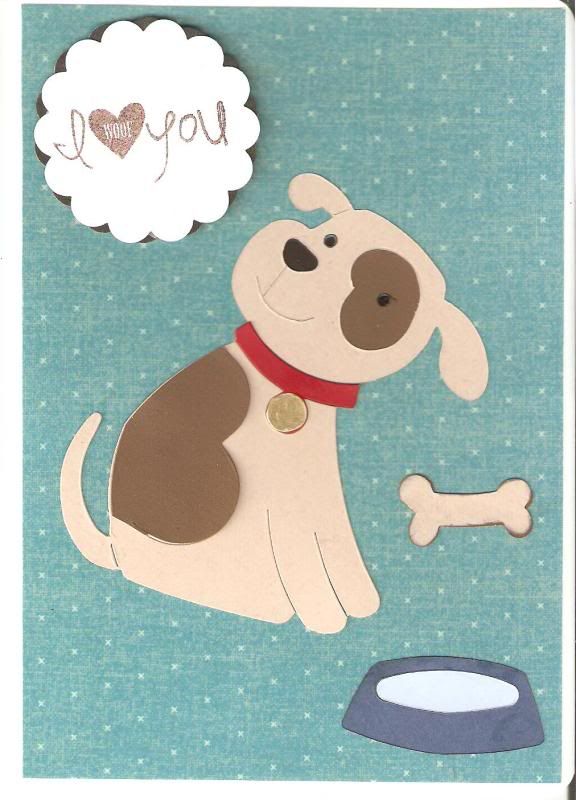
I sent this card to my husband just after he deployed to Afghanistan. He loves his brother/sister-in-law's gigantic dog (who looks nothing like this guy), but I thought he'd like the sentiment, which is a clear stamp I found in the Michaels dollar bin. The dog was made using colored cardstock from the Paper Co and a Sizzix Originals die. Everything but the gold medallion on his collar, which I colored, was layered. (I have issues with layering and often use single-layer die cuts. However, I have vowed to improve upon this, especially with my very first Cricut machine!!!) Back to the card--I painted a little rock candy crackle paint on the bone and the water. It looks cuter on the bone than the water, but he won't mind. I used a 2" scallop punch, although I'm not sure who made it. The greeting is popped up using foam tape.

Wednesday, May 19, 2010
With Love Cards
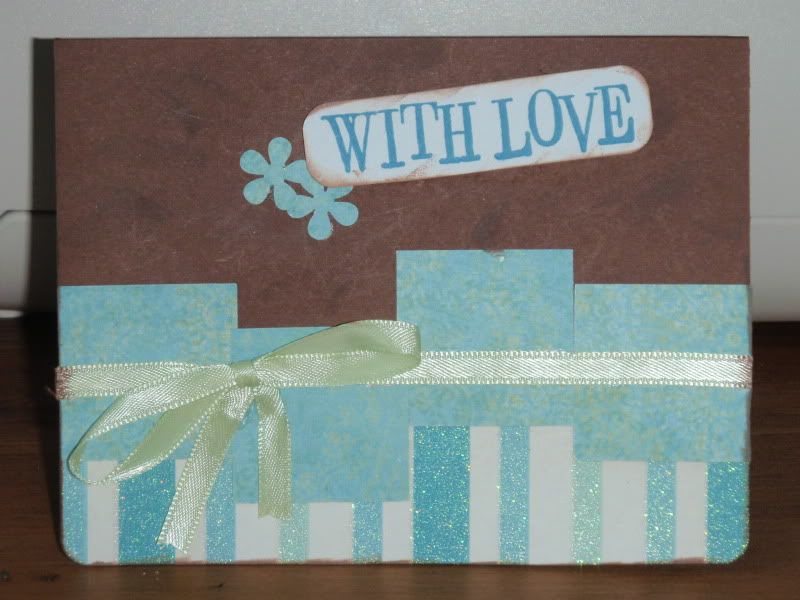
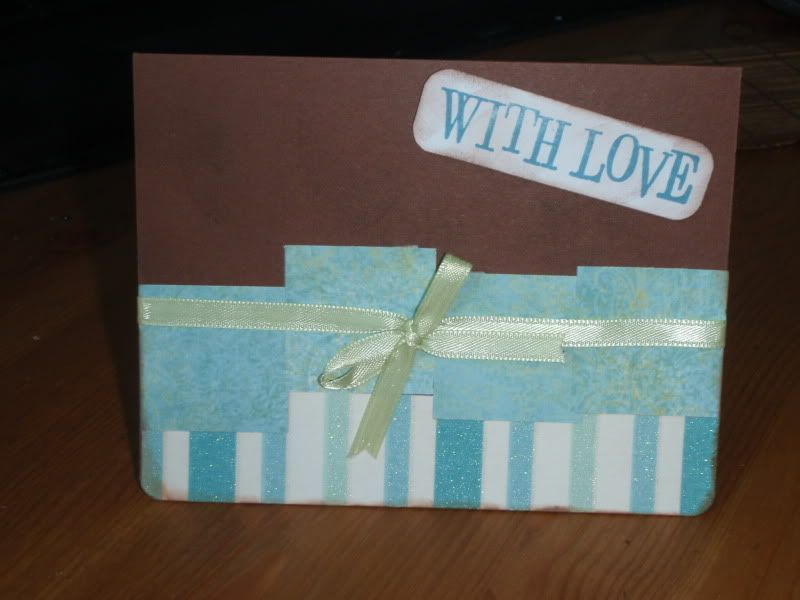
These two were made using K&Co's Que Sera Sera paper and a border strip from an older DCWV paper on brown cardstock from The Paper Co. Ribbon is a mint green from the 50 cents stuff from Michaels. (It picked up some of the colors in the squares.)I distressed the edges using colorbox ink in chestnut roan. The squares were made using the Marvy Uchida 1.5" square. I popped up the sentiment with foam tape.
Here's the first one.
And the second.
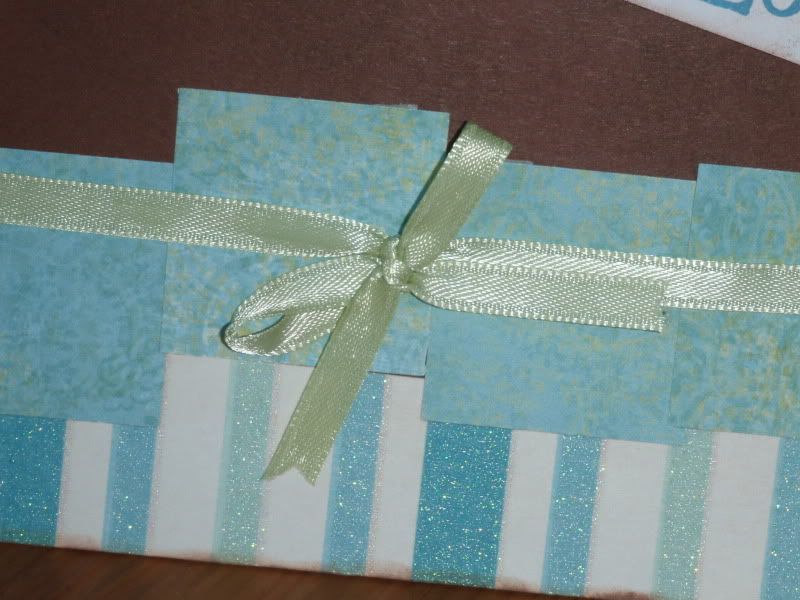
Here's the first one.

And the second.


Tuesday, May 18, 2010
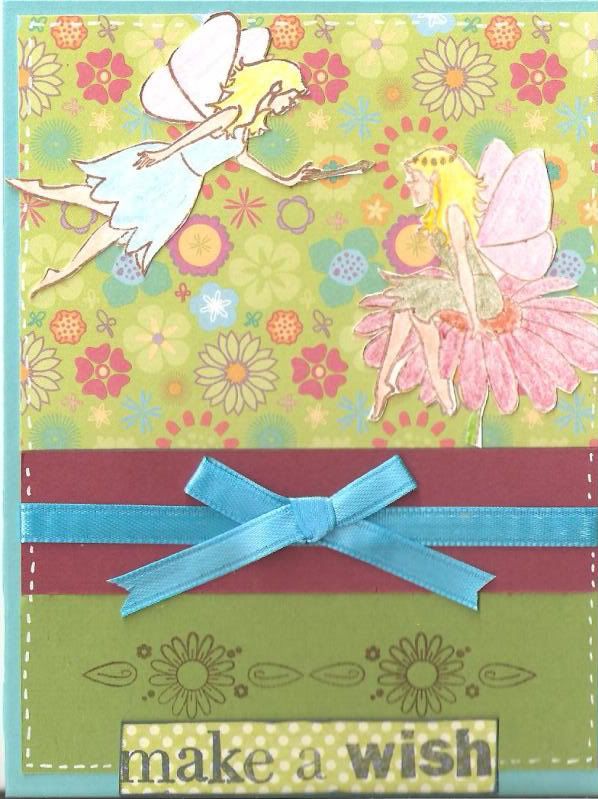
Fairies
The stamps were free from Papercraft Inspirations a couple of months ago. I colored them in with pencils, but am thinking of investing in watercolor markers or crayons, or other fancy pens.

Subscribe to:
Posts (Atom)