Source: thefishieskitchen.blogspot.com via TheFishie's on Pinterest
Monday, April 30, 2012
Recipe Index Updated!
Sunday, April 29, 2012
Whole Wheat English Muffins (Bread Machine)
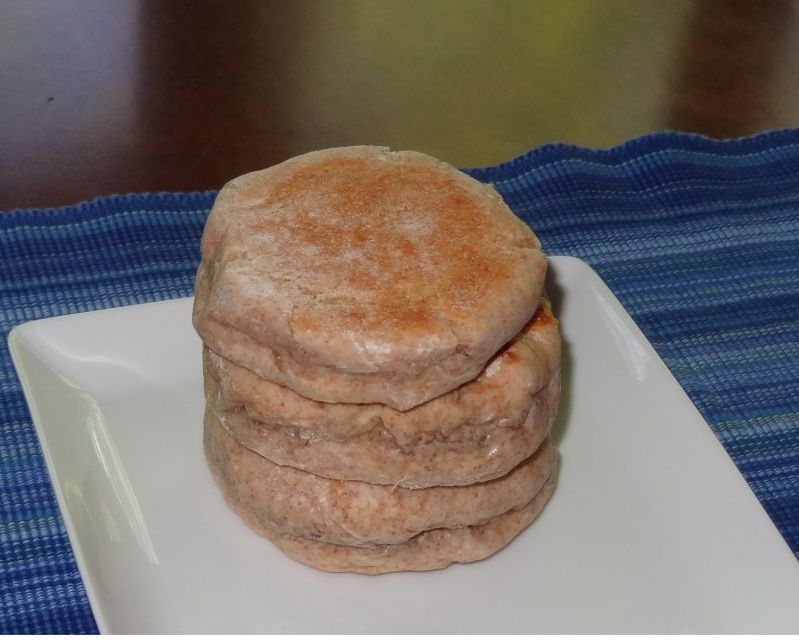
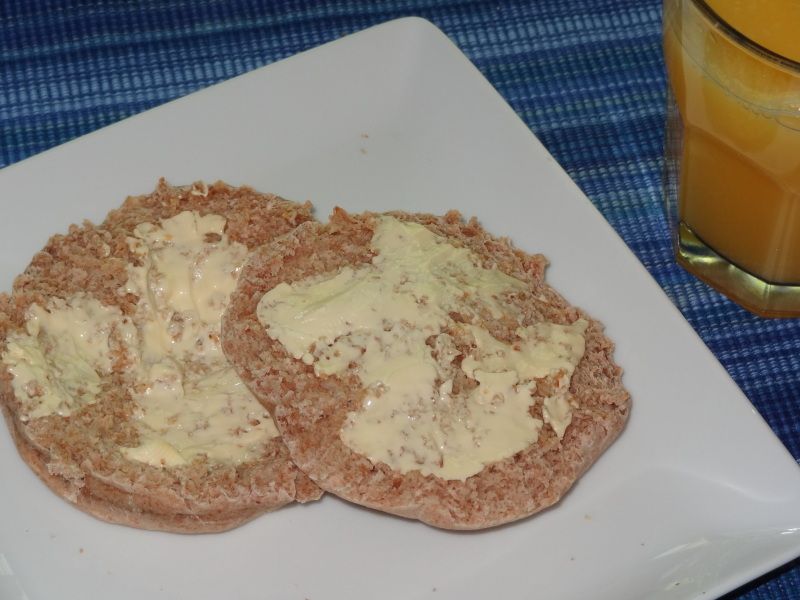
Whole Wheat English Muffins
1 1/2 c milk
1 2/3 c white bread flour
1 3/4 heaped whole wheat flour (close to 2)
1 1/2 tsp salt
1 tsp sugar
1 TBS butter, diced
1 1/2 tsp instant dry yeast
Add ingredients to your breadmaker in the order listed, making a well in the center for the yeast. Set to "dough" cycle.
In a floured surface, divide dough into 8 to 10 portions. Shape into a circle with straight sides, about 1/2-3/4" thick. Cover and let rise in a warm place for 30 minutes.
Heat a griddle, brushing with oil or butter as to your taste. Cook muffins 7 to 10 minutes until golden brown. Flip and cook the other side until brown, another 7 minutes or so.
Muffins split easily with a fork or butter knife.
Makes 8 - 10 muffins
Tuesday, April 24, 2012
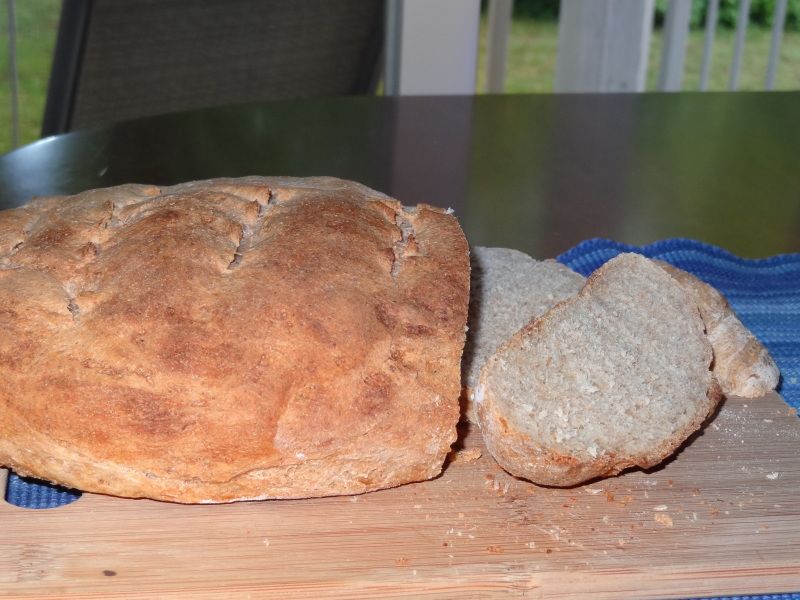
Whole Wheat Sourdough Bread
As you'll notice, this recipe is the same as my first attempt at regular sourdough, which turned out so well. This is tasty, but definitely drier than the original. Thus, though it likely has some health benefits, I probably won't attempt this one again soon. However, the recipe makes two loaves, so there is a possibility I'll change my mind after we finish it all. Additionally, this one took longer to rise and could have probably used a bit more time than I gave it, but I wanted to go to bed.
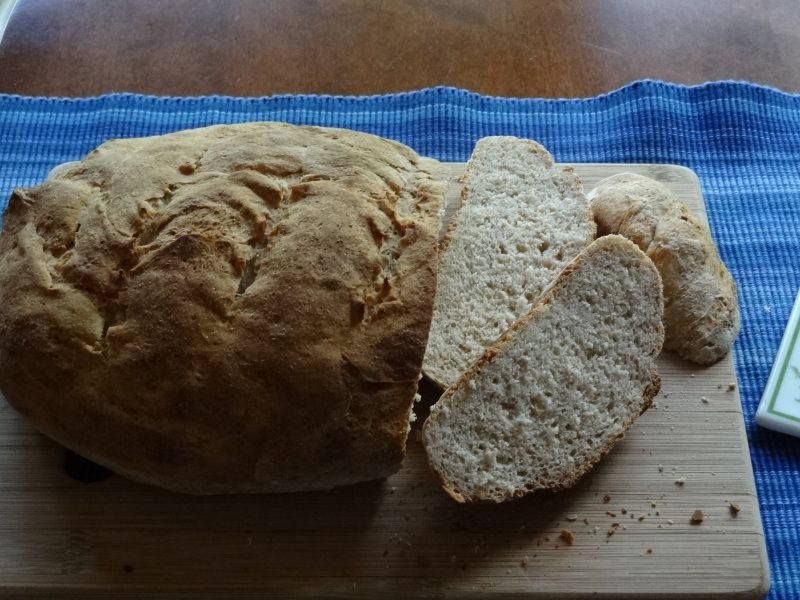
Whole Wheat Sourdough Bread
1 cup sourdough starter
1 1/2 cups lukewarm water
2 teaspoons instant yeast
1 tablespoon sugar
2 1/2 teaspoons salt
3 cups bread flour
2 cups whole wheat flour
1. Proof yeast in water for 5 minutes. Mix in sugar, salt, and half the flour until moistened. Add starter and rest of flour. Knead in stand mixer for 5-10 minutes until smooth and elastic. Add a bit more flour if dough seems too loose.
2. Place in a large bowl spritzed with canola spray. Cover with plastic wrap and let rise for two hours minutes or until doubled in size.
3. Divide dough in half and shape into loves. Cover with a towel and let rise for 60-90 minutes.
4. Preheat oven to 425 degrees. Spritz loaves with water and make a few slashes. Bake 25 to 30 minutes until golden brown.
Makes 2 loaves
Monday, April 23, 2012
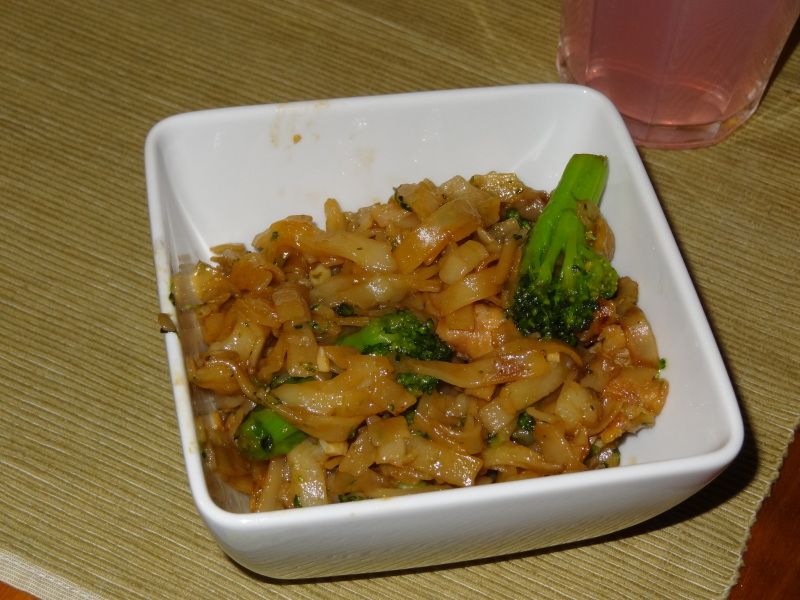
Pad See-Ew
I adapted this recipe from Serious Eats. When I tried it, I doubled the recipe because I had a larger package of noodles and more chicken defrosted than the original recipe called for. Also, there was a really weird ingredient (baking soda) and step (boiling the chicken) that stuck me as extremely unusual, so I left the baking soda but elected to saute the chicken instead. I'm not sure whether it was the baking soda or the sauteeing, but it made the chicken taste a little like shrimp. Thus, I'm writing this below as I intend to try it, i.e. simply saute the chicken with corn starch as I do in other stir frys. Nonetheless, the sauce and noodles were fantastic so all I did was eat around the chicken and am hoping for the best on the next attempt :)
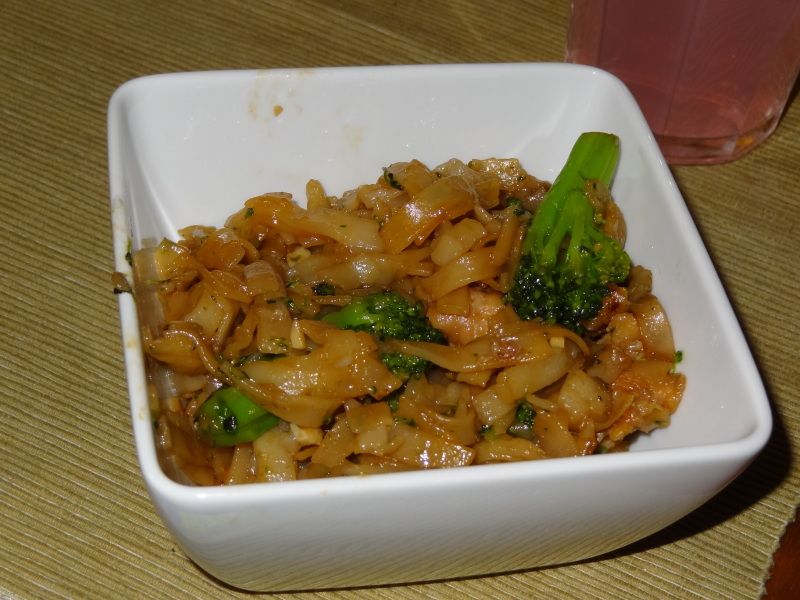
Pad See-Ew
8 oz boneless, skinless chicken breast, thinly sliced
1 tbs corn starch (original recipe called for 2 tsp baking soda)
4 Tbs soy sauce, divided
4 Tbs oyster sauce
4 tsp sugar
4 tsp rice wine vinegar
2 garlic cloves, minced
16 oz flat rice noodles
3 c broccoli
4 eggs
4 TBS dark soy sauce
Few tbs Canola oil
1. Marinate chicken with 2 Tbs of soy sauce and corn starch.
2. In a separate bowl, whisk together oyster sauce, 2 Tbs soy sauce, sugar, vinegar, and garlic. Set aside.
3. Prepare the noodles according to the package directions. Drain and toss with a little bit of oil to prevent sticking. (Do not omit this step, else your noodles will stick together.)
4. In a wok or large skillet, sauce the chicken in canola oil until golden brown. Remove from pan.
5. Adding a little oil, if necessary, stir fry broccoli until slightly tender and beginning to brown. Remove from pan.
6. Scramble eggs in a small bowl and pour into pan. Cook until just about firm, then scramble them up. Remove from pan.
7. Adding a little more oil, if necessary, add noodles to hot pan and drizzle with dark soy sauce. Toss around until noodle begin to brown.
8. Return all ingredients to the wok and add sauce. Stir fry until sauce has thickened slightly and everything is liberally coated with sauce, about 3 minutes.
Serves 4 - 6
Wednesday, April 18, 2012
Chocolate Banana Pecan Cinnamon Buns
I'm fickle, so although the chocolate taste was yummy, I wish I'd made half with raisins or other dried fruit instead. Next time!
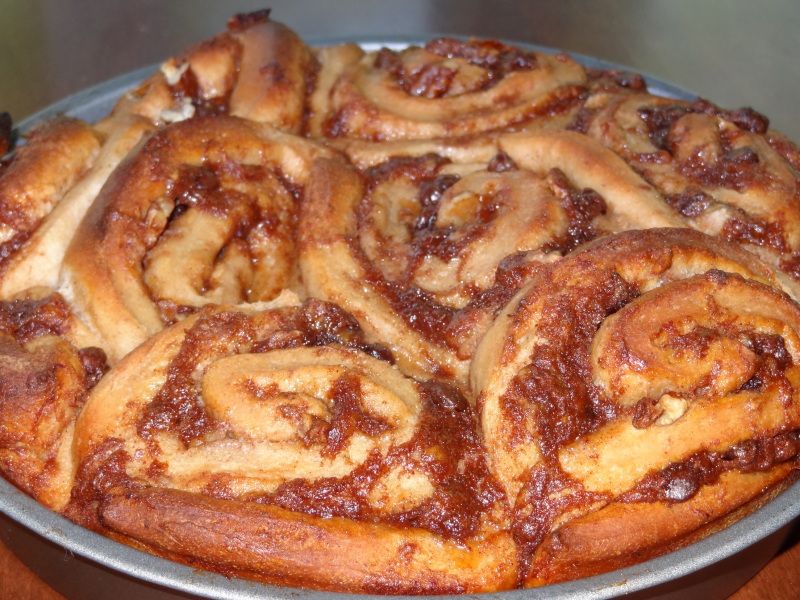
Chocolate Banana Pecan Cinnamon Buns
Dough
1 cup milk
1 large egg, slightly beaten
1 1/4 c white whole wheat flour
2 1/2 all-purpose flour
3 TBS butter, diced
1/2 cup sugar
2 tsp ground cinnamon
1 tsp kosher salt
2 1/4 tsp rapid-rise yeast
Filling
2 ripe bananas, mashed
4 TBS butter, softened
1/2 c brown sugar
1.5 TBS cinnamon
1/2 c pecans (or nut of choice)
1/4 c mini chocolate chips (or handful of chopped dried fruit)
1. In the pan of your bread maker, layer ingredients in order listed (or according to directions on your machine). I put everything after the flour in separate corners to the extent possible, then made a hole in the middle for the yeast. Set to "dough" cycle.
2. In a small bowl, mix bananas, butter, sugar, and cinnamon.
3. Roll dough into 14×12" rectangle. Brush with banana mixture, leaving at least a 1/2" seam along all sides. Sprinkle with nuts and chocolate or fruit. Roll.
4. Cut into even pieces about 1/2" - 3/4". Cover and let rise for an hour.
5. Preheat oven to 375 degrees.
6. Bake for 20 minutes until golden brown. Serve warm.
Makes 16-18 rolls
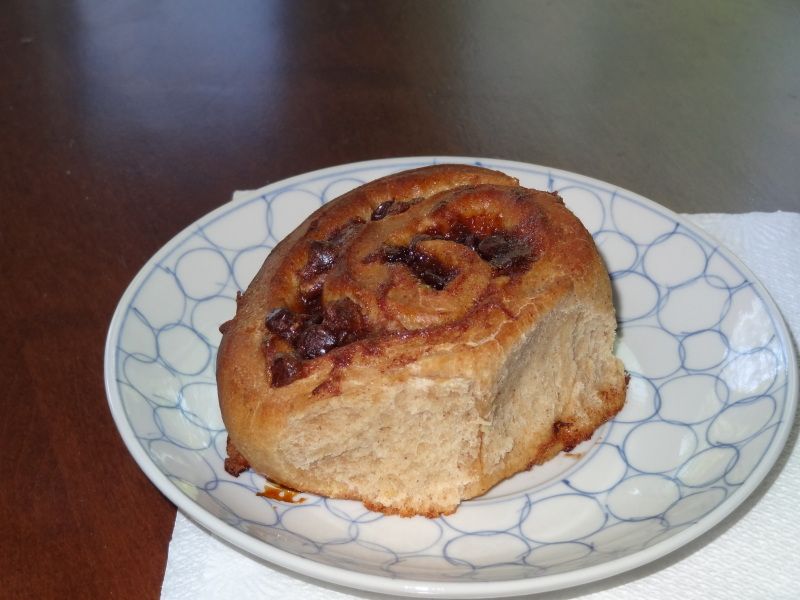
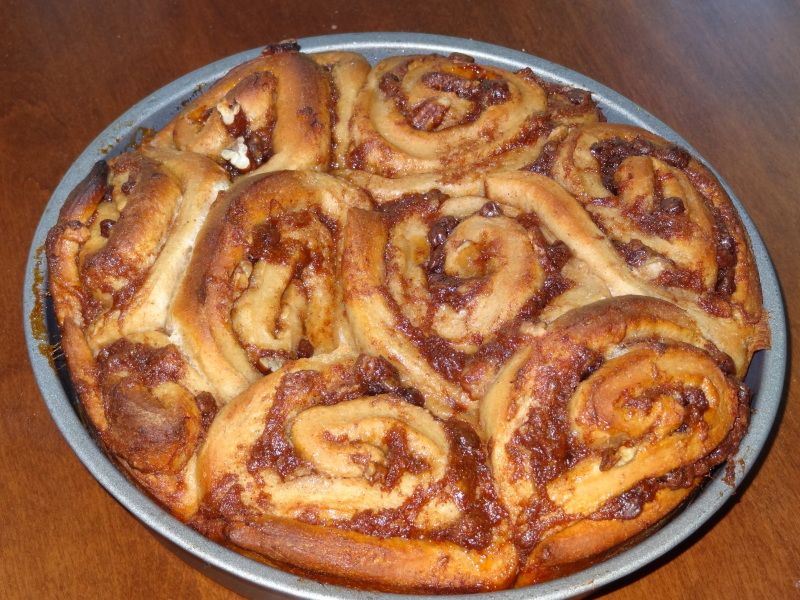
Did I mention these were tasty? My husband and I each had two for an afternoon snack!
Tuesday, April 17, 2012
Sourdough Success!
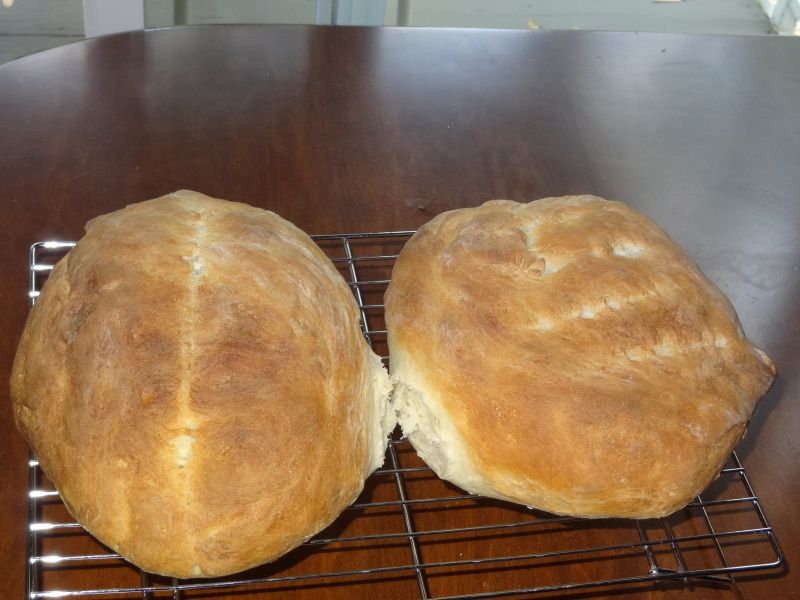
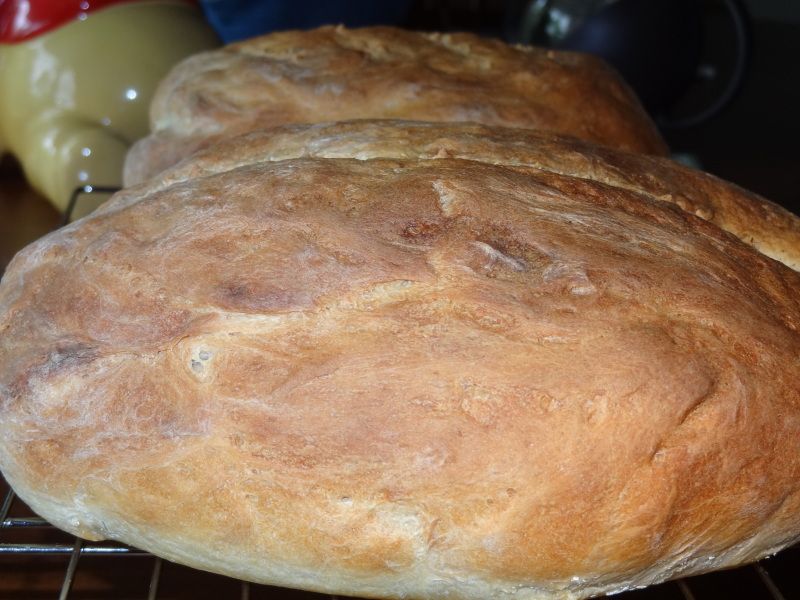
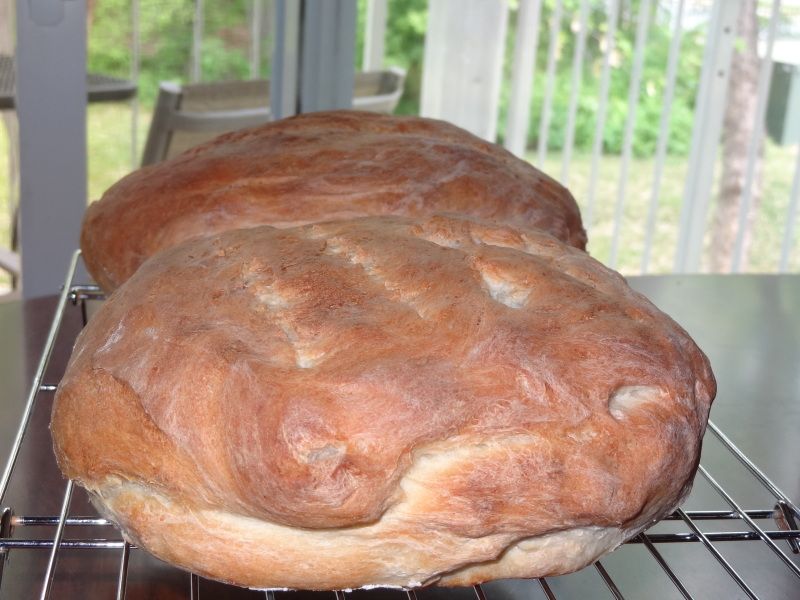
After feeding my starter and letting it rest at room temperature for another couple days, I tried this Rustic Sourdough Bread recipe, also from King Arthur. I used my stand mixer for the kneading of the dough rather than my bread machine, then baked it in the oven. Fantastic! First of all, it looks like bread! Second, it's comfortably sour rather than overpowering like the first loaf. (It may be that a younger starter, which did smell quite strong as I noted on Saturday, makes a different sort of loaf than an older one but I think something went wrong during the bread machine cycles). I increased the rise time because it was a bit chilly this morning and swapped in bread flour for all-purpose. The recipe below reflects my changes.
This recipe makes two good-sized loaves. If you have more patience, let the dough rise a bit longer at each step.
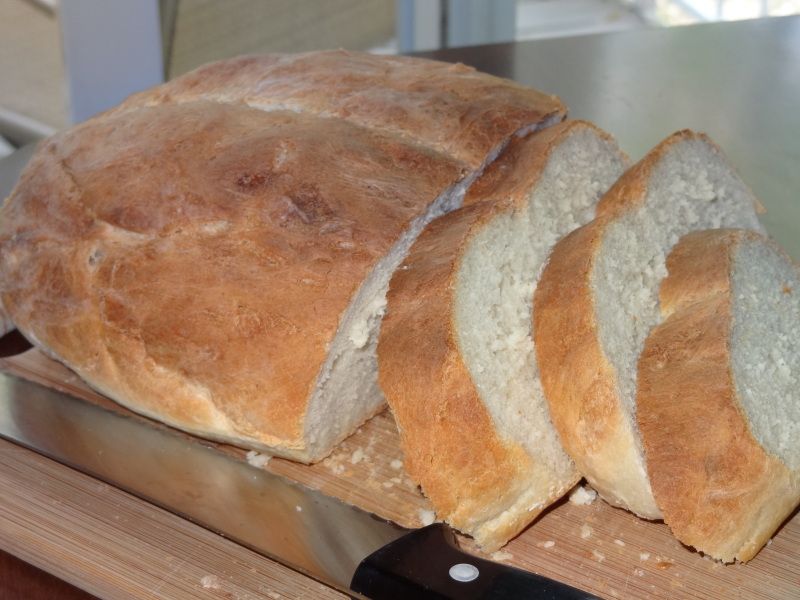
Rustic Sourdough Bread
1 cup sourdough starter
1 1/2 cups lukewarm water
2 teaspoons instant yeast
1 tablespoon sugar
2 1/2 teaspoons salt
5 cups bread flour
1. Proof yeast in water for 5 minutes. Mix in sugar, salt, and half the flour until moistened. Add starter and rest of flour. Knead in stand mixer for 5-10 minutes until smooth and elastic. Add a bit more flour if dough seems too loose.
2. Place in a large bowl spritzed with canola spray. Cover with plastic wrap and let rise for 90-120 minutes or until doubled in size.
3. Divide dough in half and shape into loves. Cover with a towel and let rise for 1 hour.
4. Preheat oven to 425 degrees. Spritz loaves with water and make a few slashes. Bake 25 to 30 minutes until golden brown.
Makes 2 loaves
Sunday, April 15, 2012
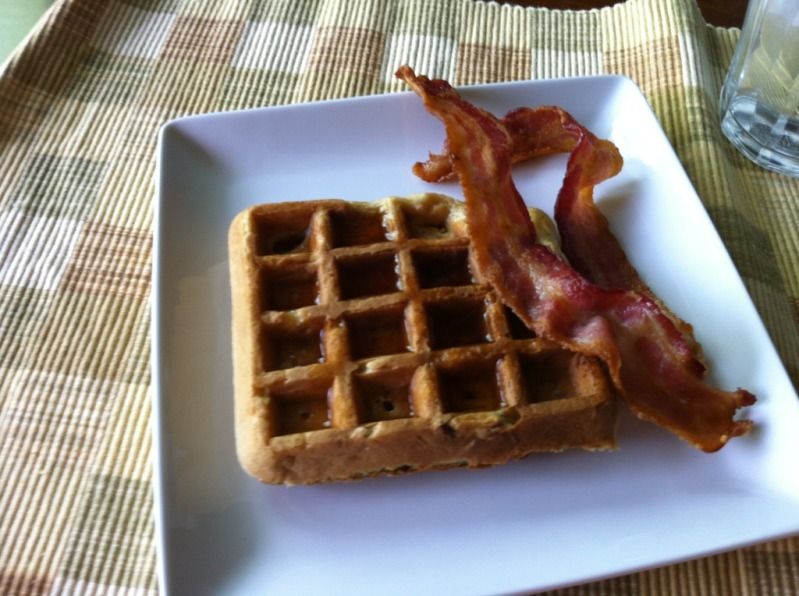
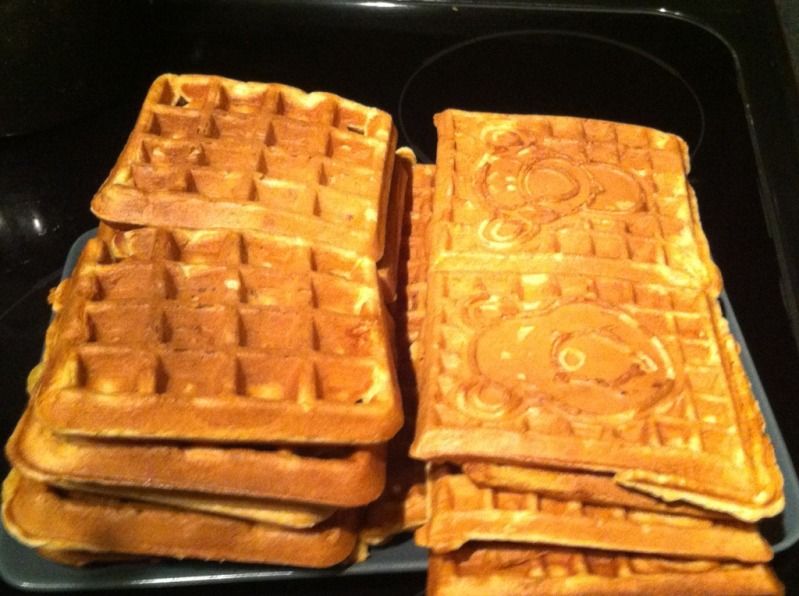
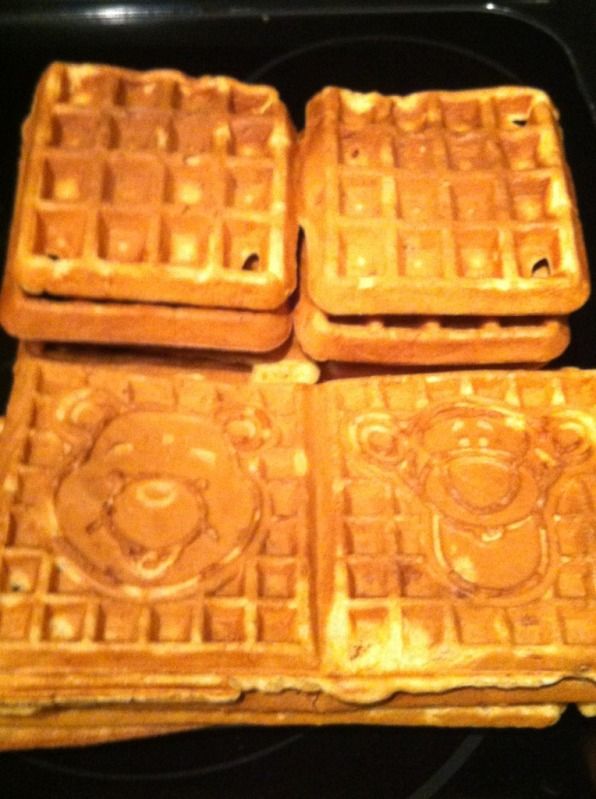
Banana Pecan Waffles
This recipe comes from The Happy Housewife. I made a few changes to lighten the recipe a bit such as swapping in apple sauce and some wheat flour. The recipe is written below as I prepared it.
Banana Pecan Waffles
2 c all purpose flour
1 c whole wheat (or white whole wheat) flour
1 tbs baking powder
1 tsp baking soda
1 tsp salt
1/4 brown sugar
1/2 c apple sauce + canola oil to make 2/3 c (original is 2/3 c olive oil)
4 eggs, beaten
2 tsp vanilla
2 1/2 buttermilk
1/2 c mashed banana
1/2 c chopped pecans
1. In a large bowl, whisk together flours, baking soda, baking powder, salt and sugar.
2. In a medium bowl, whisk together apple sauce, oil, eggs, vanilla, buttermilk and banana.
3. Stir wet into dry until thoroughly mixed. Fold in pecans.
4. Cook in either Belgian or regular waffle pan until golden brown.
Serves 6
Saturday, April 14, 2012
Sourdough Starter - Day 3
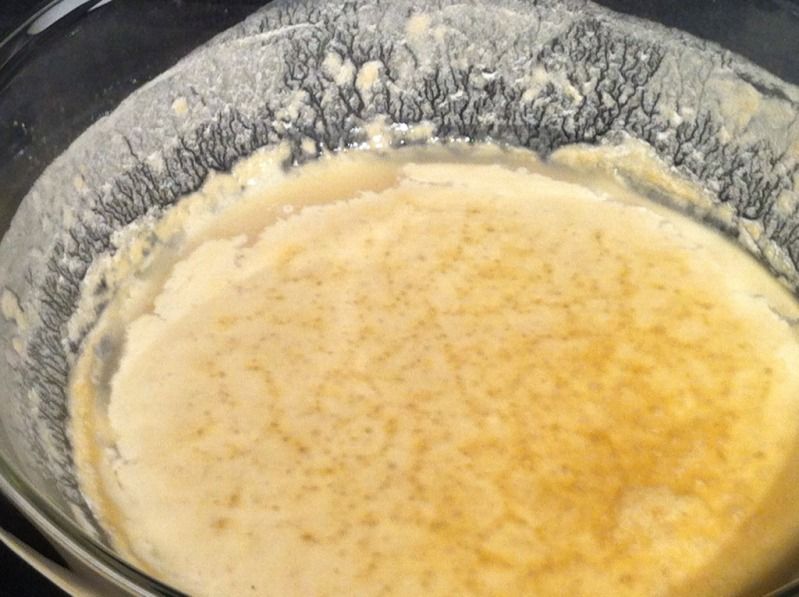
It's separated and a thick something is on top of a liquidy something.
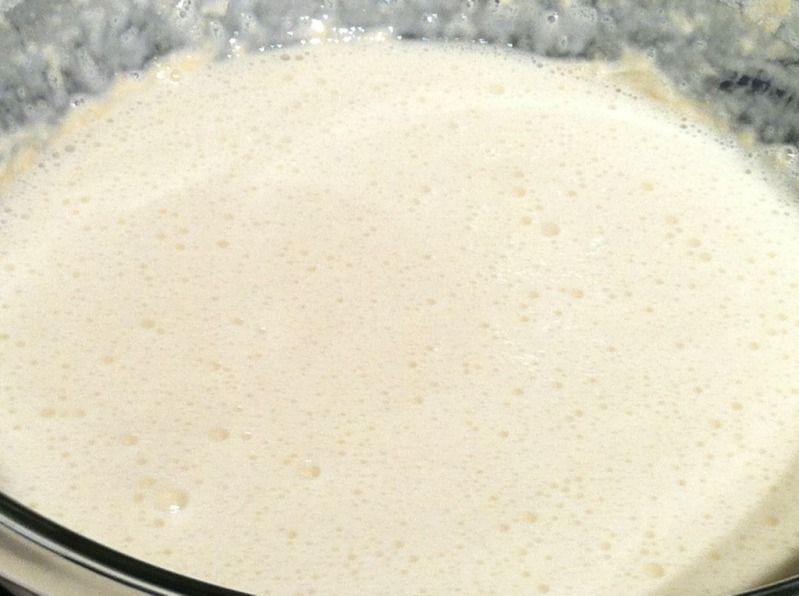
Here it is after I gave it a good mix.
To recap: I'm trying the King Arthur starter that Tracey from Tracey's Culinary Adventures blogged about the other day. It's a super simple recipe:
2 cups warm water
1 tbs sugar
1 tbs yeast
2 cups flour
First dissolve the sugar in the water, then add the yeast. Stir in the flour. Once thoroughly mixed, cover with a towel (not plastic as this will make the flavor richer) in a warm place for 2-5 days. Each day, give it a good stir as the alcohol will have separated. It's ready when there's a nice sour aroma and the mixture no longer bubbles. Store, covered, in the fridge.
Friday, April 13, 2012
Recommended Foodie Kindle Books on Sale Today!
Make It Fast, Cook It Slow: The Big Book of Everyday Slow Cooking
Source: amazon.com via TheFishie's on Pinterest
This was Stephanie O'Dea's first slow cooker book after her blog, A Year of Slow Cooking, went viral in 2008 when she used her crockpot every day for a year. Although her books do not have pictures, they are easy to follow recipes that do not use canned cream of X soup. Most recipes do have pictures on her blog. I've tried a number of them with good results.
More Make It Fast, Cook It Slow: 200 Brand-New, Budget-Friendly, Slow-Cooker Recipes
Source: amazon.com via TheFishie's on Pinterest
This was O'Dea's second book which included a few fancier recipes than her first.
In the Kitchen with A Good Appetite: 150 Recipes and Stories About the Food You Love
Source: amazon.com via TheFishie's on Pinterest
I just picked this book up today, but already several recipes have caught by eye such as Decadently Bittersweet Chocolate Ice Cream, Buttery Polenta with Parmesan, Easy Stovetop Macaroni, Peas, Bacon and Cheese, and Spiced Chipotle Honey Chicken Breasts with Sweet Potatoes. Each recipe appears to be accompanied by an amusing anecdote. For $3.03, I couldn't refuse.
Sourdough Starter - Day 2
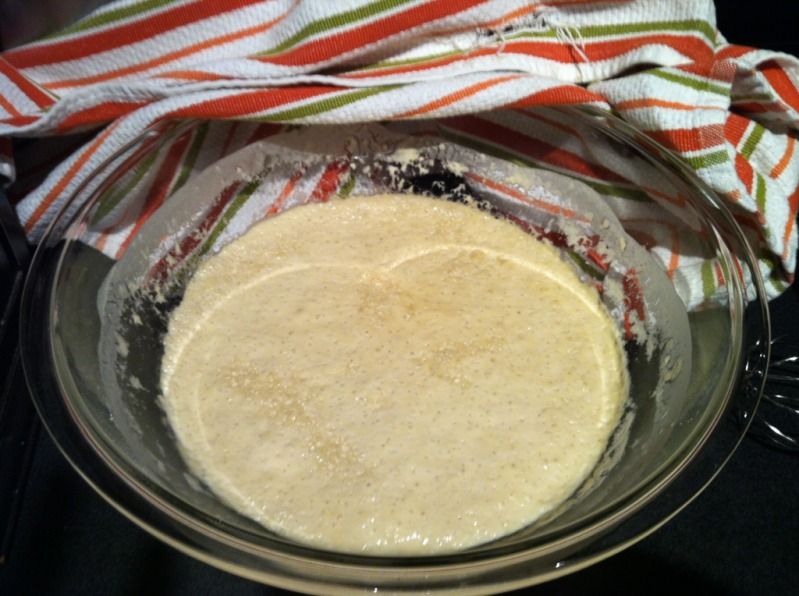
If you look closely, you can see there's definite separation of liquid alcohol from more solid stuff which is floating on top. I gave it a good stir and covered it again.
To recap: As I posted yesterday, I'm trying the King Arthur starter that Tracey from Tracey's Culinary Adventures blogged about the other day. It's a super simple recipe:
2 cups warm water
1 tbs sugar
1 tbs yeast
2 cups flour
First dissolve the sugar in the water, then add the yeast. Stir in the flour. Once thoroughly mixed, cover with a towel (not plastic as this will make the flavor richer) in a warm place for 2-5 days. Each day, give it a good stir as the alcohol will have separated. It's ready when there's a nice sour aroma and the mixture no longer bubbles. Store, covered, in the fridge.
Thursday, April 12, 2012
Sourdough starter
Source: traceysculinaryadventures.blogspot.com via TheFishie's on Pinterest
Homemade Hamburger or Hot Dog Buns (Breadmaker)
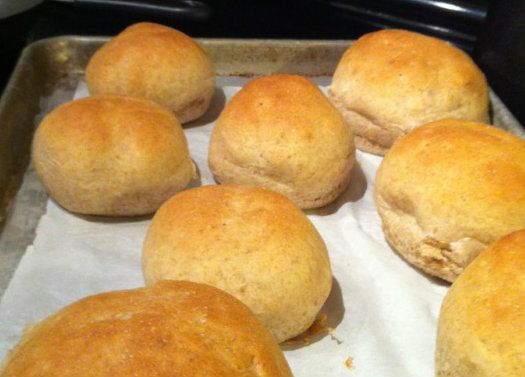
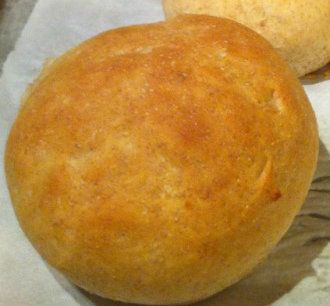
Homemade Hamburger or Hot Dog Buns
1 1/4 cups milk (skim works)
1 beaten egg
2 tablespoons butter
1/4 cup white sugar (or brown sugar)
3/4 teaspoon salt
1 1/4 cups whole wheat flour
2 1/2 cups bread flour
1 1/4 teaspoons active dry yeast
Combine ingredients in order recommended by your breadmaker. For me, that's the order listed. Set to "dough" cycle.
Divide dough into 8-12 pieces depending upon the size of buns you'd like to make. Shape them into round slightly flat balls for hamburger buns and longer cylindrical pieces of hot dog buns. (See Sandra's original recipe for how she shapes hot dog buns.) Cover with a towel and allow to rise at least 30 minutes or until doubled in size.
Preheat oven to 350 degrees.
Bake for 9-12 minutes until golden brown.
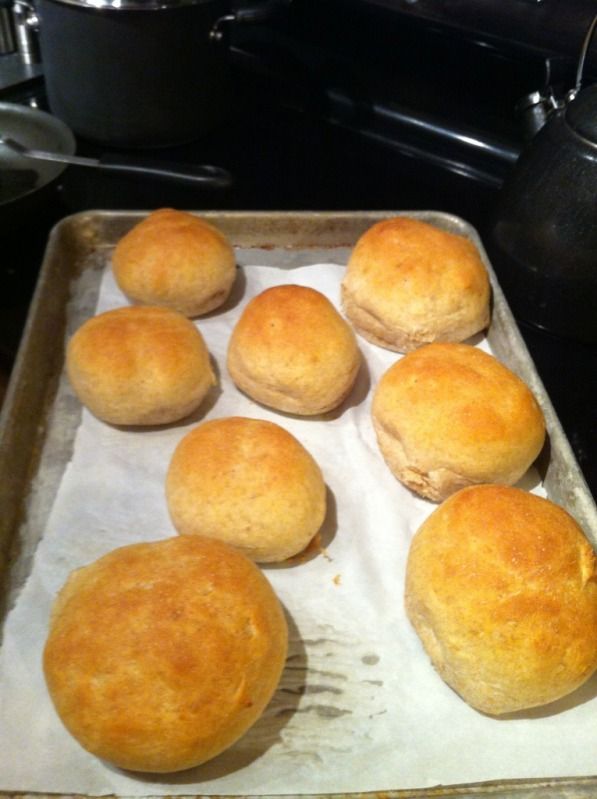
Makes 8-12 buns
Wednesday, April 11, 2012
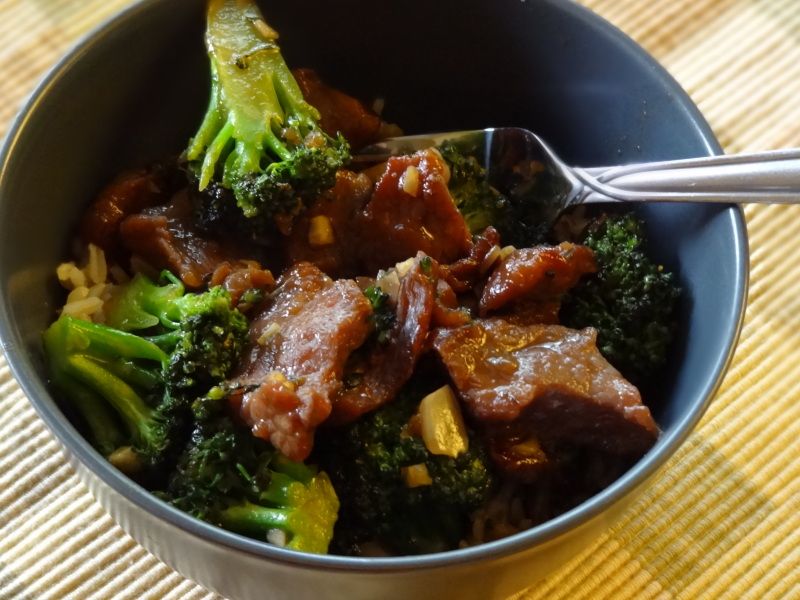
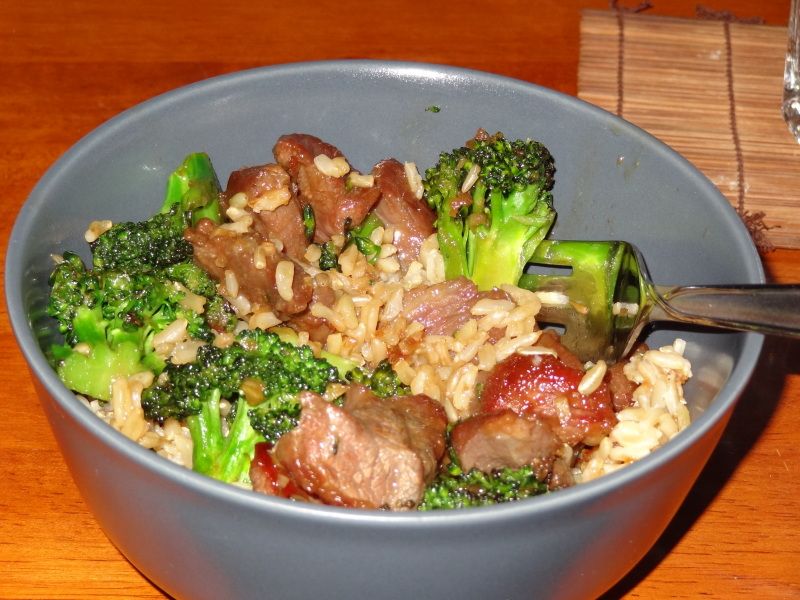
Beef with Broccoli
Beef with Broccoli
Marinade
1/2 tsp baking soda
1 tsp sugar
1 TBS cornstarch
1 TBS soy sauce
2 TBS vegetable oil
Sauce
1/2 c soy sauce
2 TBS brown sugar
4 cloves garlic
2 TBS flour
1 tsb sherry (I used chicken broth)
1.5 lbs flank steak, sliced thinly
2 heads broccoli crowns
2 c cooked brown rice
1. Whisk together marinade. Toss steak to coat. Cover and refrigerate for at least an hour.
2. In a large wok or saute pan, saute broccoli in oil for about 3 minutes until slightly browned but still crisp. Remove from pan.
3. Whisk together all sauce ingredients and set aside. Saute meat in additional oil, if necessary, until cooked to desired doneness.
4. Add broccoli and sauce to meat. Stir well and saute about two minutes more. Serve over hot brown rice.
Serves 4
Tuesday, April 10, 2012
Spring Thank You Card
Since it's been awhile since I'd crafted, this one took me much longer than 8 minutes even though it's an incredibly simple card. I'm a little rusty on "seeing" a card in my mind. I knew I wanted to use two designer papers, twine, and flowers but the arrangement eluded me and I played with a number of different positions and sizes for the paper until I got what I wanted. Then, I needed to stamp a sentiment but couldn't find my 1 3/4" circle punch which goes with the 2" scallop. Thus, I came up with the idea of obtaining a two-color look with two of the same shape. Oh, and the flowers I had first wanted to use were way too poufy to mail all the way to Italy I feared, so I had to swap them for much smaller Primas which further threw my design out of whack. Finally, I wanted to use my Sew Easy, which took a fair bit of time.
In other news, I will have a need to send a bunch of thank yous over the next few months so I hope to make more cards to share with you soon.


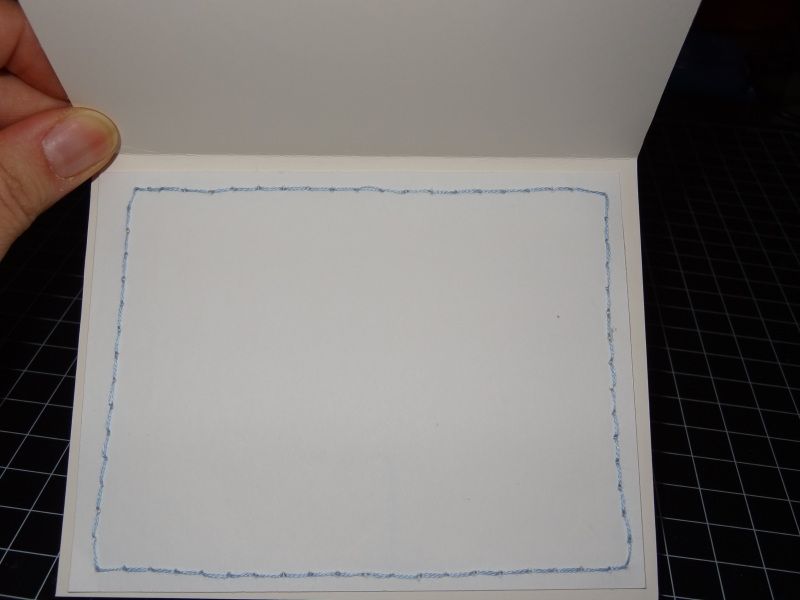
Supplies
Papertrey Ink card stock
My Mind's Eye - English Garden paper collection
Twinery twine
My Pink Stamper - Spectacular Sayings Stamp Set
Prima roses
Sew Easy
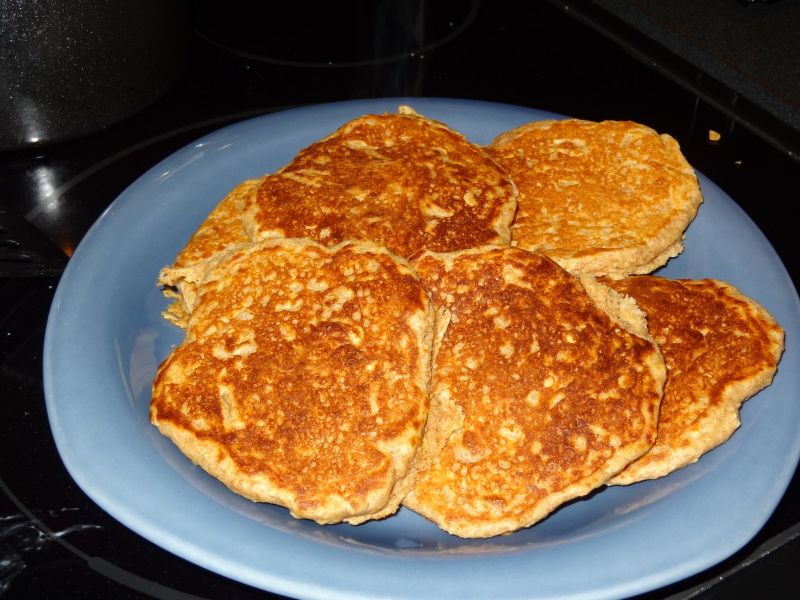
Whole Wheat Oatmeal Pancakes
Whole Wheat Oatmeal Pancakes
3/4 cup quick-cooking oats
1 1/2 cups plus 2 tablespoons buttermilk, divided
3/4 cup whole wheat flour
1 1/2 teaspoons baking powder
3/4 teaspoon baking soda
3/4 teaspoon cinnamon
1/2 teaspoon salt
1 large egg, lightly beaten
2 tablespoons butter, melted
1 tablespoon brown sugar
1. Soak oatmeal in 3/4 c buttermilk for 10 minutes.
2. In a separate bowl, whisk flour, baking powder, baking soda, cinnamon, and salt together.
3. Add the egg, melted butter, brown sugar, the remaining 3/4 cup plus 2 tablespoons of buttermilk, and the oat mixture to the bowl. Whisk together until just barely combined.
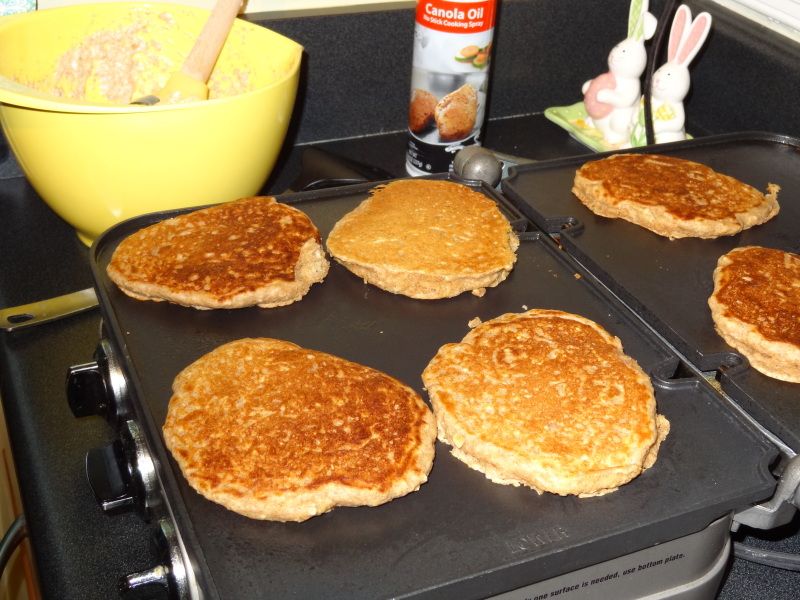
4. Cook 1/4 c fulls on a preheated griddle or skillet spritzed with cooking spray until golden brown.
Makes 10-12 pancakes
Monday, April 9, 2012
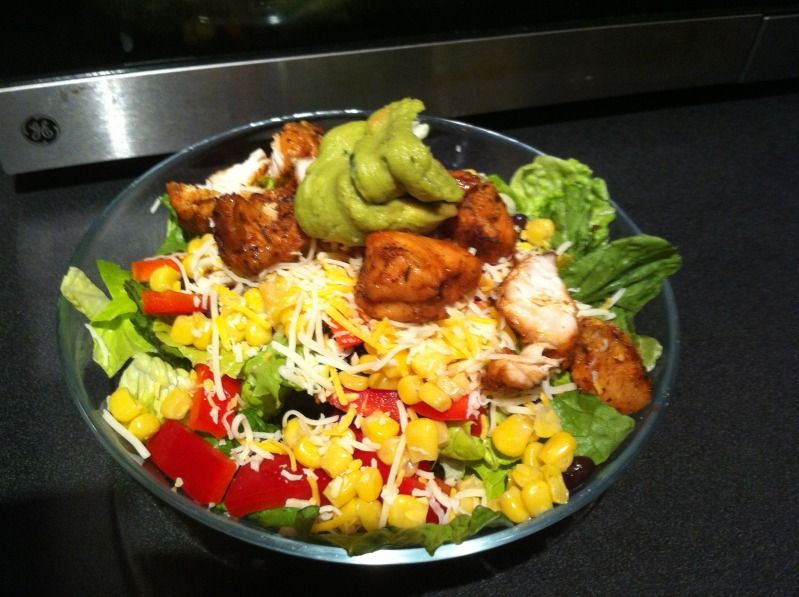
Southwest Chicken Salad
Southwest Chicken Salad
4 c lettuce of choice
1 red bell pepper, diced
3/4 c sweet corn
1/2 c black beans
1/4 c guacamole
1/2 c shredded cheese (I used a Mexican blend)
1 lb chicken breasts, cut into 1" pieces
Rub
1 TBS brown sugar
1 tsp salt
3/4 tsp chili powder
1/2 tsp garlic powder
1/2 tsp thyme
1/2 tsp cumin
1/4 tsp onion powder
1/8 tsp cayenne
1. Toss chicken with rub until thoroughly coated. Saute in olive oil until cooked through. Cool for at least 10 minutes.
2. Layer lettuce, corn, black beans, bell pepper, chicken, cheese, and top with guacamole.
Serves 2
Sunday, April 8, 2012
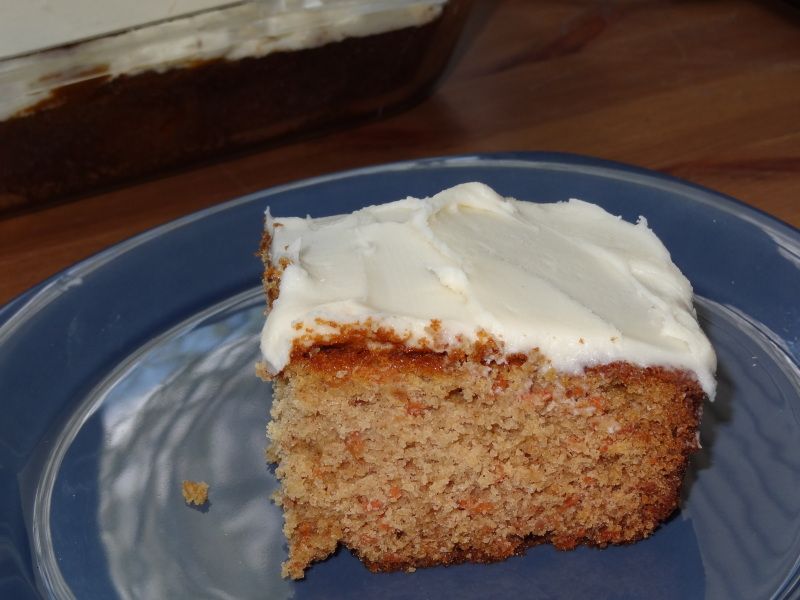
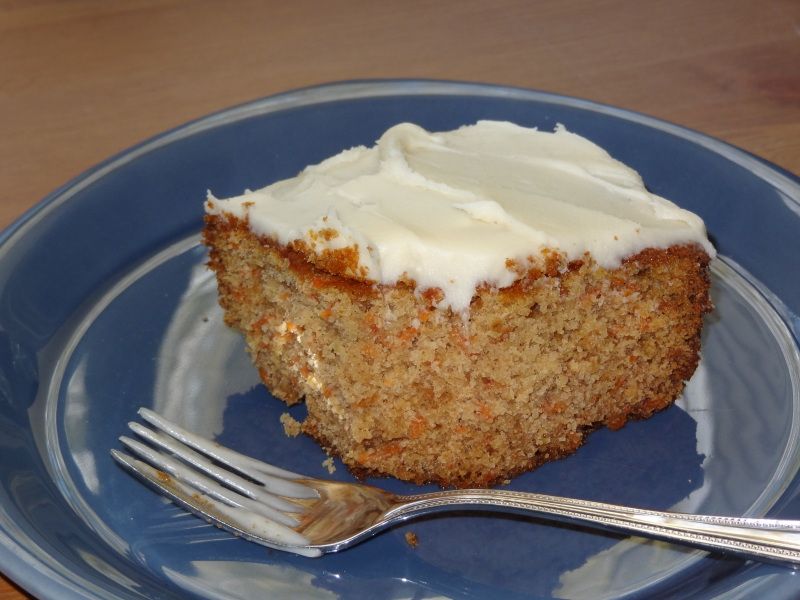
Carrot Cake with Cream Cheese Frosting
I wasn't the big fan of carrot cake growing up but I'm not sure whether I ever tried it. :) In other words, when given a choice of baked goods, I always choose chocolate. Then when I met my husband, I discovered that he was a fan of cakes other than chocolate. (*Gasp!) No, he's not a chocolate-hater, but I think he consciously or subconsciously believes that fruit or veggie baked goods might be better choices for dessert. Crazy, I know but I love him anyway.
I found this recipe in a Cooking Light magazine nearly ten years ago. I probably selected it because it doesn't have pineapple or raisins in it. Not that those things are bad, but I'm hesitant to put liquidy things in baked goods and, well, raisins have their place somewhere else. Yes, I was incredibly opinionated about something I may not have ever tried.
Years later, I've probably made this cake once every couple of years or so. It's a snack cake so it's a little heavy. One of these days, I've like to make a layered carrot cake, but this cake is too dense for that. Still, incredibly tasty and it has carrots so you can pretend it's healthy. The frosting is also fantastic.
Carrot Cake with Cream Cheese Frosting
Cake
9 tablespoons butter, softened
2/3 cup packed brown sugar
1/2 cup granulated sugar
2 large eggs
2 large egg whites
2 teaspoons vanilla extract
2 cups all-purpose flour
2 teaspoons baking soda
1 teaspoon ground cinnamon
1/4 teaspoon salt
3/4 cup low-fat buttermilk
2 cups finely shredded carrot
Frosting
1/2 cup (4 ounces) block-style fat-free cream cheese
1/4 cup butter, softened
2 teaspoons vanilla extract
1/8 teaspoon salt
2 3/4 cups powdered sugar, divided
To Prepare Cake:
1. Preheat oven to 350 degrees.
2. Spray 9 x 13" pan with cooking spray.
3. Using a mixer, beat butter and sugars until light and fluffy. Add eggs one at a time. Beat in vanilla.
4. In a separate bowl whisk together flour, baking soda and salt.
5. Add flour mixture alternating with buttermilk to sugar mixture, beginning and ending with flour. Stir in carrots.
6. Spoon batter into pan. Tap to remove air bubbles. Bake 30 minutes or until toothpick comes out clean. Cook in pan for 10 minutes, then completely on a wire rack.
To Prepare Frosting:
1. Beat butter, cream cheese, vanilla and salt in a bowl on medium until smooth.
2. Gradually add sugar, beating at low speed until smooth. (Add a splash of milk in necessary.)
Spread frosting over top of cake. Store cake loosely covered in refrigerator.
16 servings per Cooking Light
Saturday, April 7, 2012
Homemade Hamburger Helper (Chili Cheese Version)
I found this recipe on a blog called Chickens in the Road. Thankfully, as I was growing up my parents didn't go in much for box/ready-to-eat foods. Or should I say they didn't do the ones that typically appeal to children (e.g. Kraft Mac N' Cheese, Hamburger Helper, or Chef Boyardee). In college I occasionally had the blue box mac n' cheese in my dorm room--there's only so much you can cook with a microwave--but I've never tried authentic Hamburger Helper or Chef Boyardee. Thus, I've always been curious about such things, though too afraid of the massive sodium to buy them.
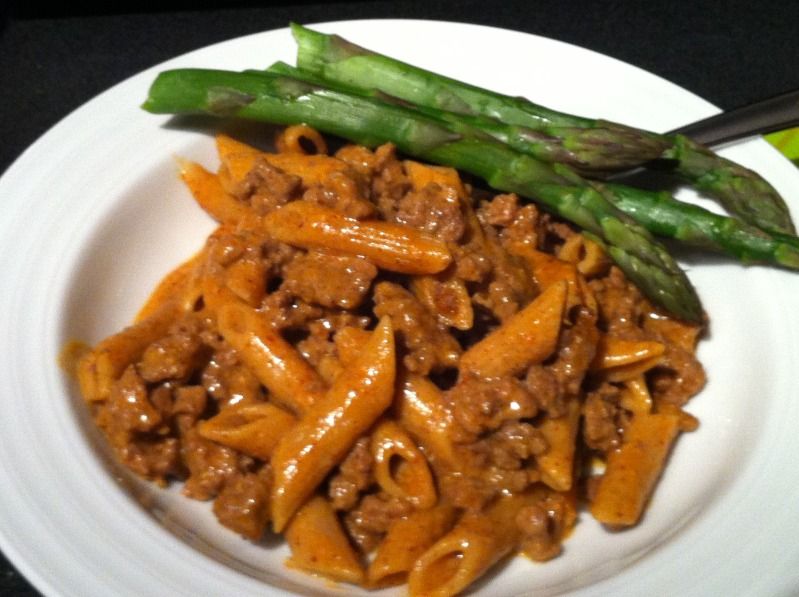
When I saw this recipe for a homemade variety that sounded quite innocuous, I decided to try it. It was rather tasty! My only complaint is that I thought it was strange that she advises to season the meat after browning it. Sure enough, I think that influenced the taste as the meaty bites seemed a little bland to me. Thus, if I make it again, I will probably toss a little salt and pepper on the meat as I brown it. Plus, I didn't have elbow macaroni so I used whole wheat penne. The 12 minute cooking time caused them to become a little mushy so I will pay more attention to that next time. My husband who claims he did eat such things as a child said it tasted like the real thing!
If you would like to include these homemade packets in your pantry, check her blog for more sauce flavors. She also has step by step directions with more photos. On to the recipe!
Homemade Hamburger Helper (Chili Cheese Version)
1 pound ground beef
1 cup hot water
2 cups milk
1 1/2 cups elbow macaroni
1 cup cheddar cheese, shredded
Seasoning Packet
1 tablespoon corn starch
1 tablespoon chili powder
1 teaspoon garlic powder
1 teaspoon salt
1 teaspoon sugar
1/2 teaspoon paprika
1. To prepare packets for pantry, separately package macaroni and seasoning packet in separate plastic bag. Write the directions on one of the bags or on a notecard posted on whatever you store these packets in.
2. Brown ground beef with a sprinkle of salt and pepper, as desired. Drain.
3. Stir in hot water and milk. Add pasta and seasoning packet.
4. Bring to a boil, then cover and simmer about 10-12 minutes until pasta is tender. In the last minutes of cooking, stir in the cheese.
5. When pasta is tender and cheese is melted, turn off heat and let stand, uncovered, for five minutes to allow sauce to thicken.
Serves 4
Friday, April 6, 2012
Buttermilk Ranch Chicken Wrap
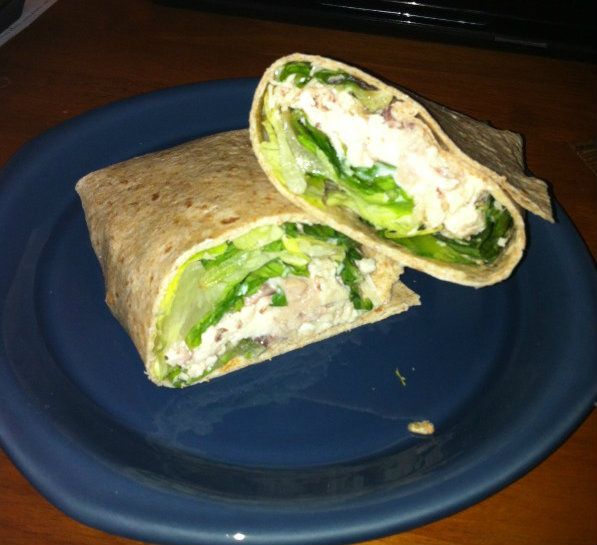
Onto today's recipe. Spring has come super early this year. In March we had a string of days with nothing lower than the 70s. A "cold" spell has hit recently, so we've been in the 50s and 60s. Still, with longer days I'm making dinner later and later it seems. Thus, I've looked for quick, lighter fare. This recipe allowed me to use shredded chicken from a whole chicken I had recently simmered with veggies for stock and other ingredients which are regularly on hand. The new recipe is for ranch dressing which I found from Ellie Krieger at the Food Network. It's super simple and turned out very nicely. I even only had vanilla yogurt rather than plain and it was still pretty good, although I upped the lemon juice and herbs to cover up the vanilla taste.
Buttermilk Ranch Chicken Wrap
Ingredients
1 c cooked shredded chicken
1.5 c shredded romaine
1/4 - 1/2 c buttermilk ranch dressing (recipe below)
1/4 c shredded parmesan cheese
2 large burrito wraps
Dressing
(makes 1 cup)
1/2 cup nonfat plain yogurt
1/3 cup lowfat buttermilk
3 tablespoons mayonnaise
1 1/2 teaspoons lemon juice
1 teaspoon Dijon mustard
1/2 teaspoon onion powder
1/4 teaspoon garlic powder
Salt and pepper
Whisk together all ingredients for dressing except chives and salt and pepper. Season with salt and pepper to taste.
In center of burrito wrap, place handful of lettuce topped with chicken and drizzle of dressing. Sprinkle with cheese, then wrap burrito.
Serves 2


